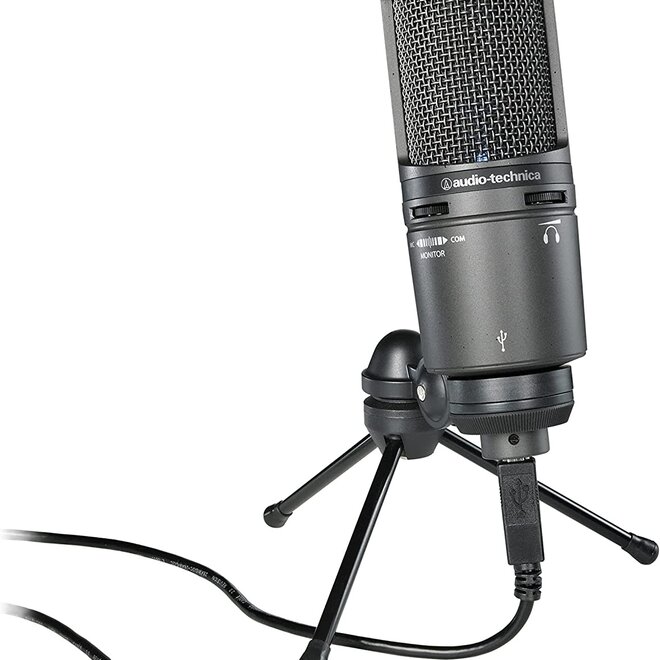
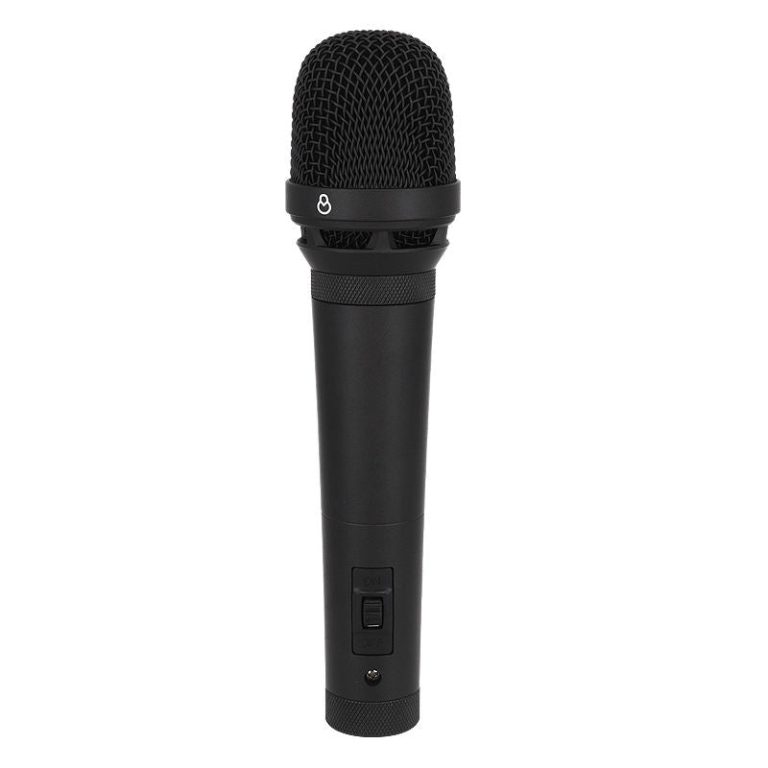
Setting up and using a music microphone for studio recording can be both exciting and overwhelming for beginners. However, with the right knowledge and equipment, you can achieve high-quality recordings that capture the essence of your music. This article provides a step-by-step guide on selecting the right microphone, preparing your recording environment, connecting your equipment, and optimizing your recording technique.
Choosing the Right Microphone
Understanding Microphone Types
The first step in setting up for studio recording is selecting the appropriate microphone. There are two primary types of microphones used for music recording: dynamic microphones and condenser microphones.
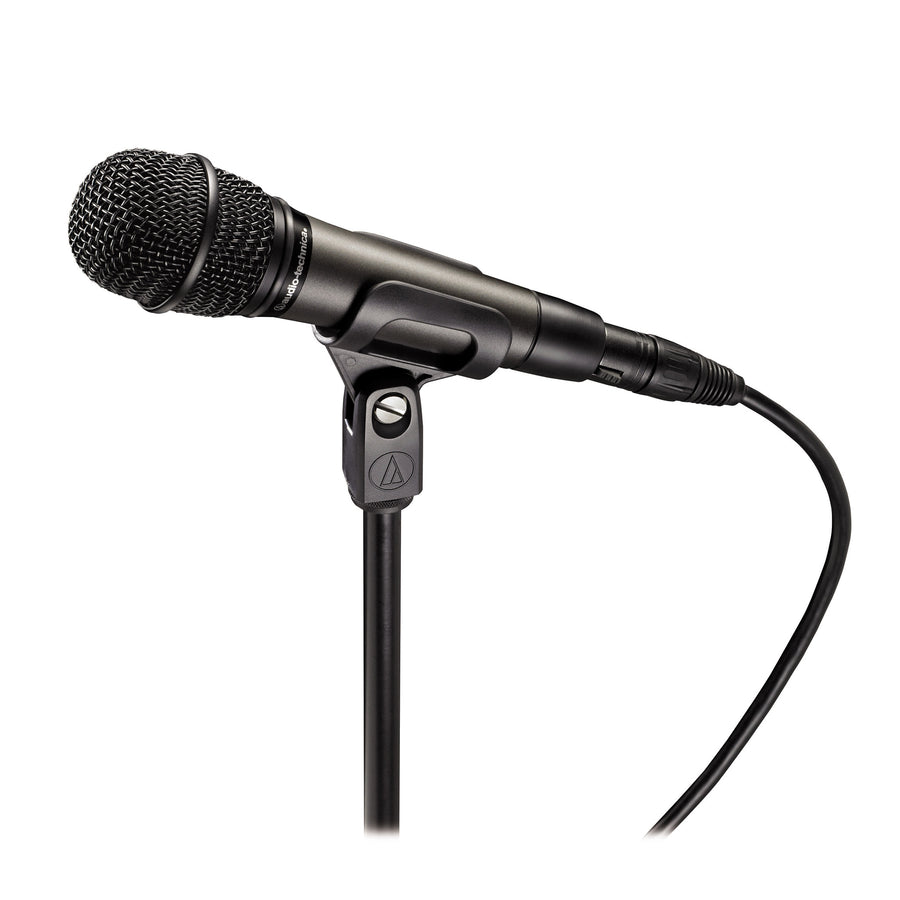
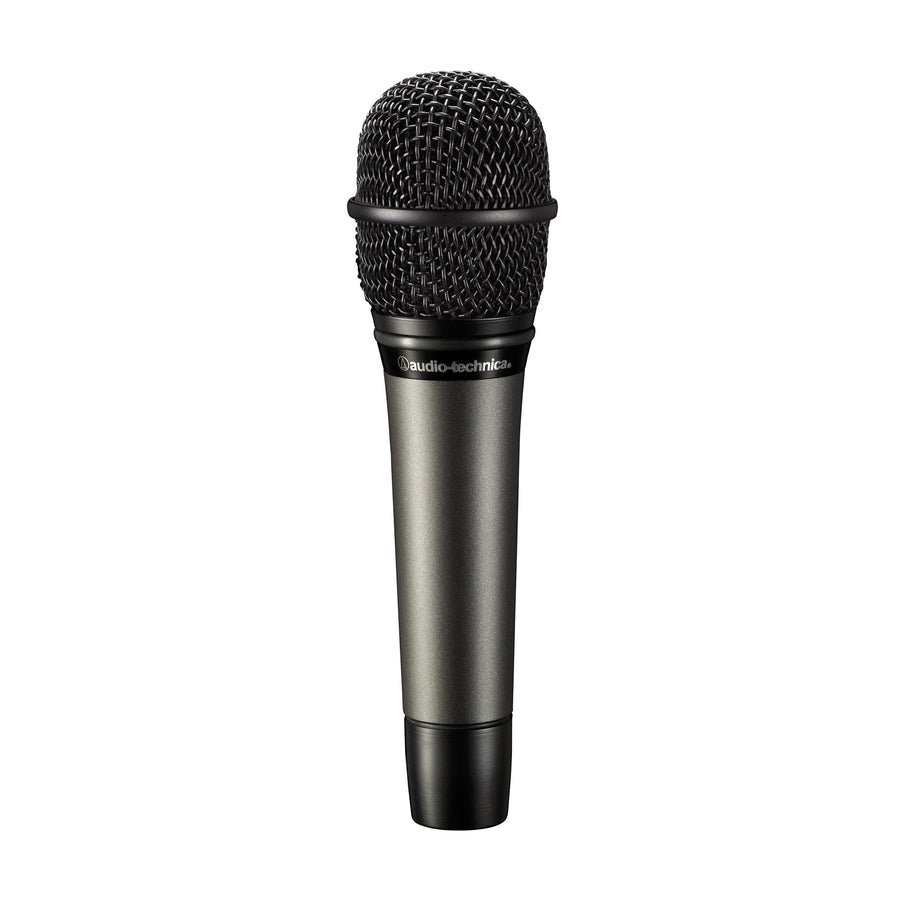
- Dynamic Microphones: These microphones are robust, durable, and ideal for loud sound sources, making them great for recording instruments like drums and guitar amplifiers. Dynamic microphones generally require no external power and can handle high sound pressure levels.
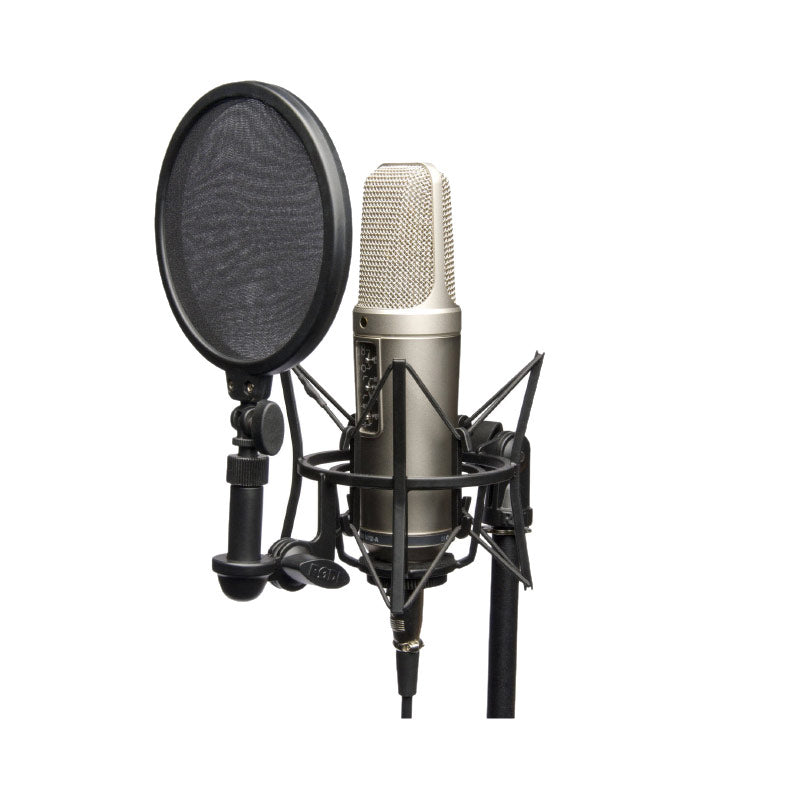
- Condenser Microphones: These are more sensitive and nuanced, making them suitable for capturing vocals and delicate instruments. Condenser microphones require phantom power to operate, which is typically supplied by an audio interface or mixing console. Because of their sensitivity, they capture a broader frequency range and are excellent for capturing fine details in sound.
Evaluating Your Recording Needs
When selecting a microphone, think about the sound sources you plan to record. If vocals are your primary focus, a high-quality condenser microphone will serve you well. For those with plans to record a variety of instruments, a versatile dynamic microphone can be a great choice. Some studios even use a combination of both to capture the best sound across different elements.
Make sure to also consider the microphone’s polar pattern. Most microphones have a cardioid pattern, which picks up sound mainly from the front while rejecting noise from the sides and rear. Hence, it is a great choice if you’re recording single sources. For ensemble performances or capturing ambient sound, you may consider microphones with omnidirectional or figure-8 patterns.
Preparing Your Recording Environment
Choosing the Right Space
The room you select for recording plays a significant role in sound quality. Look for a space with minimal background noise and good acoustics. Ideally, find a room with some sound absorption to prevent echoes and unwanted reverberation. Large, hard surfaces can create undesirable reflections, so a room with carpets, curtains, and furniture can help.
If your options are limited, you can set up a temporary recording space. Consider using blankets, pillows, or foam panels to dampen sound reflections. Creating a “vocal booth” using blankets or even a closet filled with clothes can also produce a favorable recording environment.
Acoustic Treatment
To further improve the acoustics of your recording space, consider acoustic treatment. Acoustic panels can absorb sound and reduce reflections, leading to cleaner recordings. You can purchase pre-made panels or DIY your own using mineral wool or foam.
Strategically place these panels on walls, particularly around corners where sound tends to bounce. Additionally, don’t overlook the ceiling; any hard surface can affect the sound quality. Even something as simple as hanging a thick curtain can help with sound absorption.
Setting Up Your Microphone
Positioning the Microphone
Once you have your microphone, it’s time to set it up. Use a sturdy microphone stand to hold your microphone in place. Position the microphone at an appropriate height and angle for the sound source. For vocals, typically, you want the microphone about three to six inches away from the mouth, angled slightly to capture a balanced sound while minimizing plosive sounds (like “p” and “b” sounds that can cause pops).
If you’re recording instruments, consider their positioning and the microphone’s distance. For example, when mic’ing a guitar amplifier, place the microphone close to the speaker grille to capture the full sound while avoiding unwanted room reflections. Experimenting with distance and positioning will lead to the best sound capture for each unique source.
Using Pop Filters and Shock Mounts
For vocal recordings, it can be beneficial to use a pop filter. This tool is placed in front of the microphone and helps to reduce plosive sounds caused by fast-moving air from certain consonants. Pop filters can help prevent these sounds from overwhelming your recording and improve overall clarity.
Using a shock mount is also a good practice. A shock mount isolates the microphone from vibrations and handling noise, helping to ensure that these unwanted sounds don’t interfere with your recording. This is especially important in dynamic environments where movements or impacts could cause disturbances.
Connecting Your Equipment
Using an Audio Interface
To connect your microphone to your computer, you will likely need an audio interface. An audio interface converts the microphone’s analog signal into a digital format that your computer can process. This piece of equipment often supports phantom power for condenser microphones and provides high-quality analog-to-digital conversion.
Connect your microphone to the audio interface using an XLR cable. Most professional microphones use XLR connectors for a secure, interference-free connection. Once connected, make sure to power on your audio interface and ensure it is properly configured with your computer.
Setting Up Your DAW
After connecting your microphone via the audio interface, open your Digital Audio Workstation (DAW)—the software you’ll use for recording and editing your music. Check the audio settings to ensure your DAW recognizes the audio interface as the input device. You’ll also want to select the correct track in your DAW for recording.
Create a new audio track for your recording, and set the input to the channel on your audio interface where the microphone is connected. Before you record, adjust the gain levels on your interface so that the input signal is loud enough without clipping. Aim for a level that peaks around -6dB to -3dB to ensure enough headroom while avoiding distortion.
Optimizing Your Recording Technique
Warm Up Your Voice or Instrument
Before starting your recording, spend some time warming up your voice or instrument. This is especially critical for vocals; brief vocal exercises or scales help prepare your vocal cords for recording. Warming up also allows you to experiment with dynamics and get comfortable with music microphone positioning.
For instruments, ensure that they are well-tuned before you begin. Play through some scales and practice runs to ensure you can perform consistently during your recording session. Proper preparation helps you achieve the best possible sound right from the start.
Recording Techniques
While recording, pay attention to your technique. For singers, focus on your breath control and enunciation. Use a consistent distance from the music microphone to maintain even levels throughout the performance. Moving too close or too far can lead to fluctuating recording levels and tonal coloration.
If you’re recording instruments, explore different mic techniques. For example, when recording a guitar, try various placements to find the sweet spot. You can even experiment with multiple microphones for a more layered sound by using different types simultaneously and blending them afterward in your DAW.
Editing and Mixing Your Recorded Material
Editing Basics
Once you finish recording, it’s time to edit your tracks. Start by cleaning up the recordings. This process includes trimming silence at the beginning and end of the files, removing any unwanted noises, and fixing minor mistakes. Pay close attention to breathing sounds or pops that can detract from the overall quality of the recording.
Using the tools in your DAW, you can apply effects like noise reduction or equalization (EQ) to improve the clarity of your recordings. EQ can help you tweak the frequencies of your vocals or instruments to ensure they sit well in the mix without clashing with other elements.
Mixing Techniques
After editing, you can proceed to mixing. Mixing involves balancing the levels of your tracks, panning them across the stereo field, and adding effects like reverb and compression. Aim for a mix that highlights the strengths of each instrument while creating a cohesive sound.
Don’t forget to regularly reference your mix on different playback systems, like headphones, studio monitors, and even regular speakers. This will help you achieve a mix that translates well across various devices, ensuring your final product sounds polished and professional.
Finalizing and Exporting Your Project
Preparing for the Final Export
Once you are satisfied with your mix, it’s time to prepare for the final export. Double-check all your tracks, ensuring that any effects are applied as desired. Listen through your project one final time to catch any last-minute adjustments that need to be made.
Make sure to save your project file and consider creating a backup. If using multiple plugins or effects, confirm that everything is rendered correctly before exporting to ensure a smooth process.
Exporting Your Final Mix
When ready, proceed to export your project. Most DAWs allow you to export in various formats such as WAV, AIFF, or MP3. For highest quality, opt for WAV or AIFF files, especially if you plan to distribute your music or upload it to streaming services.
Set the sample rate and bit depth according to your desired quality. Common settings include 44.1 kHz/16-bit for CD quality or higher for professional use. Let the process run its course; once complete, listen to the exported file to confirm everything sounds as expected.
Conclusion
Setting up and using a music microphone for studio recording is an exciting endeavor that allows you to capture your musical creativity effectively. By choosing the right music microphone, preparing your environment, connecting your equipment, and optimizing your recording techniques, you can achieve professional-quality recordings.
Remember, the key to success lies in practice and experimentation. Each recording session provides opportunities for improvement. Embrace the process, make adjustments, and don’t hesitate to explore different techniques along the way. With time and dedication, you’ll develop your skills and create captivating music that resonates with your audience. Happy recording!
