Recording high-quality audio is an art that combines technical skill with creative flair. Whether you’re laying down tracks in a professional studio or setting up a home recording space, understanding studio microphone techniques is crucial. This guide delves into the essentials of placement, choosing the right microphone, managing room acoustics, and mastering microphone patterns. By mastering these techniques, you’ll elevate your recordings from amateur to professional quality, capturing crisp, clear, and dynamic audio for music, podcasts, or any audio project.
Microphone Placement and Distance
Finding the Sweet Spot
Microphone placement is pivotal in capturing the desired sound quality. It’s all about finding the ‘sweet spot,’ the point where the audio source’s tone is both full and balanced. For vocals, a common starting place is about 6-12 inches away from the microphone. This distance helps to reduce plosives (hard ‘p’ and ‘b’ sounds) while capturing a clear and detailed sound. Experiment with different distances and angles to see how they affect the sound quality until you find the perfect spot.
Instrument-Specific Techniques
Each instrument has its unique requirements for optimal microphone placement. For instance, recording an acoustic guitar might involve positioning the microphone 12 inches away from the 12th fret to capture a balanced mix of strumming and fingerpicking sounds. Drums, being more complex, often require multiple microphones to capture the kick, snare, toms, and cymbals individually, as well as overhead mics to catch the overall sound of the kit. Understanding the characteristics of each instrument and experimenting with placements can significantly enhance the recording’s quality.
Choosing the Right Microphone
Understanding Microphone Types
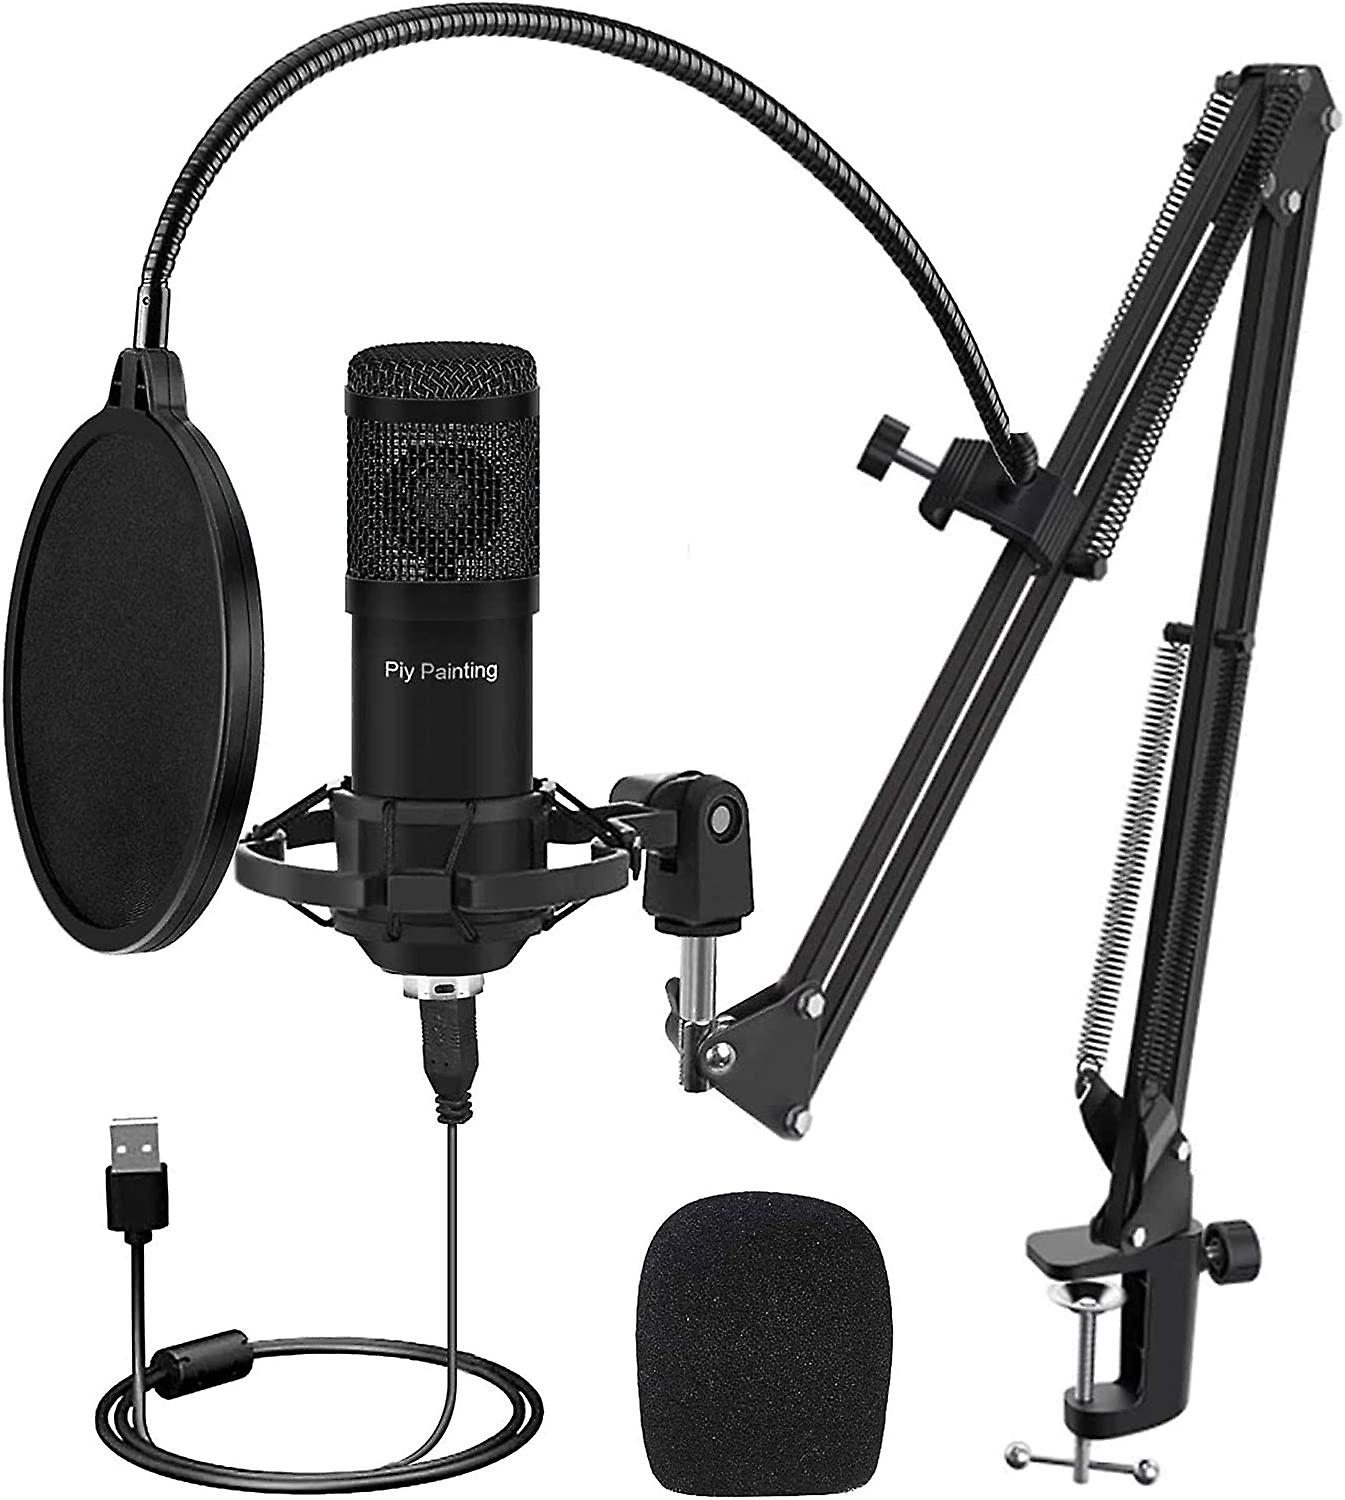
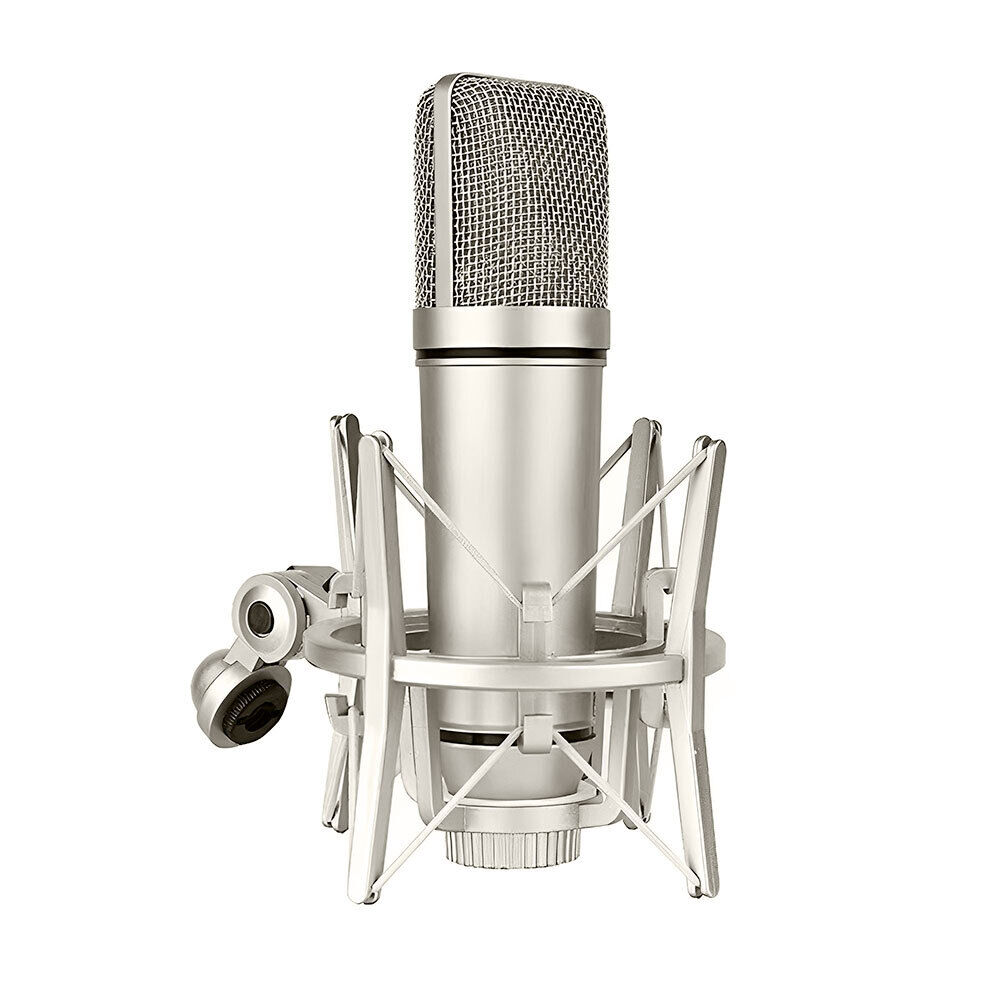
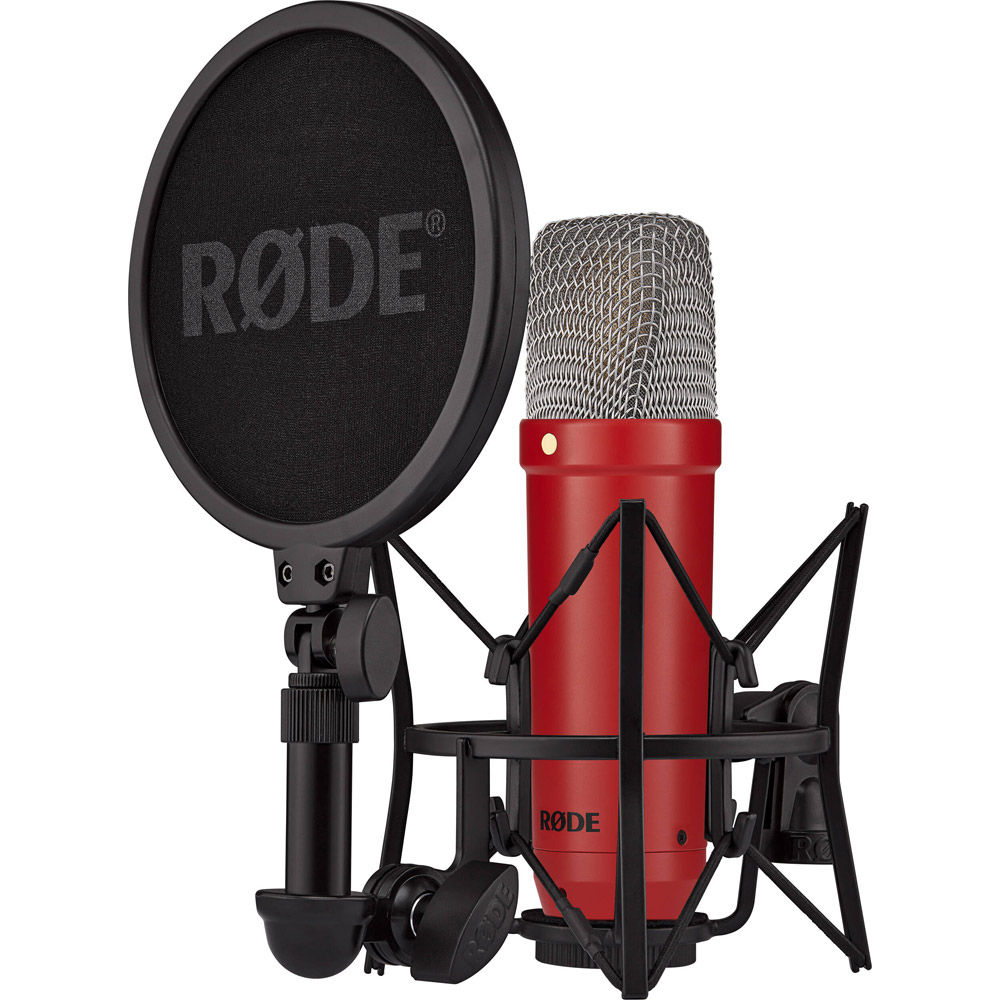
Not all microphones are created equal, and choosing the right type can make a world of difference in your recordings. Dynamic microphones are known for their durability and ability to handle high sound pressure levels, making them ideal for loud sources like drums and guitar amps. Condenser microphones, on the other hand, are more sensitive and offer a broader frequency response, which captures more detail and nuance, perfect for vocals and acoustic instruments. Ribbon microphones, with their figure-eight pattern, offer a warm, vintage sound that’s great for capturing ambiance and room sounds.
Matching Mic to Source
The key to professional-quality recordings is matching the microphone to the audio source. A large-diaphragm condenser mic is often the go-to for vocal recordings due to its detailed and nuanced sound capture. For a bright, aggressive guitar amp, a dynamic microphone placed close to the speaker can handle the volume and emphasize the grit. When recording a choir or ensemble, a pair of matched small-diaphragm condenser mics can capture a stereo image of the group, preserving the balance and blend of sounds. Consider the source’s volume, tonal characteristics, and the desired sound to choose the most suitable microphone.
Managing Room Acoustics
Treating Your Space
The acoustics of your recording space can significantly affect the sound quality. Hard surfaces create reflections and can add unwanted reverb or echo to your recordings. To counteract this, treat your room with acoustic panels or diffusers to absorb or scatter the sound waves. Even in a home studio setting, simple adjustments like hanging heavy curtains, placing rugs on hard floors, or using foam panels can improve room acoustics.
The Importance of Isolation
Isolating the sound source can also improve recording quality by reducing background noise and room reflections. Use reflection filters behind microphones to minimize the pickup of echoes. For vocals, a fully enclosed isolation booth can provide a dry, clean signal that can be processed and mixed with precision. Similarly, placing amps in isolation cabinets or using drum shields can help achieve clear, isolated tracks that are easier to mix.
Mastering Microphone Patterns
Polar Pattern Selection
Microphones come with various polar patterns, which determine how they pick up sound from different directions. Cardioid patterns are great for isolating sound sources and minimizing background noise since they primarily pick up sound from the front. Omnidirectional microphones capture sound from all directions and can be useful for capturing ambient sounds or recording multiple sources in a room. Figure-eight or bidirectional microphones pick up sound from the front and back but reject sounds from the sides, ideal for duet vocals or mic’ing instruments in stereo.
Leveraging Patterns for Creativity
Understanding and leveraging microphone patterns can open up creative possibilities in your recordings. For example, using a figure-eight ribbon microphone to record a guitar amp in front and reflections from the room’s rear can add natural reverb to your track. Or, placing omnidirectional mics in the center of a drum kit can capture a more holistic and immersive sound. Experiment with different patterns and placements to find unique sounds and textures that enhance your recordings.
Fine-Tuning with Advanced Techniques
Utilizing Multiple Microphones
Advanced recording often involves using multiple microphones to capture various sound elements. In a technique known as microphone blending, engineers use a combination of microphones at varying distances and positions to create a more complex and rich sound. For example, blending the sound from a close-miked snare with a room microphone can add both punch and space to the drum sound in a mix. Learning how to blend microphones requires practice and a good ear for phase issues, but it’s a powerful skill that can elevate any recording.
Dynamic Control in Recording
Achieving a smooth and consistent performance is paramount in a professional recording. To manage dynamics and avoid clipping, consider using a compressor during recording. Compression can tame peaks and balance the overall performance, making the recording process more forgiving and the post-production process more manageable. However, use compression sparingly in the recording phase, as over-compression can squash the natural dynamics of a performance and can’t be undone later.
The Final Touch: Mixing and Post-Production
Balancing and EQ-ing
After you’ve laid down the tracks with proper microphone techniques, the next step is mixing. Balancing levels and applying equalization (EQ) is critical in ensuring each track sits well in the mix. EQ helps in carving out space for each instrument or vocal by cutting or boosting frequencies that either clash with other tracks or need emphasis. Understanding how to utilize EQ effectively is an essential skill for creating polished and professional-sounding recordings.
Adding Effects and Processing
Reverb, delay, and other effects are tools that can add depth, space, and character to your recordings. However, it’s essential to use them purposefully. Reverb can simulate different room sounds, delay can create echoes that add rhythm or depth, and modulation effects like chorus or flanger can thicken or add movement to sounds. When it comes to effects, less is often more; use them to enhance, not overpower the natural qualities of the recording.
Recording like a pro isn’t just about the equipment you use; it’s about understanding and harnessing the principles of sound and capturing performances in the best light. With these mic techniques and recording approaches, you can step confidently into the world of professional audio production, creating recordings that resonate with clarity, depth, and intention.