Achieving excellent sound quality from a handheld microphone can elevate your recordings and performances, whether you’re a musician, podcaster, or presenter. The right techniques, equipment, and settings can significantly enhance your audio experience. This article provides comprehensive tips and guidelines on how to get the best sound quality from your handheld microphone, ensuring that your voice is clear, dynamic, and engaging.
Choosing the Right Microphone
Types of Handheld Microphones
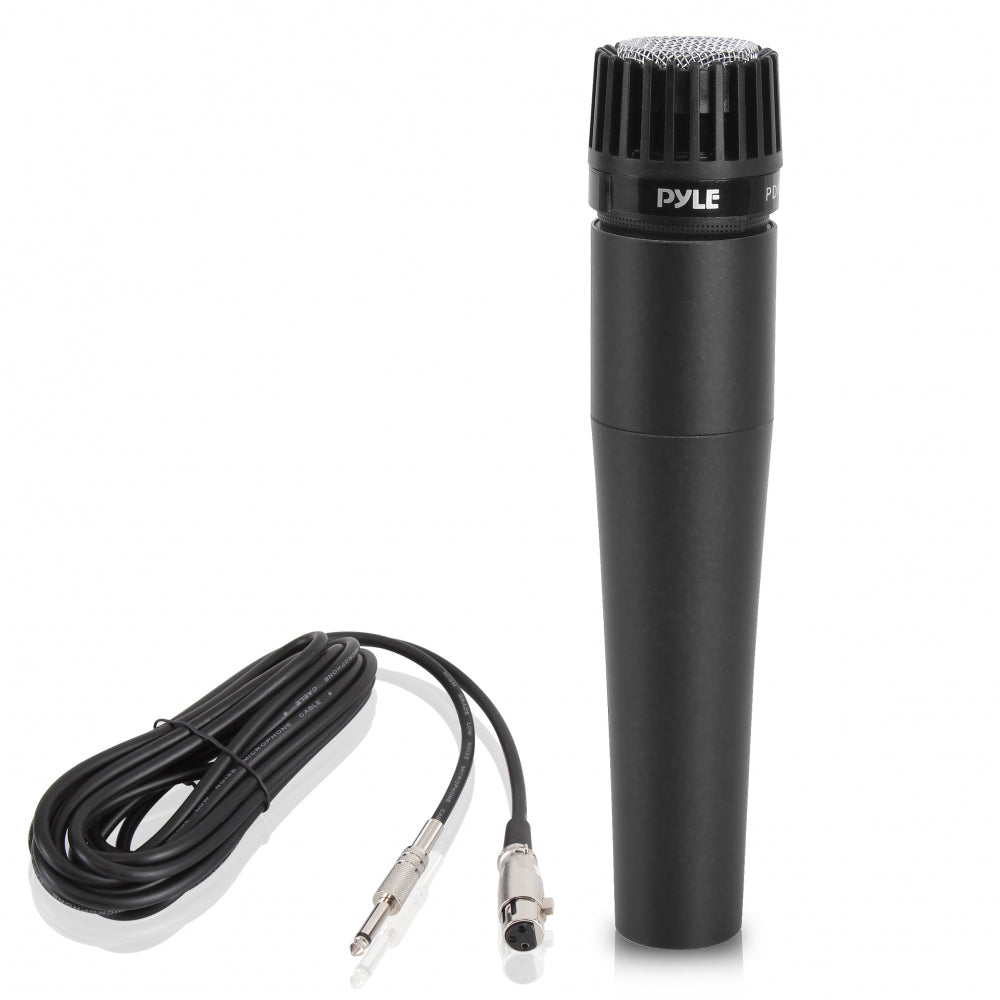
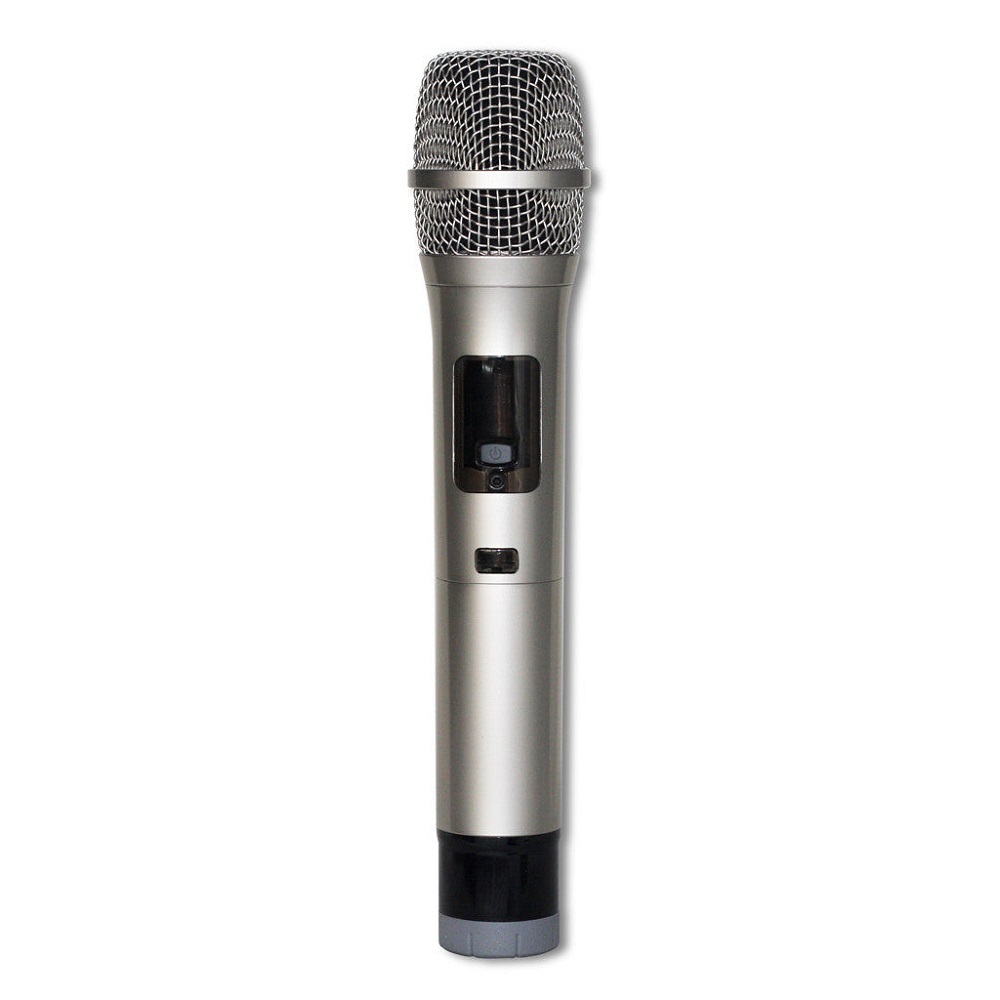
The first step in achieving great sound quality is selecting the appropriate handheld microphone for your needs. Generally, handheld microphones fall into two categories: dynamic and condenser. Dynamic microphones are typically more rugged and suited for live performances, as they handle high sound pressure levels well. On the other hand, condenser microphones are more sensitive and better suited for studio recordings where sound quality is paramount. Understanding how and where you plan to use the microphone will guide you in making the right choice.
Brand and Model Considerations
When selecting a handheld microphone, consider reputable brands known for producing high-quality audio equipment. Well-regarded models like the Shure SM58 or the Sennheiser e835 are excellent choices that have stood the test of time. These microphones not only offer superior sound quality but also durability and reliability, essential for both live performances and recordings. Reviewing user feedback and professional recommendations can help you narrow down your options.
Proper Handling Techniques
Grip and Posture
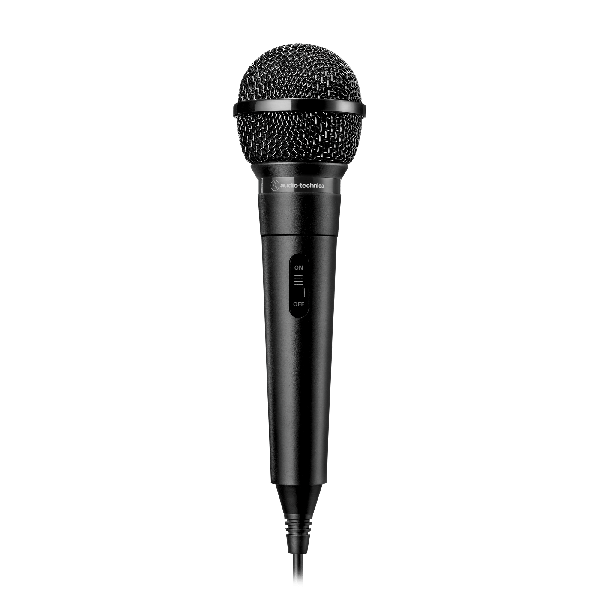
How you hold your handheld microphone can significantly impact sound quality. Maintain a firm but relaxed grip, and avoid covering the microphone’s head with your hand. Ideally, you should hold it about 1-2 inches from your mouth. This distance allows for a natural vocal projection while minimizing background noise. Ensure your posture is upright; slouching can affect your vocal projection and result in muffled sound.
Angle and Distance
Angle the microphone slightly toward your mouth while keeping it at the right distance. Aiming the mic directly at your mouth helps pick up your voice more effectively. If you rush or turn away while speaking or singing, this will lead to fluctuations in sound quality. Experiment with angles to find the most flattering position for your voice. If you’re using the microphone for interviews, consider alternating between capturing the interviewee and allowing for a more dynamic audio input.
Environmental Considerations
Selecting the Right Location
The environment plays a crucial role in sound quality. Choose a quiet location that minimizes background interference. Avoid areas with hard surfaces that can cause echoes or reflections. Ideally, use a room with soft furnishings, carpets, and curtains to absorb sound. This can significantly enhance audio clarity and richness, reducing unwanted echoes and reverberation that might muddy the sound.
Managing Background Noise
While it’s impossible to eliminate background noise completely, you can take steps to minimize it. Turn off any noisy appliances and close windows to reduce outside noise. Monitoring sound levels during setup will also help identify any problematic elements in your environment. If you’re in a loud setting, consider using windshields or pop filters to improve sound quality. These tools help to soften or eliminate wind noise and plosive sounds that may detract from your audio.
Using the Right Settings
Gain and Levels
Adjusting gain levels is critical for capturing clear audio. Set the input gain of your microphone or audio interface to an appropriate level before recording or performing. Too low of a gain can produce noise or distortion, while too high can cause clipping or other unwanted artifacts. Test different levels by speaking or singing into the microphone at your normal volume, observing the recording levels as you do so. This approach will ensure that you capture the most dynamic range without introducing noise.
Equalization and Effects
Fine-tuning the equalization settings can greatly enhance the quality of your sound. Most digital audio workstations (DAWs) or mixing consoles allow you to adjust various frequency ranges, enabling you to emphasize or de-emphasize specific elements of your voice. For example, boosting mid-range frequencies can add warmth to spoken word recordings, while enhancing highs can bring clarity to singing vocals. Also, consider using effects sparingly, such as reverb, to add dimension to your sound without overwhelming it.
Microphone Placement Techniques
Distance from Sound Source
The distance between your microphone and the sound source significantly affects the audio quality. Maintaining the recommended distance (about 1-2 inches) helps to achieve a balanced sound. Moving the microphone too far away can result in a loss of clarity, whereas getting too close can cause distortion. Experiment with microphone placement during practice sessions to determine what sounds best for your particular voice and the type of performance.
Utilizing Multiple Microphones
If your setup allows for it, consider using more than one microphone to capture audio from different angles or sources. In live performances, using a handheld mic for vocals alongside another for instruments can create a richer overall sound. In recordings, you can strategically place microphones to capture ambiance or room tone, providing a fuller audio experience. Mixing different sources can create an engaging sound profile that adds depth to your recordings.
Maintenance and Care
Regular Inspection
Taking care of your handheld microphone can significantly influence its longevity and performance. Regularly inspect your microphone for any signs of wear or damage, like frayed cables or worn-out grills. Keeping the mic clean will also enhance sound quality, as debris or dirt can affect audio capture. Unscrew the microphone grill and gently clean it with a soft brush or cloth to prevent buildup. Maintaining your microphone ensures optimal performance and prolongs its lifespan.
Storing Your Equipment
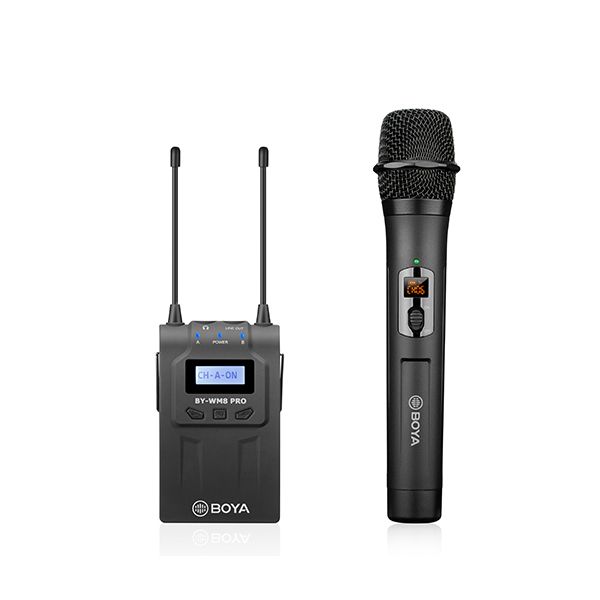
When not in use, store your microphone in a protective case or cover it to safeguard it from dust, moisture, and accidents. Avoid storing it in extreme temperatures or high-humidity areas, as these conditions can lead to damage over time. Proper storage will help maintain sound quality and prevent unnecessary repairs, ensuring that your microphone is always ready to perform.
Testing and Adjustments
Run Tests Before Important Events
Conducting sound checks is essential before any recording session or performance. Make sure to test your setup multiple times to ensure everything works as expected. Use a recording device to capture short clips while testing different settings and placements. Listening back to these tests allows you to make necessary adjustments to gain levels, positioning, or environmental factors.
Adjusting During Performance
When performing live or recording, remain flexible and attentive to sound quality. Be prepared to adjust microphone placement or gain levels on the fly based on audience interaction or changing acoustics in the room. If you notice feedback or other sound issues, address them quickly to maintain a smooth experience. Being adaptable ensures you can always provide great sound quality, no matter the circumstances.
Achieving Crystal-Clear Sound
Getting the best sound quality from your handheld microphone requires a combination of the right equipment, proper techniques, and thoughtful adjustments. Start by choosing the microphone that fits your needs and mastering the handling techniques essential for optimal performance. Pay attention to your environment and utilize the right settings to capture clear audio.
By following these tips and being mindful of maintenance and testing, you can significantly improve your sound quality, making every recording and performance memorable. Whether you’re sharing your voice with the world through music, podcasts, or presentations, achieving crystal-clear sound will enhance your impact and leave a lasting impression. Embrace these practices, and watch as your audio quality transforms into something exceptional!
