When it comes to video production, whether for vlogs, interviews, or professional films, clear audio is just as important as high-quality visuals. One of the best tools for achieving great sound is a lavalier microphone, or lav mic. Known for their compact design and discreet attachment options, lav mics can capture crisp, clear audio without the bulk of traditional microphones. However, effectively using a lav mic requires some techniques and best practices. In this article, we’ll explore essential tips for getting the best audio from your lav microphone.
Choosing the Right Lav Microphone
Understand Your Needs
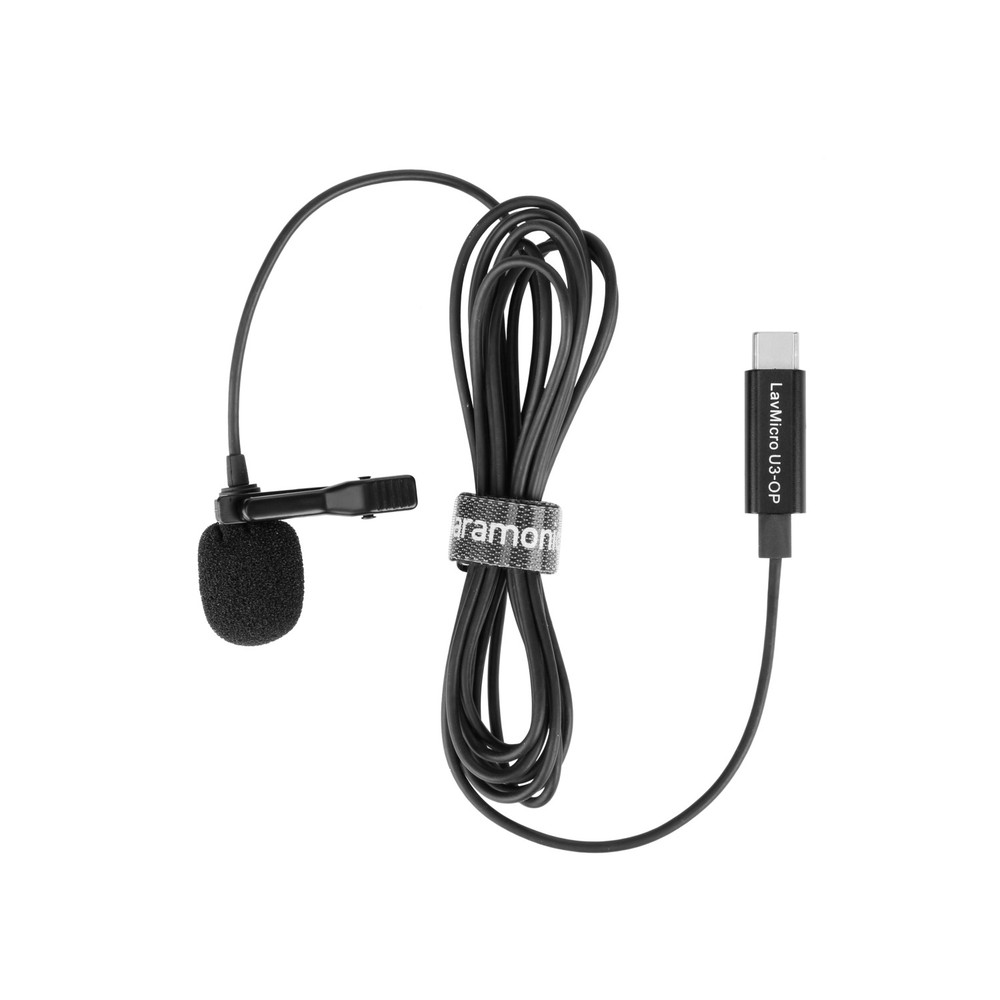
Before you even attach your lav mic, it’s essential to select the right one for your specific needs. Different types of lav mics cater to varying situations, whether you’re capturing dialogue for a film, conducting interviews, or recording ambient sounds. Consider factors such as directional sensitivity, frequency response, and build quality. A unidirectional lav mic can effectively isolate the speaker’s voice while minimizing background noise, making it ideal for talk-heavy content like interviews or presentations.
Budget Considerations
While it’s tempting to go for the least expensive option, investing a bit more can yield significantly better audio quality. Affordable lav mics may seem appealing but often lack durability or sound fidelity. Brands like Sennheiser, Rode, and Audio-Technica offer reliable models that are worth the investment. Ultimately, the right lav mic should match your budget while still delivering the sound quality you need.
Proper Placement of the Lav Mic
Optimal Positioning
The placement of a lav mic can have a dramatic effect on audio clarity. Ideally, position the microphone around six to eight inches away from the speaker’s mouth. This distance strikes a balance between capturing a strong audio signal while minimizing unwanted sounds. For most situations, placing the mic at the center of the chest area, near the collarbone, works well.
Avoiding Clothing Rustle
Ensure proper placement by avoiding contact with clothing that may rustle during movement. Clothing noise can overshadow dialogue and distract your audience. To mitigate this, secure the mic to a stable part of the clothing using a clip or adhesive. Additionally, consider using a sound-dampening accessory like a windscreen, particularly if you’re recording in an outdoor environment. This accessory can reduce wind noise and minimize any unwanted sounds from clothing friction.
Managing Background Noise
Selecting the Right Environment
When recording audio, the environment impacts sound quality significantly. Always opt for a quiet space, where background noise is minimal. If you’re in a public area, be aware of external factors like traffic or conversations that could disrupt your audio. If you have the flexibility, scout locations ahead of time to determine the best spot for clear sound.
Using Directionality to Your Advantage
Take advantage of the microphone’s directional characteristics. Many lav mics come with options for omnidirectional or unidirectional pickup. If you choose a unidirectional mic, ensure it’s pointed toward the speaker’s mouth to best capture their voice while reducing background noise. If people will be moving around during your recording, an omnidirectional mic can pick up all the surrounding sounds more naturally but may require more careful monitoring of the environment.
Performing Audio Checks
Conducting Test Audios
Never skip the audio check before your main recording. Conduct a test run to ensure the mic picks up sound as expected. During this test, speak normally and listen for clarity, volume, and unwanted background noise. Check the audio levels on your recording device to make sure they are not peaking or too low. Adjustments might be necessary to find the ideal sound level.
Monitoring in Real-Time
If possible, utilize headphones during your recording to monitor audio in real-time. This technique allows you to catch any issues immediately, such as background noise or fluctuations in volume. If you notice anything off during the recording, you can address the problem right away instead of discovering it only during post-production.
Cable Management
Avoiding Cable Noise
Cable noise is an often-overlooked aspect when using lav mics. If the microphone is wired, ensure that the cable doesn’t rub against clothing or other surfaces that could generate unwanted sounds. Use clip-on cable organizers to manage the mic cable effectively, preventing any movement that could lead to audio disturbances.
Using Wireless Options
If you want to eliminate the concern of cable noise altogether, consider using a wireless lav mic system. Wireless mics offer freedom of movement and help avoid cable mishaps during recordings. While they may come at a higher cost, many find that the advantages of mobility and reduced noise make them worth the investment. Keep in mind, however, that battery life and range are crucial considerations with wireless systems; always check these specs before your shoot.
Maintaining Your Lav Microphone
Regular Cleaning and Inspection
To ensure consistent audio quality, regular maintenance of your lav mic is essential. Dust, debris, and moisture can all compromise sound quality. After each use, gently wipe the microphone and its connectors with a soft, dry cloth. Avoid getting moisture on the mic; using a windscreen can protect it from excessive humidity or sweat during recordings.
Proper Storage Practices
When not in use, store your lav mic in a protective case to prevent damage. Ensure that the storage location is dry and clean, away from dust and extreme temperatures. By taking the time to care for your equipment, you prolong its lifespan and maintain clarity in your recordings.
Leveraging Software for Better Audio
Using Editing Software
After recording, audio editing software can enhance sound quality and resolve any issues you encounter. Software like Adobe Audition, Audacity, or GarageBand offers tools to clean up background noise, adjust levels, and improve overall clarity. Familiarizing yourself with these tools can make a marked difference in your final product.
Post-Production Techniques
Post-production techniques like compression and equalization can significantly enhance audio quality. Compression evens out the volume levels, making soft sounds louder and loud sounds softer. Equalization allows you to tailor the sound frequency, enhancing vocal clarity. These techniques help create professional-sounding audio that meets the standards of your audience, ensuring you achieve the best results possible.
Building Confidence with Practice
Getting Comfortable with Your Equipment
One of the most important aspects of using a lav microphone effectively is building confidence through practice. Familiarizing yourself with your equipment can greatly enhance your performance and the overall quality of your recordings. Spend time experimenting with different placements, settings, and environments. Each setup can produce varied results, and understanding how your microphone responds in different situations will make you a more adaptable and skilled user.
Developing Your Voice
Beyond just the technical aspects, practice also includes refining your voice and delivery. The way you speak—your tone, pace, and clarity—can significantly impact how well your message is received. Spend time rehearsing your script or speaking points while using the lav mic, paying attention to your enunciation and volume. Record these practice sessions to evaluate your performance and make adjustments as needed. The more comfortable you are while speaking into the mic, the more natural and engaging your audio will be. Ultimately, combining technical skills with effective communication will lead to clear and engaging recordings that resonate with your audience.
Conclusion
Utilizing a lav microphone effectively can elevate your audio quality, impacting the overall production value of your videos. From selecting the right mic to managing placement and background noise, every detail counts in capturing clear sound. Regular maintenance and using editing software can further enhance your audio. By following these tips and integrating best practices into your workflow, you can create polished audio that beautifully complements your visuals, capturing the attention and admiration of your audience. Whether you’re a seasoned professional or just starting, mastering the art of lav mic usage will undoubtedly enhance your creative projects.