Learning how to hook a bowling ball is a game-changer for any bowler. It opens up new strategies and improves pin carry. Instead of rolling straight down the lane, a hooked ball enters the pocket at an angle. This increases strike potential significantly.
A proper hook uses spin and timing. The ball starts wide and curves toward the pins. This motion requires coordination between grip, release, and footwork. Many beginners struggle at first. But with practice, it becomes natural.
The key lies in hand position and rotation. You must release the ball with your fingers rotating outward. This creates side spin. Combined with forward momentum, it generates the curve.
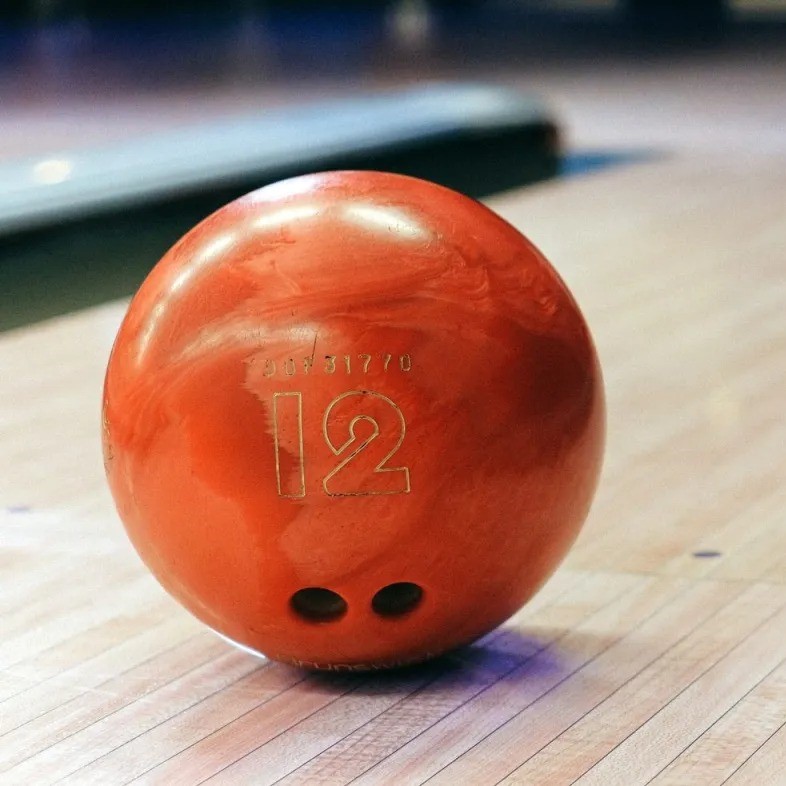
Choosing the right ball also matters. Not all bowling balls are designed for hooking. Reactive resin or particle coverstocks grab the lane better. They respond well to oil patterns. Plastic balls usually roll straight. They won’t hook no matter your technique.
Lane conditions play a big role too. Oil length and volume affect how early or late the ball hooks. Dry lanes cause earlier hooks. Heavily oiled lanes delay the turn. Learning to read these conditions improves control.
In short, knowing how to hook a bowling ball separates casual players from serious ones. It adds precision and power. Once mastered, you’ll see higher scores and more consistent results. Let’s break down every step so you can start today.
 Understanding the Physics Behind the Hook
Friction and Lane Interaction
To truly grasp how to hook a bowling ball, you must understand friction. The ball moves through three phases on the lane. First comes the skid phase. The ball slides over the oily front part. Minimal friction allows it to travel fast.
Next is the hook phase. As the ball reaches drier parts of the lane, friction increases. The coverstock grabs the surface. This causes the ball to change direction. The amount of hook depends on coverstock texture and oil breakdown.
Finally, the roll phase begins. The ball stops turning and rolls straight into the pins. This final stage should happen just before impact. Proper timing ensures maximum energy transfer.
You can influence this process. By adjusting your speed or rev rate, you control when the hook occurs. Faster shots may skid longer. Slower ones engage earlier. Each choice affects ball path.
Coverstock finish also plays a role. Sanded surfaces create more friction. Polished ones reduce it. Players often modify their ball’s surface for different conditions.
Understanding these interactions helps you adapt. You learn why a shot hooked too soon or not enough. With knowledge, you adjust smarter and faster.
Axis Rotation and Rev Rate
Two major factors shape your hook: axis rotation and rev rate. Axis rotation refers to how much your hand turns during release. More side turn means greater hook potential. Less turn leads to straighter paths.
Rev rate is the number of revolutions per minute. Higher revs increase spin and backend reaction. Low revs produce smoother arcs. Your physical strength and wrist action affect this.
Beginners often lack rev rate. They use mostly arm swing. Their release lacks finger lift. To improve, focus on fingertip grip and follow-through. Lift your hand upward as you let go.
Some bowlers naturally generate high revs. They rotate their forearm aggressively. Others rely on smooth, controlled releases. Both styles work. Choose what fits your comfort level.
Your thumb exits first. Then your fingers apply lift and spin. The middle and ring fingers guide the turn. Practice this motion slowly. Build muscle memory before adding speed.
Track drills help too. Place tape on the ball. Watch where it spins after release. Adjust hand position based on the pattern. Small changes make big differences.
Mastering these elements is essential when learning how to hook a bowling ball. They define your style and success.
Grip and Hand Position Essentials
Choosing the Right Fit
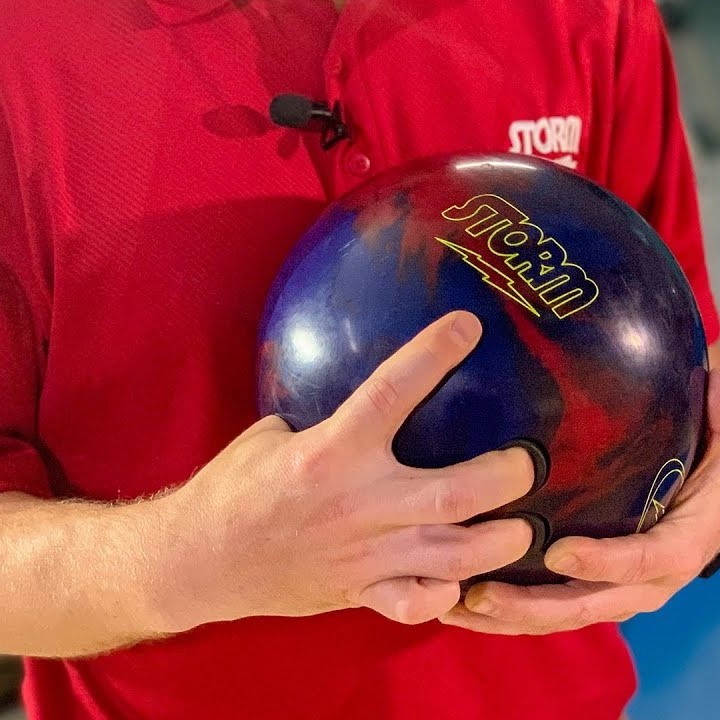
Before you even think about releasing, your grip must be correct. Use a fingertip grip, not a conventional one. In fingertip grip, only the tips of your middle and ring fingers go deep. The thumb goes in fully. This setup allows backward and sideways rotation.
Make sure your holes fit perfectly. Too tight, and your hand can’t move freely. Too loose, and you lose control. Your pro shop can drill custom holes. Always get fitted by a professional.
Use inserts if needed. These adjust hole size without remaking the ball. They’re great for swelling hands or seasonal changes.
Practice holding the ball correctly. Rest it in your palm at first. Then insert your fingers smoothly. Close your hand gently. Avoid squeezing too hard. Tension kills fluid motion.
Keep your wrist firm but relaxed. No floppy wrists. No locked joints. Find a neutral position. This supports clean release.
A good grip sets the foundation. Without it, nothing else works. Focus here before moving forward.
Proper Finger Placement and Release Angle
Finger placement determines spin direction. Your middle and ring fingers should sit straight in the holes. They exit last during release. This gives them control over rotation.
As you approach the foul line, begin lifting your hand. Start the motion early. Rotate your hand from behind the ball to the side. Think of turning a doorknob.
At release, your palm faces left (for right-handers). This creates inside-to-outside motion. The ball will curve from right to left. Left-handers mirror the movement.
Time your release with your step. It should happen just before your slide step ends. Syncing footwork and hand motion ensures consistency.
Don’t drop your shoulder. Keep it level. Leaning too far affects balance and aim. Stay upright and focused.
Use slow-motion video to check form. Film yourself from behind. Look at hand position at release. Compare it to pros.
Small adjustments improve results. Maybe your fingers pull too early. Or your thumb sticks. Diagnose and fix each issue.
Perfecting hand action is central to how to hook a bowling ball. It takes time. But each session brings progress.
 Stance and Approach Fundamentals
Building a Consistent Starting Position
Your stance shapes your entire throw. Stand with feet shoulder-width apart. Hold the ball close to your body. Let it hang naturally from your dominant hand.
Position your non-dominant foot slightly forward. For right-handers, the left foot leads. This aligns your shoulders with the target.
Look down the lane. Pick a target arrow or dot. This guides your swing path. Avoid staring at the pins. Aim further up the lane.
Keep your head still. Movement disrupts balance. Breathe steadily. Stay calm and focused.
Your posture should feel athletic. Knees slightly bent. Back straight. Chest up. Ready to move forward with control.
Practice standing still with the ball. Get comfortable. Feel the weight distribution. Make small corrections until it feels balanced.
A strong stance builds confidence. It prepares you for a smooth approach. Never rush this step.
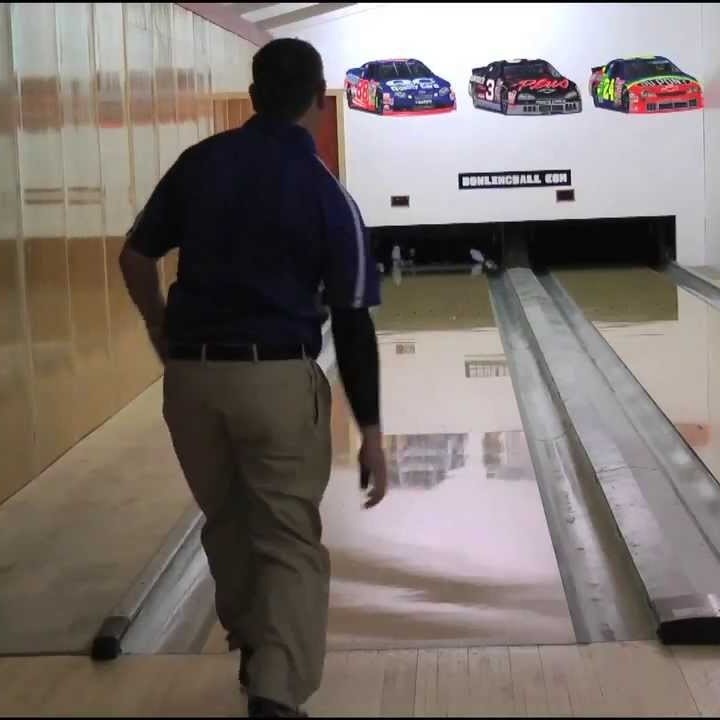
Executing the Four-Step Approach
Most bowlers use a four-step approach. Step one starts with your sliding foot. For right-handers, it’s the right foot. Push off gently.
Step two brings the ball back. Begin the pendulum swing. Let gravity guide it. Do not force the motion.
Step three continues forward. The ball reaches its highest point behind you. Your arm stays straight. Elbow locked.
Step four is the slide. Your sliding foot glides toward the foul line. At the same time, you release the ball. Timing is critical.
Your steps should feel rhythmic. Like walking. Speed remains steady. No sudden bursts.
Count in your head if needed. “One, two, three, slide.” Match steps to breath. This builds consistency.
Practice without the ball first. Then add light throws. Focus on rhythm over power.
A reliable approach supports your hook. It keeps everything in sync. Learn it well.
 Drills to Improve Your Hook Technique
Target Line and Spot Training
Accuracy grows with repetition. Set up targets using arrows or dots on the lane. Aim your hook to pass over a specific spot. This trains precision.
Start by aiming at the second arrow from the right. Roll five balls trying to hit that line. Adjust based on results.
Use tape on the lane if allowed. Mark your starting position. Keep your feet aligned the same way each time.
Bowling coaches often recommend spare shooting first. Knock down single pins using straight shots. This builds focus and control.
Then switch to hook drills. Try hitting the pocket consistently. Watch how the ball reacts. Learn from misses.
Record your sessions. Note which shots worked. Track changes in oil patterns. Knowledge sharpens skill.
Repetition builds trust in your form. You stop guessing. You know what to expect.
Confidence follows consistency. That’s the goal.
Mirror and Slow-Motion Practice
Practice at home using a mirror. Stand in front of it. Go through your approach motions slowly. Watch hand position and wrist angle.
Focus on the release. Does your palm face left? Are your fingers rotating correctly? Fix flaws early.
Use slow-motion video on your phone. Record from behind and side angles. Compare your form to expert bowlers.
Pause at key points. Check your stance. Analyze your swing. Look at foot placement.
Ask a friend to film you at the alley. Real conditions show real results. Indoor lighting and lane marks matter.
Watch the ball path. Did it hook too early? Too late? Adjust your speed or hand position.
Drills build muscle memory. You don’t have to think mid-game. Your body knows what to do.
These exercises are vital when learning how to hook a bowling ball. They speed up progress.
 Frequently Asked Questions About Hooking a Bowling Ball
Can beginners learn how to hook a bowling ball?
Yes, absolutely. Beginners can start learning early. However, focus on fundamentals first. Master stance, grip, and approach before adding spin.
Use a lightweight ball. Start with 10–12 pounds. This reduces strain. Allows better control.
Take lessons if possible. Certified coaches offer personalized feedback. They correct mistakes quickly.
Be patient. Progress takes time. Celebrate small wins. Every clean release counts.
Do I need a special ball to hook?
Yes, most house balls won’t hook well. They are made of plastic. Use a reactive resin or urethane ball instead.
Visit a pro shop. Get fitted for a ball with drilled holes. Choose one suited to your skill level.
Avoid aggressive balls at first. They hook too much. Opt for moderate coverstocks.
Why does my ball hook too early?
Early hooking often means dry lane conditions. Or too much rev rate. You might be releasing too soon.
Check your speed. Slow balls grab sooner. Increase pace slightly.
Adjust your starting position. Move left (for right-handers). Open your shoulders. Send the ball wider.
Also, consider ball surface. Rough finishes hook faster. Polish it if needed.
What if my ball doesn’t hook at all?
Lack of hook may mean low rev rate. Focus on hand lift and rotation. Strengthen your follow-through.
Ensure you’re using a fingertip grip. Conventional grips limit spin.
Check the oil pattern. Long oil keeps the ball from gripping. Wait for lane breakdown.
Try a stronger ball. Ask for advice at a pro shop.
 Final Thoughts
Learning how to hook a bowling ball transforms your game. It adds strategy, power, and fun. Strikes become more frequent. Confidence grows with every successful shot.
Success comes from combining grip, stance, swing, and release. Each element supports the next. Master one, then link them together.
Practice regularly. Use drills. Film yourself. Seek feedback. Growth never stops.
Stay patient. Some days feel frustrating. But persistence pays off. Small improvements lead to big results.
Enjoy the journey. Bowling is both sport and art. Your hook tells a story of effort and focus.
Now that you know how to hook a bowling ball, take it to the lanes. Roll with purpose. Aim with pride. And keep improving—one frame at a time.