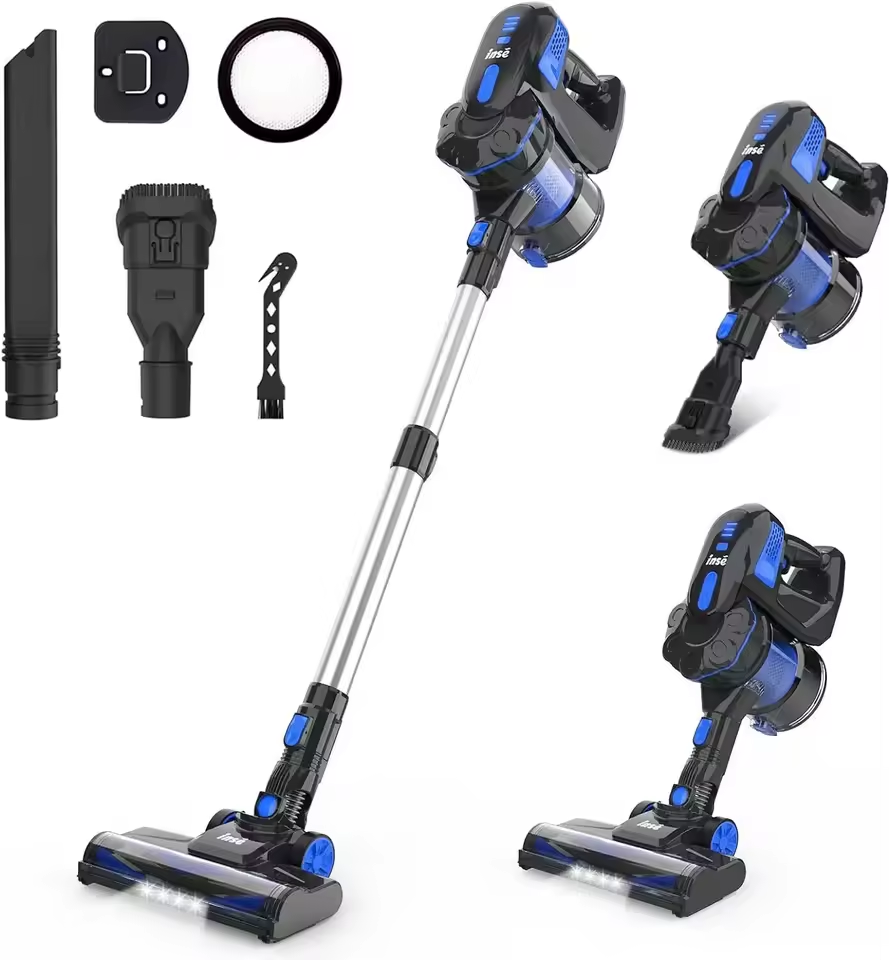
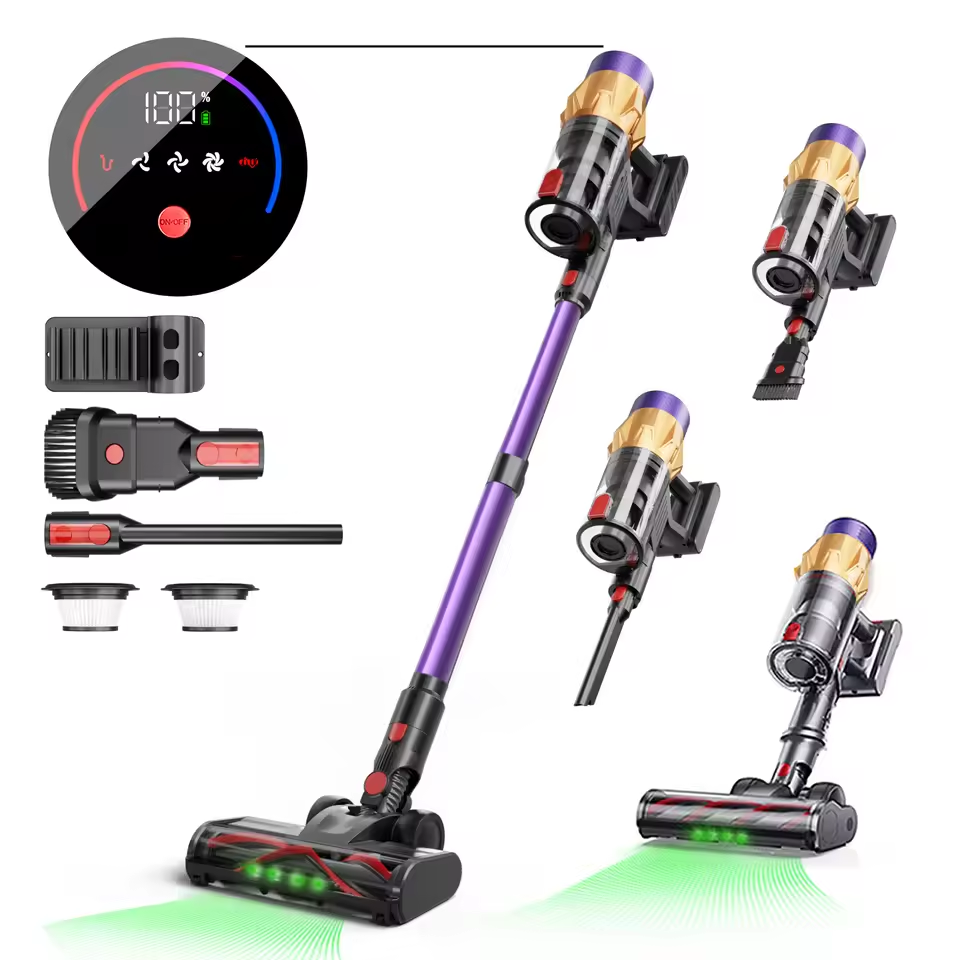
Introduction to Vacuum Cleaner Hose Maintenance
Proper maintenance is crucial for the lifespan and efficiency of your vacuum cleaner hose. Like other parts of your vacuum, the hose can accumulate dust, debris, and even develop clogs that impair its function. Regular cleaning can not only improve suction performance but also prevent damage to the unit. For those wondering how to clean vacuum cleaner hose, it’s a process that requires minimal tools and can easily fit into your routine household chores.
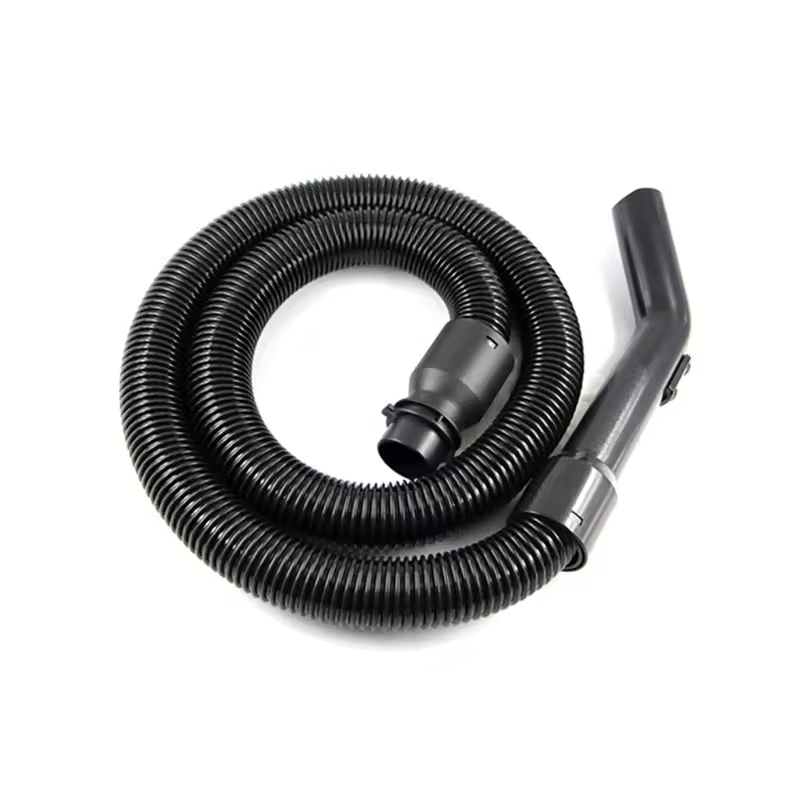
Understanding the basic care for your vacuum hose is essential. This involves recognizing signs of a dirty hose, gathering the right tools, and following a thorough cleaning process. In the sections to follow, we will discuss how to identify when your hose needs cleaning, what tools you will need, and the specific steps to effectively clean your vacuum cleaner hose. By keeping on top of maintenance, you ensure that your vacuum operates at peak condition and you prolong its useful life. Let’s dive into the world of vacuum cleaner hose care and establish a routine that prevents the hassle of clogged and dirty hoses.
Signs Your Vacuum Cleaner Hose Needs Cleaning
To maintain your vacuum cleaner’s performance, it’s vital to know when the hose requires cleaning. Here are the common indicators:
- Loss of Suction: If your vacuum isn’t picking up debris as it should, the hose might be clogged.
- Visible Debris: Can you see dirt or obstructions through the hose? That’s a sign to clean it.
- Unpleasant Odors: Smelling a foul odor when the vacuum is on could mean a dirty hose.
- Strange Noises: Gurgling or whistling sounds often point to blockages in the hose.
- Extended Time in Use: General rule – clean the hose if you haven’t done so in months.
Acknowledging these signs will lead to better maintenance and enhance your vacuum’s lifespan. When you notice any of these issues, it’s time to gather your tools and materials for a cleaning session. Follow through with the subsequent steps to ensure your vacuum cleaner hose returns to optimal condition.
Tools and Materials Needed for Cleaning
Before starting the cleaning process, make sure you have the right tools and materials. Here’s what you’ll need:
- Soft Brush: To loosen debris inside the hose.
- Long Broom Handle or Straightened Wire Hanger: To dislodge clogs that a brush can’t reach.
- Mild Detergent: For washing the hose and removing grime.
- Warm Water: To mix with the detergent for effective cleaning.
- Bucket or Basin: To hold the soapy water or to submerge the hose in.
- Old Towels or Cloth: For drying the hose after washing.
- Soft Cloth: For wiping the outside of the hose.
- Vinegar (optional): A natural disinfectant if you prefer not to use detergent.
Having these items ready will make the cleaning process smoother and more efficient. Keep them within reach to avoid interruptions. With the right tools, you’re set to tackle any dirt, debris, or clogs in your vacuum cleaner hose.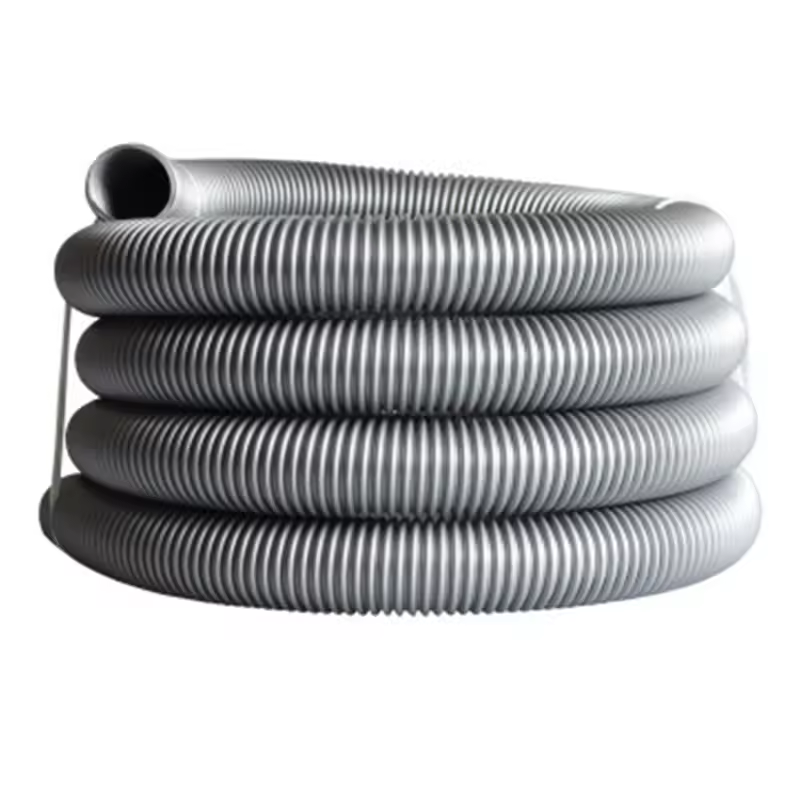
Preliminary Steps Before Cleaning the Hose
Before you dive into the cleaning process, here are some preliminary steps to take:
- Unplug the Vacuum: Safety first. Ensure the vacuum cleaner is off and unplugged.
- Detach the Hose: Remove the hose from the vacuum following the manufacturer’s instructions.
- Empty the Vacuum: Make sure the vacuum’s dustbin or bag is empty to prevent additional messes.
- Inspect the Hose: Check for visible blockages or damage that might affect the cleaning.
- Clear the Area: Set up a space with enough room for the cleaning activities, away from electronics.
These simple yet crucial steps set the stage for a smooth cleaning session and prevent any unintended damage or accidents. Now you’re ready to begin the actual cleaning steps, which will rejuvenate your vacuum cleaner hose.
Step-by-Step Hose Cleaning Process
Following the right steps is key to effectively and safely cleaning your vacuum cleaner hose. Here’s a precise, user-friendly guide to help you through the process:
- Lay Out the Hose: Straighten the hose and lay it flat on a stable surface.
- Apply Soft Brush: Gently brush through the inside of the hose to loosen any debris.
- Check for Clogs: Look through the hose. If you spot clogs, use the broom handle or wire hanger to push them out.
- Prepare Cleaning Solution: Mix warm water with mild detergent in a bucket or basin. For a natural alternative, use vinegar instead.
- Submerge the Hose: Place the hose in the solution, ensuring it’s fully immersed.
- Soak the Hose: Let it sit in the solution for 15-30 minutes to break down grime.
- Rinse Thoroughly: After soaking, rinse the hose with clean water to wash away any residue.
- Shake Out Excess Water: Gently shake the hose to remove excess water from inside.
This simple step-by-step approach will help make sure that you learn how to clean vacuum cleaner hose effectively, preventing future clogs and maintaining the efficiency of your vacuum cleaning sessions.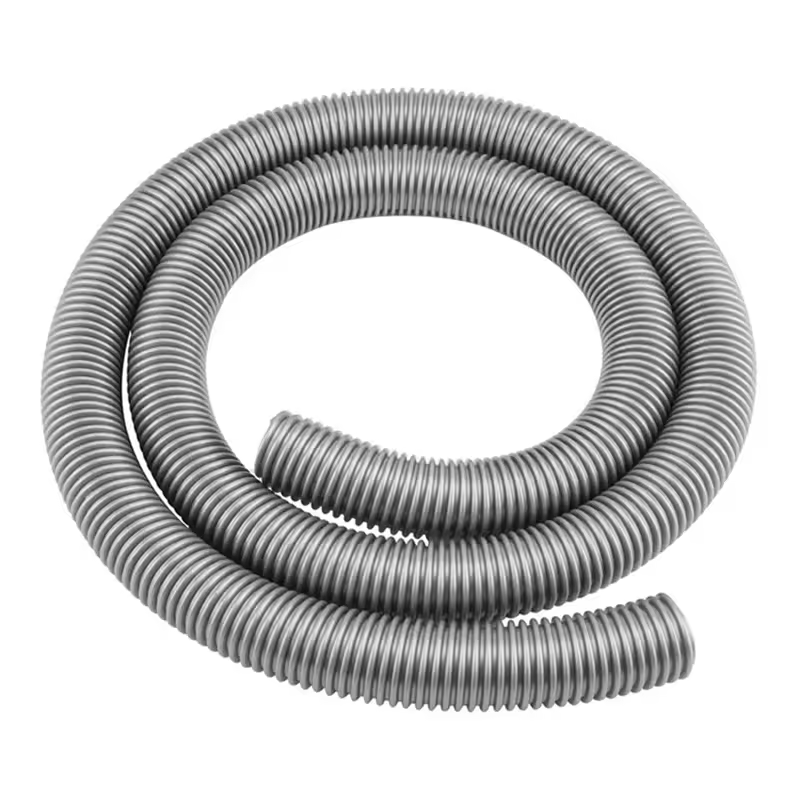
Drying and Reassembling the Hose
Once you’ve rinsed the vacuum cleaner hose thoroughly, the next critical step is drying it. Without proper drying, moisture can lead to mold growth and odors, compromising your cleaning efforts. Here’s how to dry and reassemble the hose for future use:
- Remove Excess Water: Use old towels or a cloth to gently pat the outside of the hose. Shake the hose to expel as much water as possible from the inside.
- Air Dry the Hose: Hang the hose up in a well-ventilated area or outdoors. Ensure both ends are open to the air to speed up the drying process. Avoid direct sunlight as it can damage the hose material.
- Check Hose Dryness: Before reattaching, make sure the inside of the hose is completely dry. Bend it in different sections to remove any trapped water droplets.
- Reattach the Hose: Once the hose is fully dry, reconnect it to your vacuum cleaner. Make sure all connections are secure to prevent air leakage.
Reassembling is just as straightforward as the cleaning process. Often, vacuum cleaners have a locking mechanism or click system for reattaching the hose. Follow your vacuum’s manual for proper reattachment instructions.
By ensuring your vacuum cleaner hose is dry and properly reassembled, you maintain its condition and prevent future issues. Remember to follow these steps each time you learn how to clean vacuum cleaner hose for optimal results.
Preventive Tips to Keep Your Hose Clean Longer
To extend the time between cleanings and improve the lifespan of your vacuum cleaner hose, consider these preventive measures:
- Empty the Dustbin Regularly: Don’t wait for it to fill up. Empty it after each use.
- Check for Obstructions Often: A quick look can catch early clogs before they grow.
- Avoid Sucking Up Large Debris: Pick up large items by hand to prevent blockages.
- Use Hose Covers: Protect your hose from dust and debris with a hose cover.
- Proper Storage: Avoid kinks and bends in the hose by storing it properly.
- Run a Monthly Inspection: Once a month, do a quick checkup for damage or debris.
- Follow Manufacturer’s Instructions: Use the hose as directed to prevent misuse damage.
By following these preventative steps, you ensure a cleaner hose and a more effective vacuum. Remember these tips every time you learn how to clean vacuum cleaner hose, and enjoy a smoothly running appliance for years to come.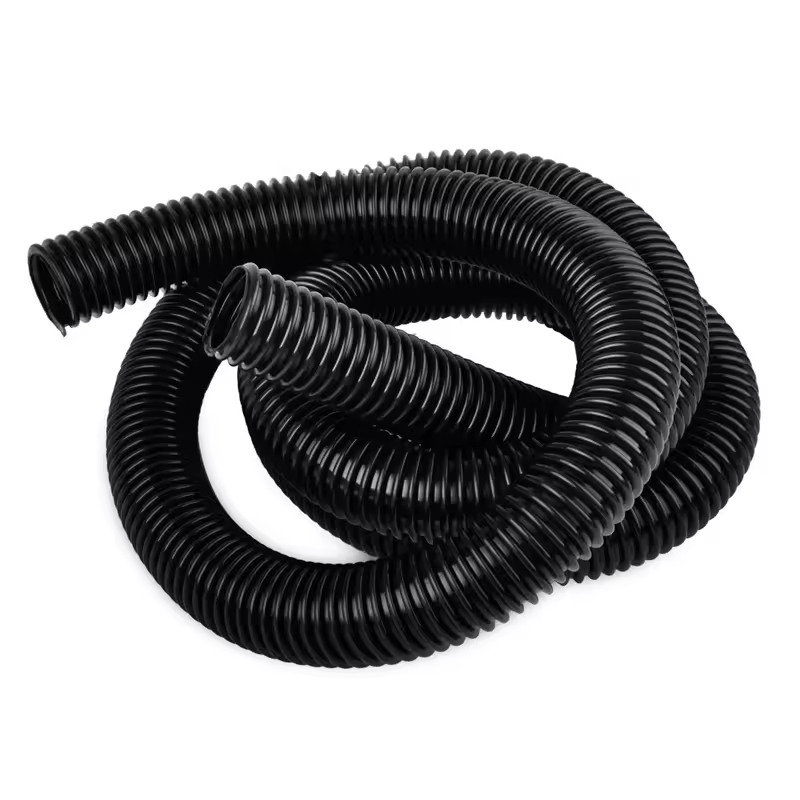
Troubleshooting Common Hose Issues After Cleaning
After cleaning your vacuum cleaner hose, you might face a few issues. Here’s how to tackle them:
- Suction Problems: If suction worsens after cleaning, check for leaks. Ensure connections are tight and there are no splits in the hose.
- Persistent Odors: Odors may linger if the hose didn’t dry properly. Hang the hose out longer, ensuring both ends are open and air can flow freely.
- Odd Noises: Strange sounds can mean a blockage remains. Reinspect the hose for trapped items and remove anything you find.
- Poor Fit: Sometimes after dismantling, hoses may not fit back snugly. Review the manufacturer’s guide and reattach carefully.
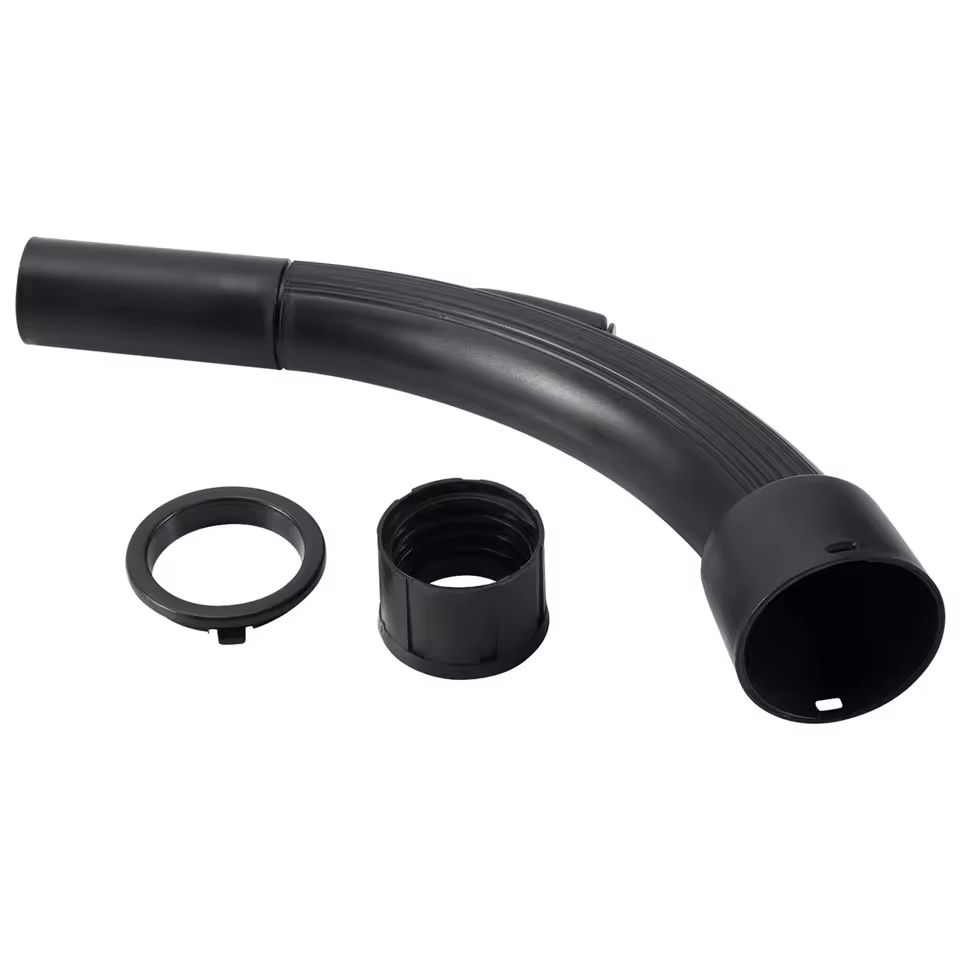
Always test your vacuum cleaner after reassembling to confirm that it is working properly. Addressing these issues promptly keeps your vacuum in top shape.
