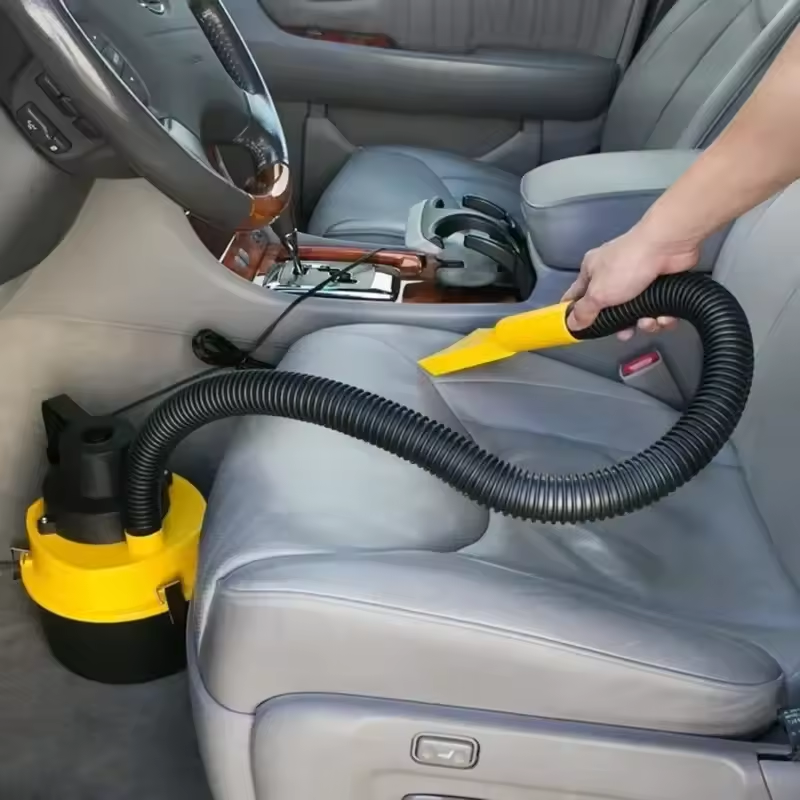
Unplug and Disassemble Your Vacuum Cleaner
Before you begin, unplug your vacuum cleaner to ensure safety. Remove any attachments and set them aside. Carefully take apart the main components, such as the dust container and filter housing. This will expose the parts that need cleaning. Keep screws and small parts in a container so they don’t get lost. If your vacuum has a bag, remove it and dispose of it properly, if it’s disposable. Refer to the user manual for guidance on disassembling your specific model. Taking your time to disassemble properly will make cleaning more thorough and reassembly easier.
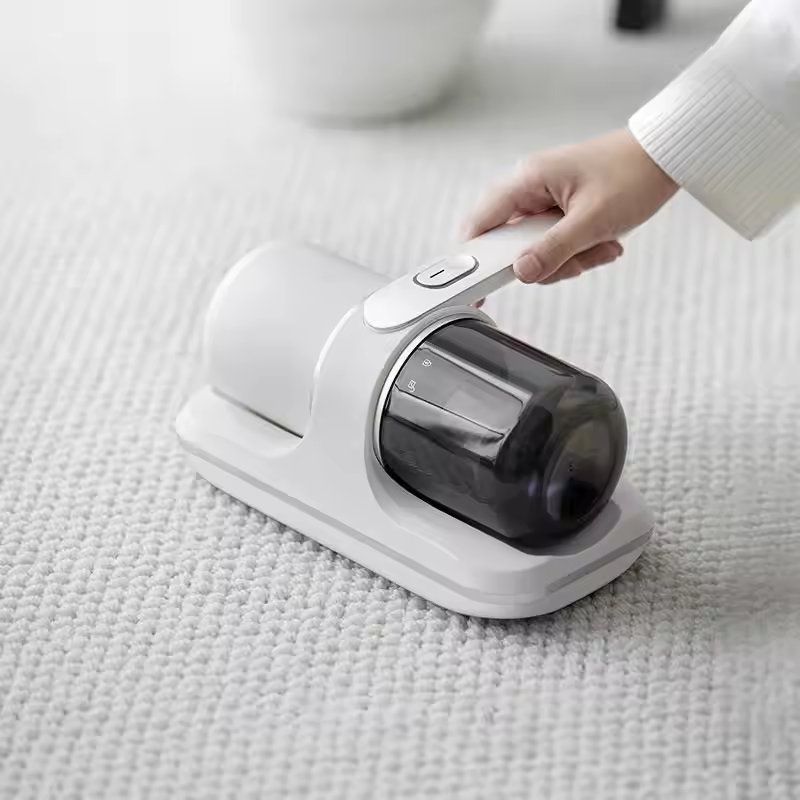
Empty and Clean the Dust Container
Once your vacuum cleaner is disassembled, it’s time to tackle the dust container. Start by carefully emptying the container into a trash bin. Be sure to do this gently to prevent dust from billowing up and making a mess. After emptying, use a dry microfiber cloth to wipe away residual dust from inside the container.
To ensure a deeper clean, wash the container with warm, soapy water. Scrub off any stuck-on debris using a sponge or brush. Rinse thoroughly with clean water and let it air dry completely before reassembly. Never put a wet or damp dust container back into your vacuum cleaner, as this could damage the machine.
If your vacuum uses a dust bag instead, remove the bag and replace it with a new one. It’s essential not to reuse disposable bags, as they lose efficiency after one use. For vacuums with reusable dust bags, shake out the dirt and hand wash them following the manufacturer’s instructions.
Cleaning your dust container regularly will help your vacuum maintain strong suction power. Remember, a clean vacuum is key to keeping your home dust-free. In the quest on how to remove dust from vacuum cleaner, this step is vital.
Clean or Replace the Filter
After you’ve dealt with the dust container, the next step is tackling the filter. Many vacuums have a removable filter. You can find it near the dust container. Over time, filters trap dirt and need cleaning to work well. To clean it, remove the filter and tap it gently over a trash bin. This removes loose dust.
Next, check the filter type. If it’s washable, rinse it under cold water. Don’t use soap or detergents. They can damage the filter material. Ensure the filter is completely dry before putting it back. This usually takes 24 hours. If your filter is not washable, use a soft brush. Gently brush away the dirt from the surface.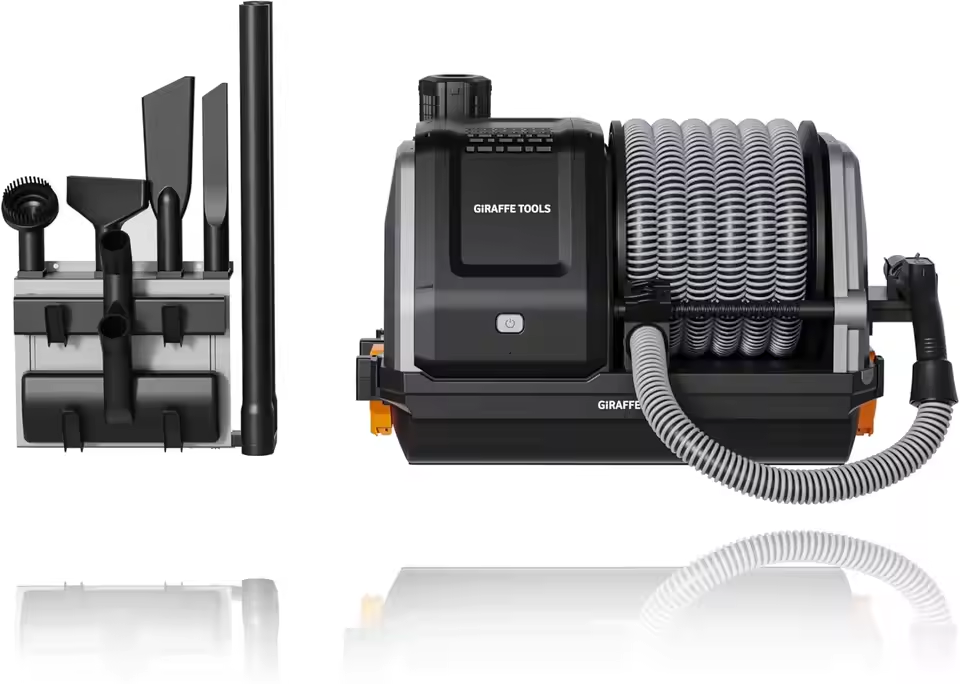
Some filters are disposable. These you must replace and not clean. If your vacuum loses suction or smells odd, it may be time to replace the filter. Always check the manual to find the right type.
A clean filter is crucial for your vacuum to work at its best. It ensures good air flow and strong suction. By regularly cleaning or replacing the filter, you will extend the life of your vacuum. Plus, it helps to remove dust from your home effectively. Remember, knowing how to remove dust from vacuum cleaner includes filter care.
Check and Clear the Brush Roll
After cleaning the filter, the next crucial step in learning how to remove dust from a vacuum cleaner is to inspect the brush roll. The brush roll, also known as a beater bar, is the spinning brush underneath the vacuum that sweeps up dust and debris into the suction path. Hair, strings, and other materials often entangle around this brush, which can impede its movement and reduce the vacuum’s efficiency.
To clean the brush roll, follow these steps:
- Locate the brush roll under your vacuum cleaner. Consult your user’s manual if needed.
- Remove the brush roll by pressing the tabs or screws that hold it in place.
- Cut away any tangled hair or threads with scissors, being careful not to snip the bristles.
- Wipe the brush roll clean with a damp cloth to remove dust and small debris.
- Check the bearings or end caps to ensure they turn freely without resistance. Clear away any buildup of dirt that could be causing stiffness.
- Line up the brush roll and reinsert it back into its slot, making sure it spins freely once it’s back in place.
A clean brush roll allows for uninterrupted airflow and ensures your vacuum cleaner provides the best possible performance. Ignoring tangled brushes can strain your vacuum’s motor and result in costly repairs. Incorporating this check into your regular vacuum maintenance routine will not only help to remove dust from your vacuum cleaner but also maintain your vacuum’s lifespan.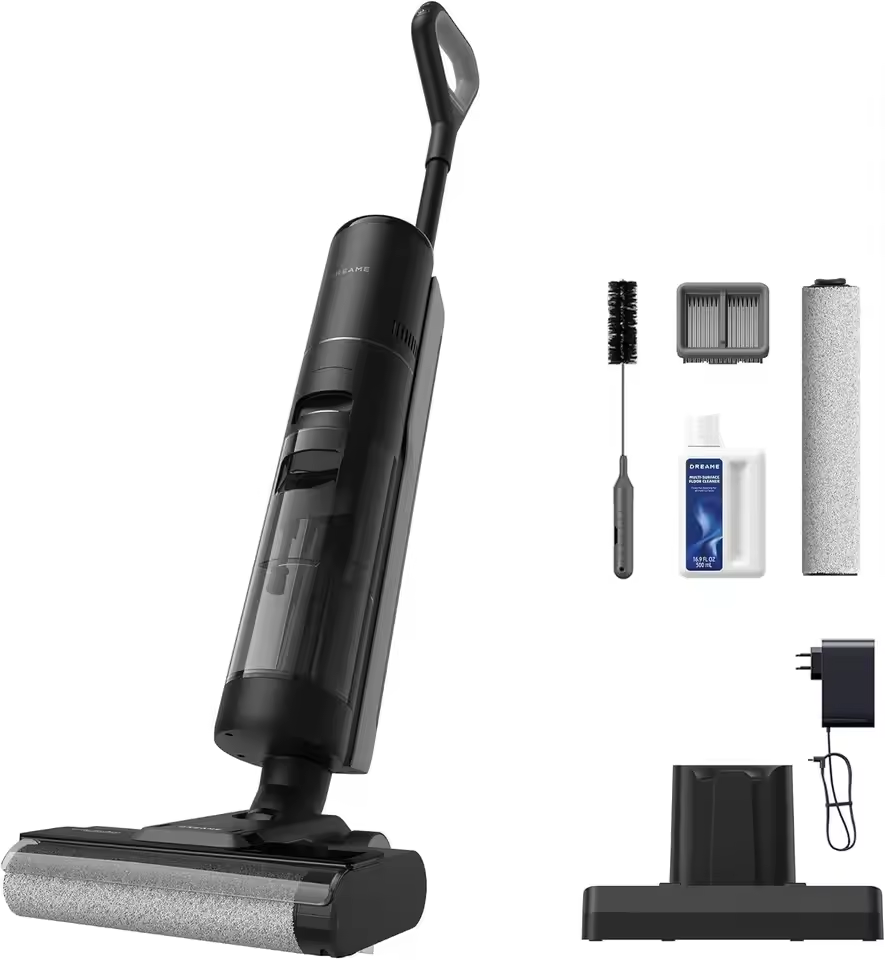
Wipe Down the Vacuum Exterior
Once you’ve taken care of the internal parts, it’s important to not overlook the exterior of your vacuum cleaner. Dust and dirt often accumulate on the outside, which can then be transferred back onto your floors or into the air of your home. Here’s how to clean the vacuum’s exterior properly:
- Use a dry microfiber cloth to dust off the outer surface. Begin with the hose, handle, and base.
- Dampen a cloth with water for stubborn grime. Avoid harsh chemicals that can damage the finish.
- Wipe around the buttons and dials carefully. Don’t let water seep into the openings.
- Dry the vacuum with a fresh cloth right away. This prevents water spots and streaks.
- Check for scuff marks or sticky spots. Use a bit of rubbing alcohol on a cloth to remove these.
By keeping the exterior of your vacuum clean, you ensure that the cleanliness is comprehensive. It also helps in understanding how to remove dust from the vacuum cleaner in a full sense, as a clean exterior stops additional dust from being spread around. Moreover, a clean vacuum is more pleasant to handle and store. It’s worth taking the few extra minutes to give the exterior a thorough wipe down after you’ve cleaned the interior components.
Inspect and Clean the Hoses
Keeping the hoses of your vacuum cleaner free from blockages is critical. A clogged hose can reduce suction power significantly. Check the hoses for any signs of buildup that can affect performance. Here’s how to tackle hose cleaning effectively:
- Detach the hose from the vacuum cleaner. Most models allow for easy removal.
- Look through the hose to spot any blockages or stuck debris.
- Use a long, flexible brush to gently clear any obstructions from within the hose.
- Rinse with water if your vacuum’s hose is plastic and detachable. Don’t use water for electrically wired hoses.
- Shake the hose to remove excess water and leave it to air dry completely.
- Reattach the hose to the vacuum only once it is fully dry to avoid damaging the machine.
Inspecting and cleaning the hoses is a key step in learning how to remove dust from vacuum cleaner. This helps maintain optimal airflow and suction. Remember to perform hose checks regularly as part of your vacuum maintenance routine.
Reassemble and Store Properly
After cleaning each part of your vacuum cleaner, ensure all components are dry. This prevents mold and maintains performance. Start reassembling your vacuum by following the order of disassembly. Fit each piece back into its place securely. Check all fasteners, like screws or clips, to ensure nothing is loose. Loose parts can lead to poor performance or damage.
For storing your vacuum cleaner properly, find a dry and cool area. This avoids damage from heat or moisture. Wind the cord loosely to prevent it from bending or tangling. If your vacuum has a hose, hang it up or lay it straight to avoid kinks. Make sure attachments are kept together. You might use a bag or a compartment on the vacuum itself.
Before you store the vacuum, do a final check. Make sure every part is intact and working. Check that the dust container or bag is in place. Ensure the filters are dry and properly fitted. A good practice is to do a quick test run. This will tell you if reassembly is correct and everything functions well.
Consistent and proper reassembly and storage will protect your vacuum and extend its life. It’s a simple yet important part in knowing how to remove dust from vacuum cleaner.
Regular Maintenance Tips
To keep your vacuum cleaner in top shape, regular maintenance is key. Here are some simple tips:
- Clean after each use. A quick wipe down and emptying the dust container helps prevent buildup.
- Inspect filters monthly. Check for clogs and wash or replace as needed.
- Clear brush rolls regularly. Cut away hair and fibres to maintain suction and brush efficiency.
- Check hoses for blockages. A visual inspection can prevent reduced airflow and suction loss.
- Replace parts when worn. Look out for damaged belts, brushes, and wheels and replace promptly.
- Listen for changes in sound. Unusual noises can indicate blockages or mechanical issues.
- Follow the manufacturer’s guidelines for your specific vacuum cleaner’s maintenance schedule.
 By following these tips, you’ll extend the lifespan of your vacuum and ensure that you know how to remove dust from vacuum cleaner effectively with each use. Regular attention means better performance and a cleaner home.
