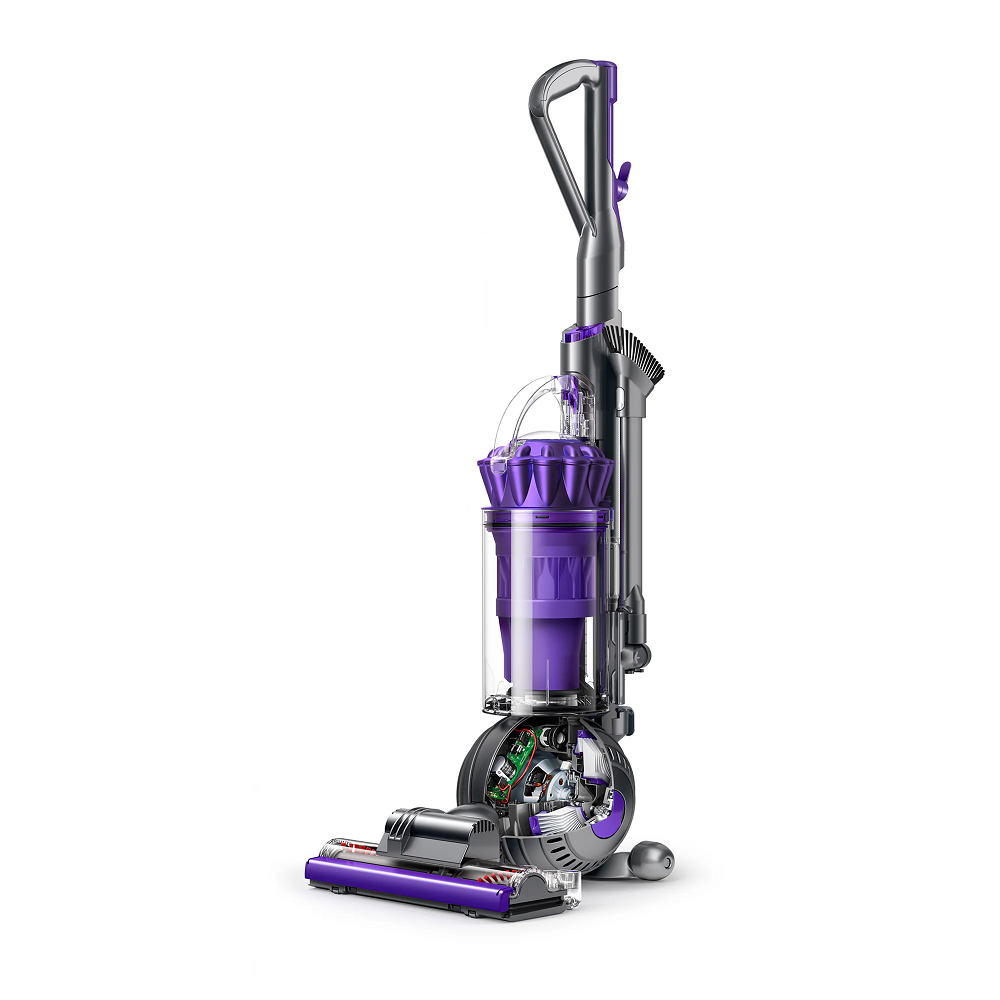
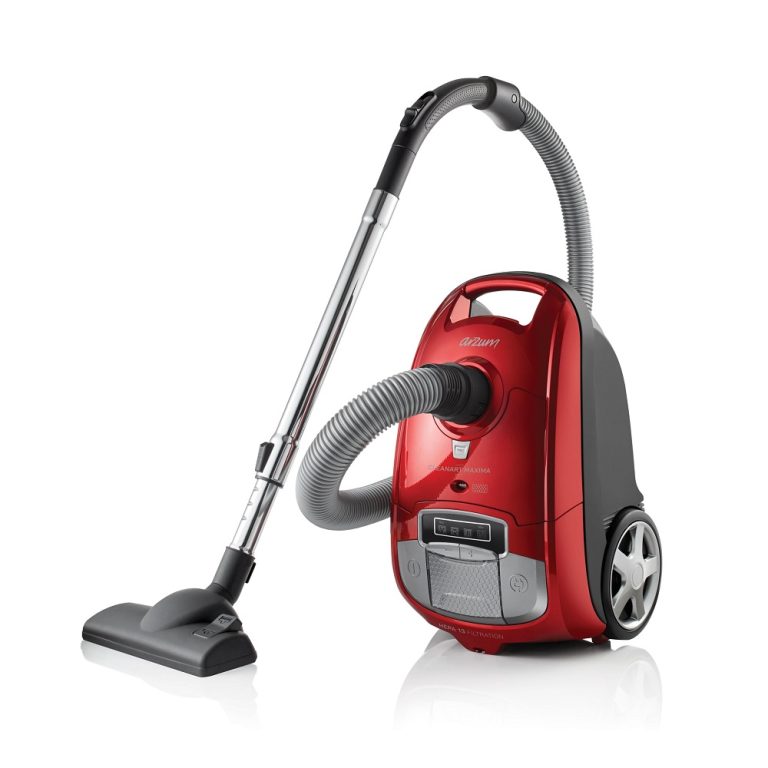
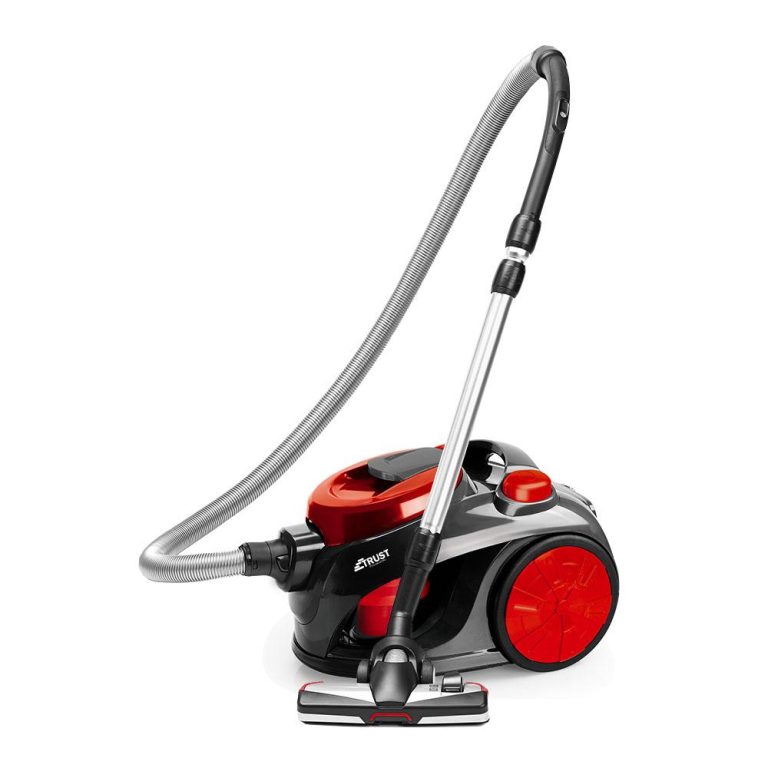
cleanerDyson vacuums are synonymous with powerful suction and innovative designs, making them a popular choice for homeowners. To maintain their performance and ensure longevity, regular cleaning and maintenance are crucial. A well-maintained vacuum not only operates more effectively but also improves indoor air quality by ensuring that dust, dirt, and allergens don’t recirculate into your living space. This guide provides a step-by-step process for clean your Dyson vacuum cleaner, ensuring that it stays in top shape for years to come.
Gather Your Cleaning Supplies
Essential Tools for Cleaning
Before you start to clean your Dyson vacuum cleaner, gather the necessary tools and supplies. Here’s a list of items you’ll need:
- Soft brush: A clean, soft-bristle brush can help remove dust and debris from various components, especially those that are sensitive to scratching.
- Microfiber cloths: They are gentle on surfaces and effective for dusting off the vacuum’s exterior. Their ability to trap dust is superior to traditional cloths.
- Warm, soapy water: A mild dish soap diluted in warm water works best for cleaning various parts without risking damage to any sophisticated mechanisms.
- Small vacuum or handheld cleaner: This can help remove large debris from the vacuum’s filters and canisters. The idea here is to use another cleaning tool to facilitate cleaning this tool!
- A fine mesh strainer or screen: This will help in cleaning the filter if you have the style that needs it.
Having these supplies within reach will make the cleaning process much more efficient and reduce the need for multiple trips to gather tools, helping you to focus on the task at hand. A clean vacuum will serve you better in return, so dedicate a little time to prepare properly before starting the cleaning process.
Safety First
Before you begin, ensure that your vacuum is unplugged to prevent any accidents. Safety should always come first when working with electrical appliances. In addition, take care not to use harsh chemicals or abrasive cleaning materials, as they can damage the vacuum’s components. A gentle approach lets you effectively clean your Dyson while protecting its structural integrity, which is essential for its long-term performance.
Cleaning safety also extends to your own health. If performing maintenance indoors, wear a mask to avoid inhaling dust particles, and ensure you are in a well-ventilated space. In case of any allergic reactions when handling accumulated dirt or debris, understand how to minimize exposure to irritants. Being cautious will help you maintain not just the performance of the vacuum but also your own health.

Empty the Dust Canister
Removing the Canister
The first step in clean your Dyson vacuum cleaner is to empty the dust canister. Locate the release button usually positioned on the canister itself, which allows for easy detachment from the main unit. Familiarize yourself with this mechanism; it’s designed for quick removal so you can clean it efficiently.
By keeping this step simple, Dyson provides users with an intuitive experience. It’s helpful to practice occasional patience during this process to prevent any accidental spills when detaching the canister. It’s beneficial to regularly check this component, as neglecting it can lead to clogs and diminished suction over time.
Dumping the Contents
Once you have separated the canister, carefully dump the collected dust and debris into a trash bag or bin. It’s best to do this outside or in an area where you won’t scatter dust around your home. If you have pets or allergies, consider wearing a mask and gloves while handling the dust canister to avoid inhaling any particles.
After emptying the canister, inspect it for any foreign objects that might have inadvertently been collected during cleaning. Look for items such as small toys, coins, or debris that may require separate disposal. This routine not only optimizes functionality but also prevents future clogs, which can be costly to remedy.
Cleaning the Canister
Next, rinse the dust canister with warm soapy water. Ensure you use a non-abrasive sponge or cloth to avoid scratching the surface. It’s important that you clean all the interior surfaces to remove any trapped dust particles that may still linger. Give special attention to the area near the filter, as it can accumulate buildup over time.
Let the canister dry completely for at least 24 hours before reattaching it to the vacuum. The choice of air drying is crucial; placing it in direct sunlight or using heat sources can warp the plastic material. A thorough and patient drying process will ensure mold and odor do not seep into the next round of vacuuming.
Clean the Filters
Locating the Filters
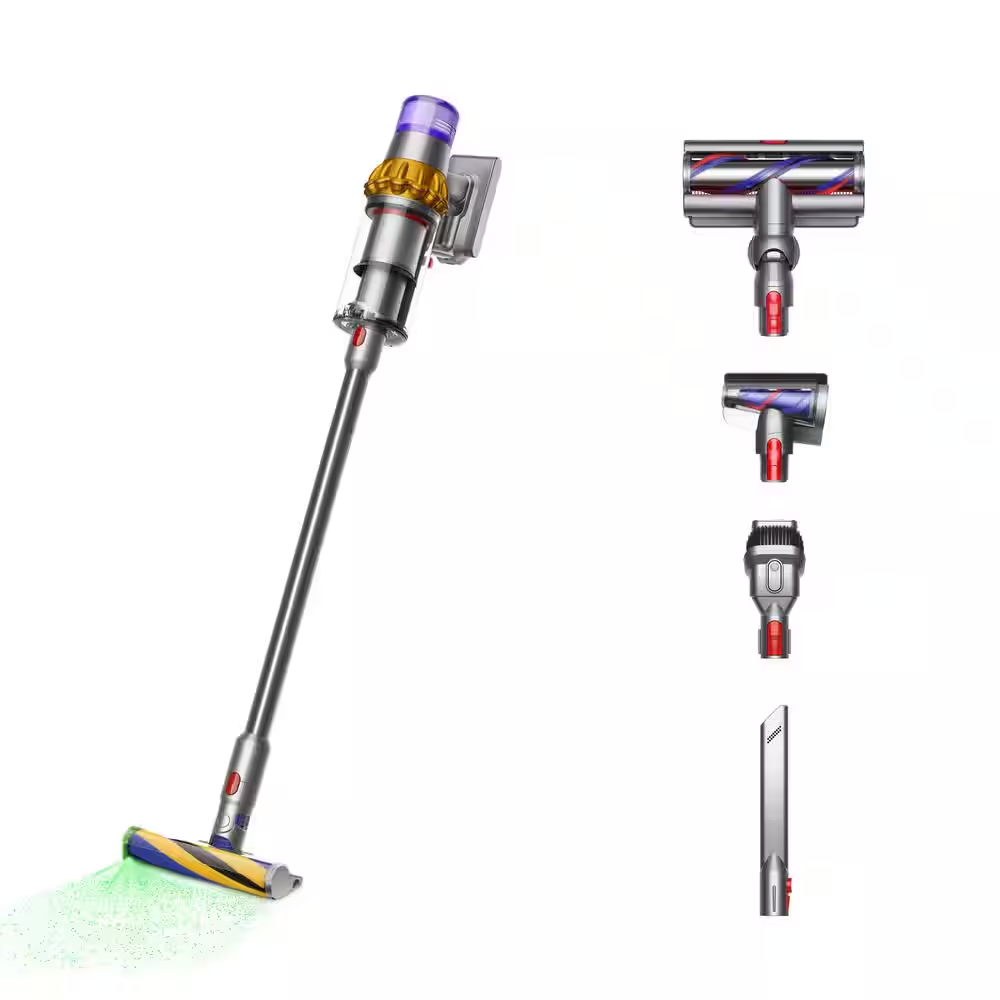
Dyson vacuums typically come with two types of filters: the pre-motor filter and the post-motor filter. Check the user manual specific to your model for their exact locations, which are generally easy to access. For most models, the pre-motor filter is found near the cyclone assembly, while the post-motor filter is often located at the back of the machine. Knowing where to look will expedite your cleaning session.
Washing the Filters
To clean the filters, follow the manufacturer’s instructions to remove them properly. Rinse the filters under cold water until the water runs clear, which helps to remove trapped dust and dirt effectively. Using any detergents or chemicals can damage the filter material, so stick to plain water for rinsing.
For persistent dirt, gently tapping the filter can help dislodge any debris without being too forceful. Squeezing the filter lightly helps remove excess water without wringing, which may alter its shape. It’s essential to ensure that every nook and cranny is cleaned to avoid any buildup that could lead to performance issues.
Drying the Filters
Allow the cleaned filters to air dry completely for at least 24 hours before reinstalling them. This step is crucial to ensure that no moisture remains, as damp filters can lead to mold or mildew buildup, compromising air quality during vacuum use. Although it may be tempting to speed up the drying process, avoid placing them in direct sunlight or using artificial heat, as these can deform the material, affecting the filter’s efficacy.
Once dry, replace the filters back in their designated areas, making sure they fit snugly and securely. Proper installation ensures that the filters function correctly, providing the desired suction power without leaks of dust into the air.
Inspect and Clean the Brush Bar
Checking for Debris
The brush bar is responsible for agitating dirt and debris from carpets and floors, so it’s important to maintain it well. Over time, hair, fibers, and other materials can become tangled in the brush bar. Start by turning your vacuum upside down or placing it on its side to access the brush bar easily. This step offers a quick visual inspection to identify any tangled material that may be obstructing performance.
If you notice significant debris buildup, consider how these materials can affect the machine’s ability to clean effectively. A clean brush bar not only enhances suction power but also helps preserve the life of the vacuum motor by reducing unnecessary strain.
Removing Debris
Use a small pair of scissors or a seam ripper to gently cut away any tangles of hair or fibers. Carefully pull out any stubborn strands of hair or tangled materials without damaging the bristles on the brush. If your vacuum model has a removable brush bar, consider taking it out for a more thorough cleaning.
Occasionally, you may need to clean the brush assembly and rollers separately. Regular maintenance ensures that you prevent future blockages and helps the vacuum perform at its best. A well-maintained brush bar can make a noticeable difference in the effectiveness of the vacuum during operation.
Cleaning the Brush
Once you’ve cleared away debris, use a microfiber cloth and warm, soapy water to clean the brush bar. Avoid submerging it entirely in water, as this may damage its internal components. Instead, apply the damp cloth directly to the bristles to target any buildup. Be thorough but gentle, as too much force can dislodge fine hairs or damage the bristles.
After cleaning, let it air dry completely before reattaching it to your unit. Properly cleaning and maintaining the brush bar increases the vacuum’s effectiveness, ensuring you can tackle stubborn messes during your cleaning tasks.
Wipe Down the Exterior
Dusting the Body
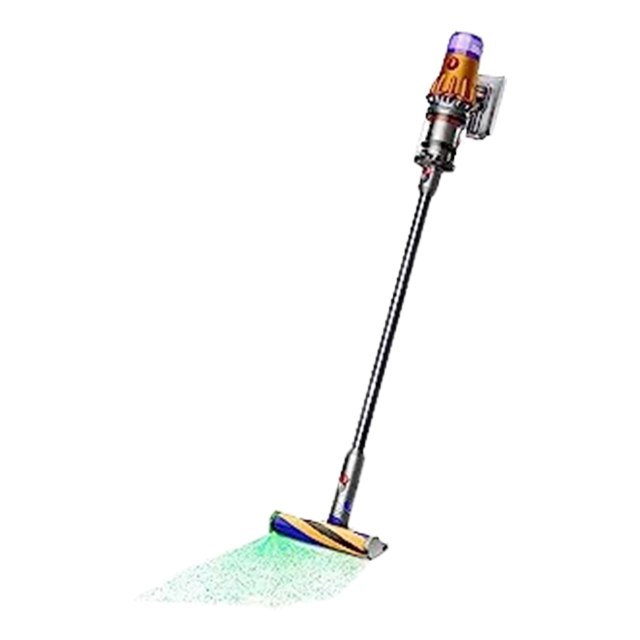
After cleaning the critical components, focus on wiping down the exterior of your Dyson vacuum cleaner. Use a moist microfiber cloth to gently clean the body, being careful not to let any moisture enter electrical parts. These surfaces often collect dust and may have fingerprints or smudges that detract from the vacuum’s appearance. A clean exterior not only looks better but also reduces the buildup of dust around your appliance.
Consider using a small amount of all-purpose cleaner on the cloth for any stubborn marks. Always ensure the cleaner is safe for plastics to prevent damage. Keeping the vacuum body clean is not just about aesthetics; it also prevents dust and dirt from spreading throughout your home when you use the vacuum, contributing to healthier indoor air quality.
Attention to Crevices
Don’t forget to clean the crevices and hard-to-reach areas using a soft brush. Dust and debris can accumulate in these places, affecting the overall hygiene and performance of the vacuum. Using a soft-bristle brush or even an old toothbrush can help dislodge and remove accumulated grime from intricate parts.
Cleaning these areas regularly reduces the risk of clogs and ensures that the vacuums internal parts operate smoothly without obstructions. Investing a little time upfront in deep cleaning the exterior will save you considerable effort in the long run, enhancing both the performance of your vacuum and the cleanliness of your environment.
Maintain Your Dyson Regularly
Establishing a Cleaning Schedule
To keep your clean Dyson vacuum cleaner running at its best, create a regular cleaning schedule. Aim to empty the dust canister after each use, or at least every few cleanings, to prevent excessive buildup. Over time, neglecting to empty the canister can lead to performance issues, including a noticeable decrease in suction power, as the motor works harder to pull air through a full chamber.
Regularly cleaning the filters should happen at least once a month, while in-depth cleaning of the brush and exterior can take place quarterly. Setting reminders on your phone or adding tasks to your calendar will keep you accountable for your vacuum maintenance routine, ensuring it receives the attention it needs to operate smoothly for years to come.
Paying Attention to Performance
Be attentive to your vacuum’s performance. If you notice a decline in suction power, strange noises, or the vacuum starts to overheat, this may indicate that it needs cleaning or repair. Address any issues promptly to avoid long-term damage to your vacuum. Staying alert to these signs can help you catch minor problems before they develop into major repairs.
If your vacuum doesn’t seem to function as it should even after routine cleaning, don’t hesitate to consult the manual or seek professional repairs. Many issues can stem from basic maintenance oversights that, if identified early, can be remedied quickly, prolonging the life of your Dyson vacuum.
Enjoy Optimal Performance
Clean your Dyson vacuum cleaner regularly is essential for maintaining its performance and longevity. By following these steps, you can ensure that your vacuum remains an effective tool in your cleaning arsenal. Proper maintenance not only enhances its functionality but also contributes to a healthier home environment.
Remember that the investment you made in your Dyson vacuum deserves proper care. Regular cleaning and attention to detail allow this powerful appliance to perform at its highest capacity, making your cleaning tasks much more manageable.
As you incorporate these cleaning routines into your household maintenance, you can enjoy the benefits of optimal performance. A clean vacuum is a powerful vacuum, and with consistent care, you can keep your living spaces spotless and fresh. Embrace this routine, and your Dyson vacuum will reward you with unmatched efficiency, making every cleaning experience cleaner and more enjoyable.
