In today’s tech-savvy world, wall mounts have become essential for various devices, including televisions, monitors, and even speakers. They offer a neat and organized look while saving valuable floor space. However, choosing the right wall mount and installing it properly can be daunting, especially for beginners. This comprehensive guide will take you through the entire process, from understanding the types of wall mount available to selecting the right one for your needs and installing it correctly for optimal performance.
Understanding Wall Mount Types
Fixed Wall Mounts
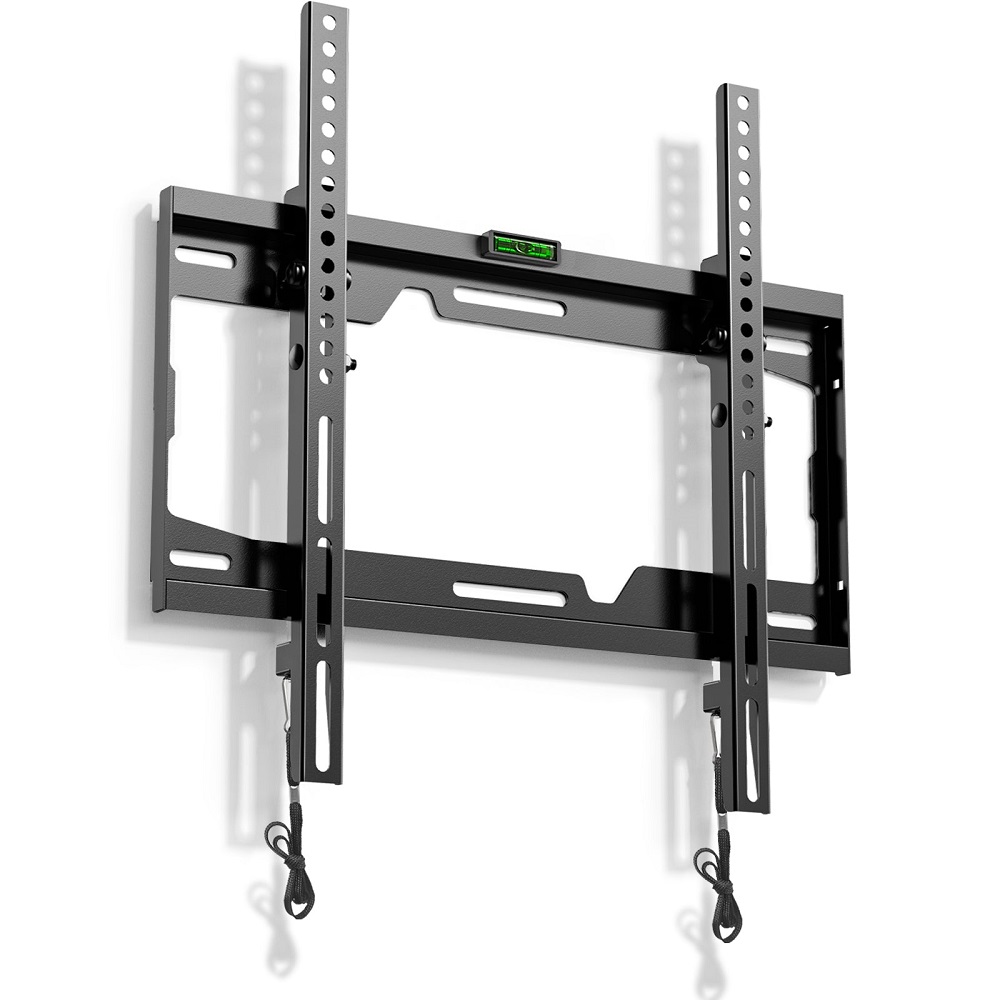
Fixed wall mounts provide a straightforward solution for hanging your device on the wall. They keep your television or monitor flat against the wall, making them an excellent option for minimalist designs. Fixed mounts are usually easier to install and more cost-effective than their adjustable counterparts. However, they don’t offer much flexibility in terms of viewing angles, making them suitable for spaces where you will always be seated directly in front of the screen.
When choosing a fixed mount, assess the wall space available and how the device will align with your seating arrangement. This type is ideal for bedrooms or living rooms where you want a clean look and are comfortable with a single viewing position.
Tilting Wall Mounts
Tilt wall mounts allow for some flexibility in viewing angles. They let you tilt your television vertically, which can be helpful for reducing glare from windows or light fixtures. This versatility means you won’t be straining your neck while trying to find the perfect angle.
Tilt mounts are especially popular for larger televisions in spaces where the viewing height isn’t optimal, such as above a fireplace or on a high shelf. They provide a balance between fixed and full-motion options, making them suitable for a variety of rooms and preferences.
Full-Motion Wall Mounts
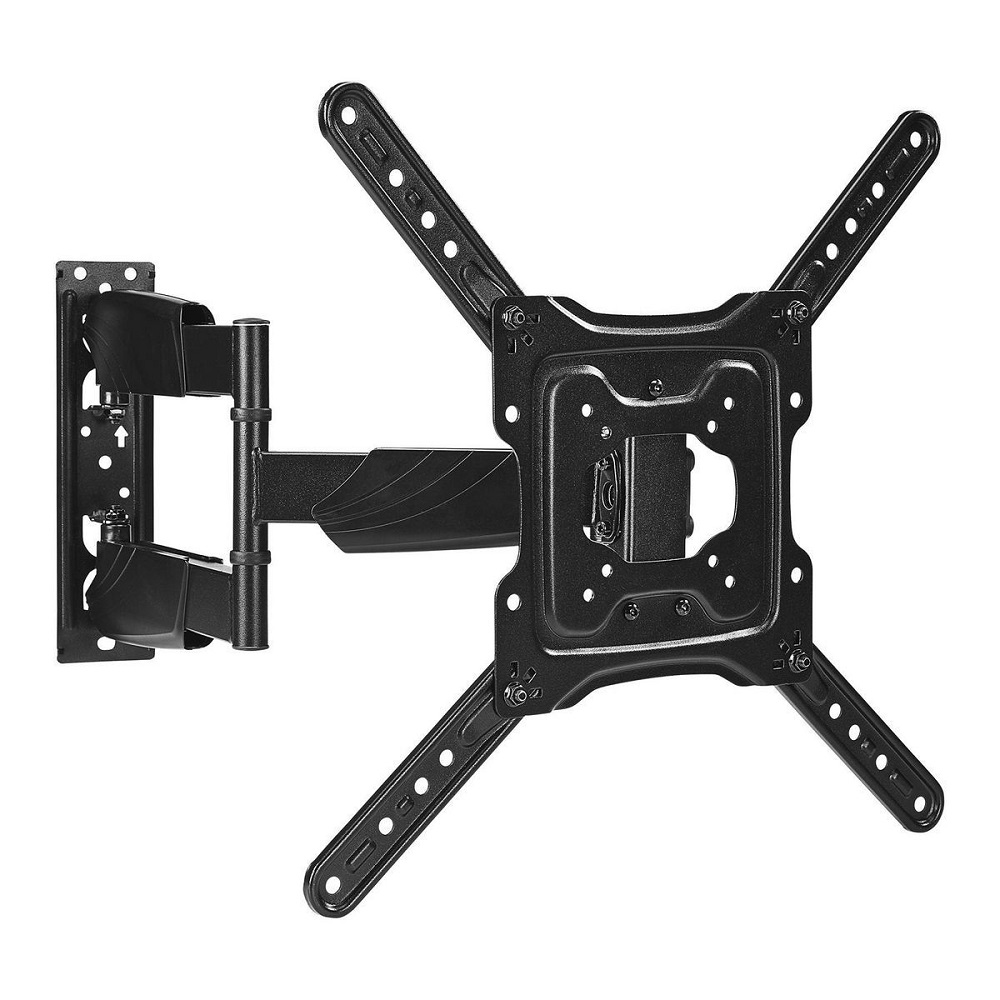
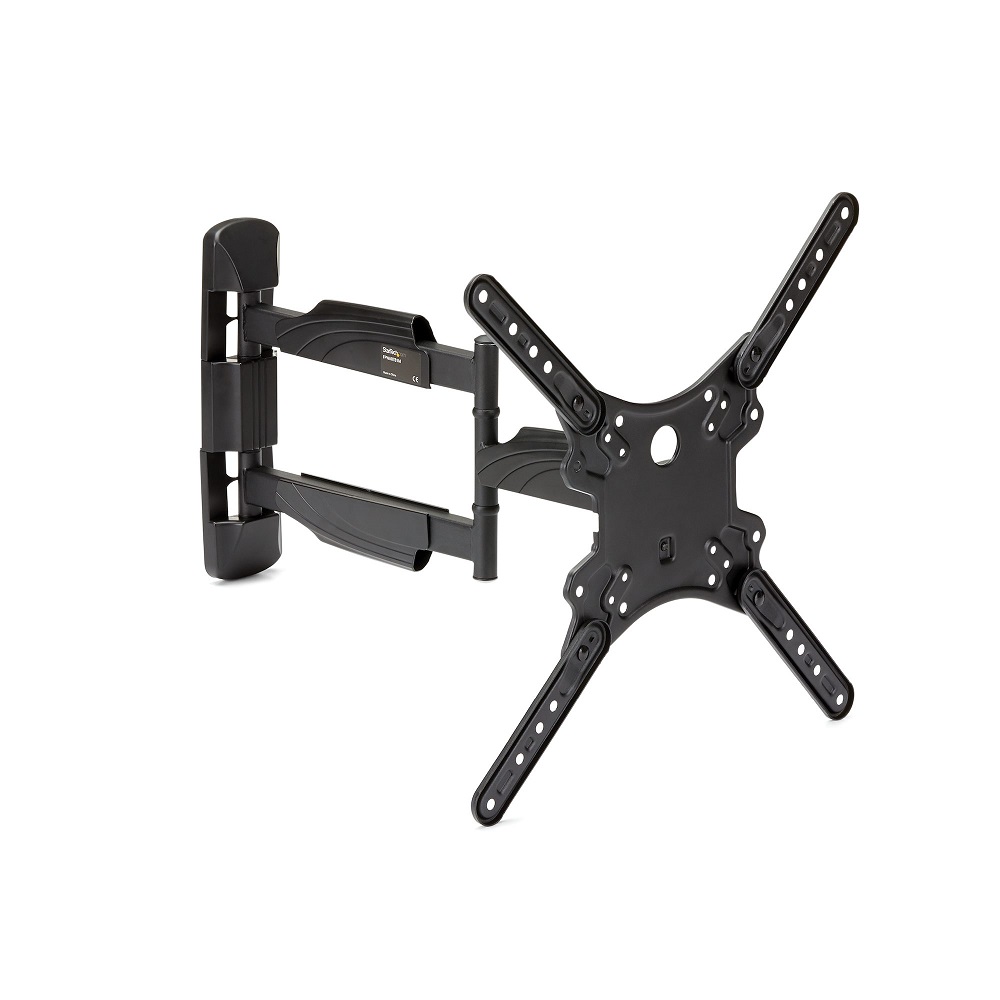
Full-motion wall mounts are the most versatile option available. They allow you to extend, tilt, swivel, and even rotate your television, providing complete control over the viewing angle. This flexibility is particularly beneficial in larger rooms or open-concept spaces, where viewers might be sitting at various angles to the screen.
While full-motion wall mounts offer many benefits, they tend to be more expensive and complicated to install. However, the ability to adjust the screen makes them worth the investment in many cases, particularly for families who enjoy watching TV from different spots in the room.
Specialty Wall Mounts
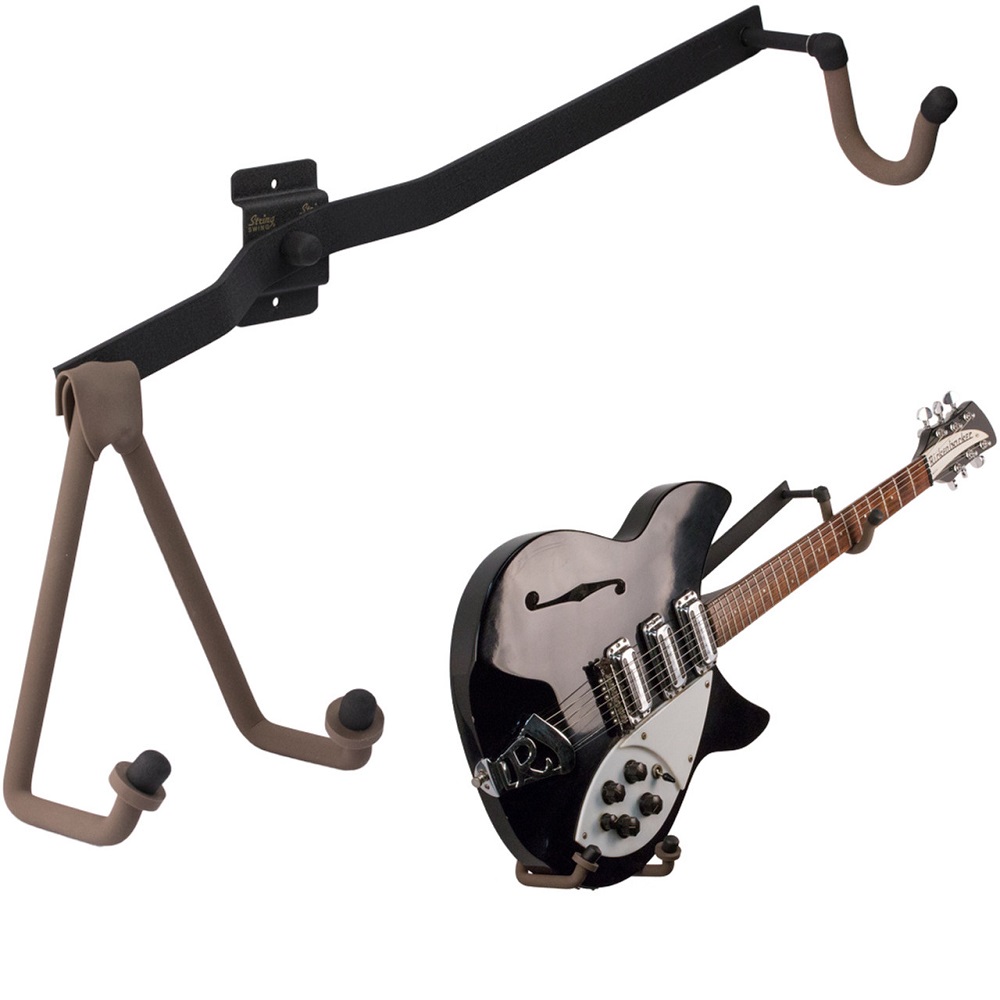
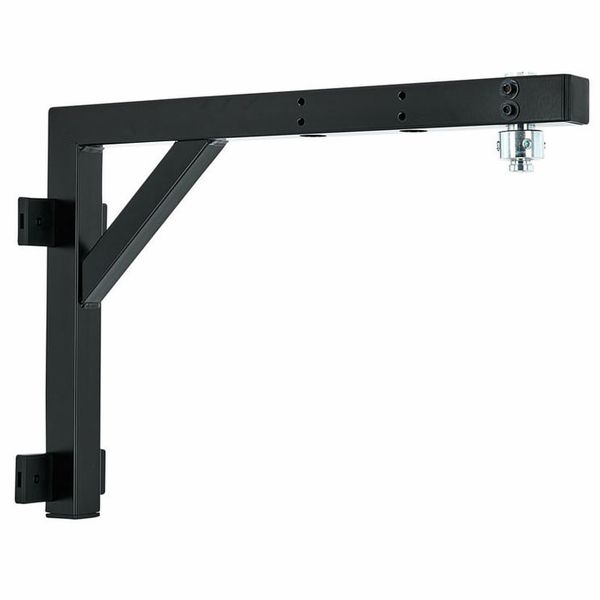
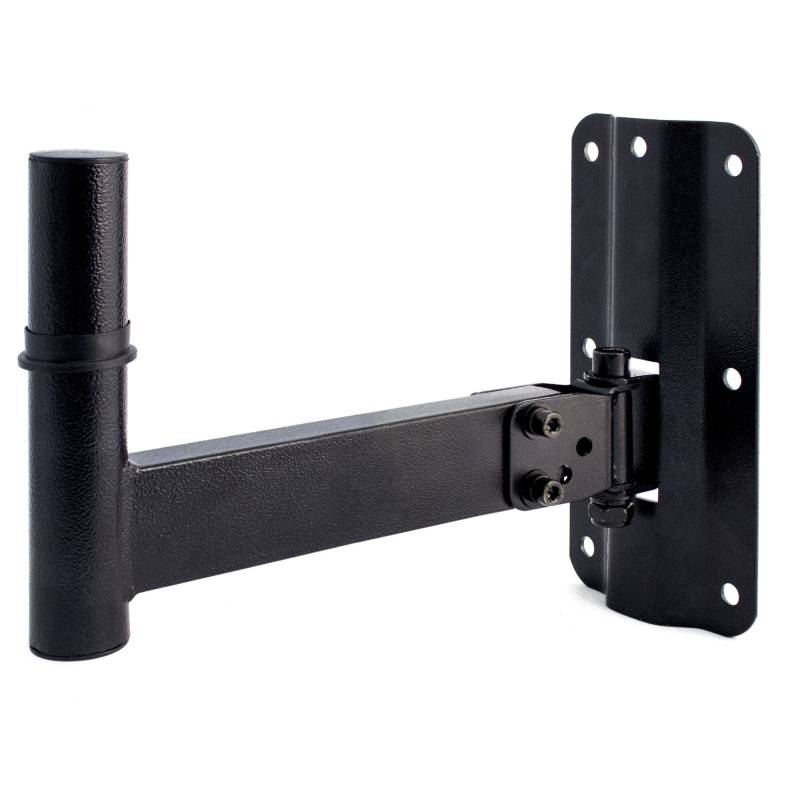
In addition to the standard options mentioned above, there are specialty wall mounts designed for specific needs. For instance, there are mounts specifically for gaming consoles, speakers, and even projectors. If you have unique equipment that doesn’t fit into the standard categories, consider looking for a mount designed specifically for that device.
Researching specialty mounts can help you find the perfect solution for unique situations. Knowing the weight, size, and necessary viewing angle will guide your choice and ensure you get the right mount for your equipment.
Assessing Your Space
Measuring Wall Space
Before purchasing a wall mount, carefully assess your space. Start by measuring the area where you plan to install the mount. Be mindful of nearby furniture, windows, and electrical outlets. Taking accurate measurements will prevent headaches later on and help you select a mount that fits well.
When measuring, consider how high you want the screen to be. The ideal viewing height typically places the center of the screen at eye level when seated. A common guideline is that the middle of the screen should be about 42 to 48 inches from the floor, but this can vary based on personal preference and room design.
Evaluating Wall Structure
Next, evaluate the type of wall you’ll be mounting the device on. Different surfaces will require different mounting hardware. For example, concrete or brick walls require heavy-duty anchors, while drywall can often suffice with standard screws and anchors. You need to ensure you have the correct equipment to install securely.
Use a stud finder to locate the wooden studs behind your drywall. Mounting your TV onto a stud provides stronger support than relying solely on drywall anchors. If your setup doesn’t line up with a stud, consider using toggle bolts that can still provide a secure installation.
Selecting the Right Wall Mount
Weight and Size Considerations
When selecting a wall mount, you must ensure it is compatible with your television or monitor’s size and weight. Most wall mount specifications include a weight limit and compatible screen size. Check your device’s user manual for these specifications to ensure safe and secure installation.
You can find wall mounts ranging from lightweight options for smaller screens to heavy-duty mounts for larger televisions. Make sure you pay attention to these details, as using an incompatible mount can lead to accidents and damage.
VESA Compatibility
VESA (Video Electronics Standards Association) is the standard used for mounting televisions and monitors. It establishes a pattern of holes on the back of the device that corresponds to the mounting hardware. When choosing a wall mount, ensure it adheres to VESA standards and matches the hole pattern on your television.
To find the VESA measurements, measure the distance between the mounting holes on the back of your device both horizontally and vertically. This will help you confirm compatibility with any wall mount you’re considering.
Preparing for Installation
Gather Necessary Tools
Before starting your installation, gather all necessary tools to save time and ensure a smooth process. Common tools and supplies include:
- Drill with appropriate bits
- Level
- Measuring tape
- Stud finder
- Screwdriver (manual or power)
- Adjustable wrench
- Safety glasses
Having these tools on hand will make the installation go more smoothly. It’s also a good idea to have a friend to help, especially when lifting and aligning the mount with the wall.
Read Instructions Carefully
Before you begin, take the time to read the installation instructions that come with your chosen wall mount. Different mounts have varying installation processes, and you want to ensure you follow the specific guidelines provided to avoid mistakes.
Understanding the steps involved can help you visualize the installation process and make necessary preparations, such as pre-drilling holes or ensuring you have the right mounting hardware for your wall type.
Installing the Wall Mount
Marking the Position
Using a pencil and a level, carefully mark where the mount will be installed. Ensuring your markings are level will prevent the mounted device from tilting later. Check the instruction manual for the specific height your mount requires, and make corresponding marks on the wall.
If you are using a full-motion mount, consider how far the device will extend when mounted. Be sure that you have enough space available without blocking parts of the room or furniture.
Drilling and Anchoring
Once you have the marks in place, it’s time to drill. If you’re installing into wood studs, use a drill bit that matches the size of the screws provided. For drywall, use toggle bolts or wall anchors based on the weight of your device.
Carefully drill holes at your marked locations, and insert the appropriate anchors if needed. Be sure to clean up any dust from drilling to keep your workspace tidy and free from debris.
Attaching the Mount to the Wall
With the holes ready, you can now attach the wall bracket. Align the bracket with your drilled holes and use the screws provided to secure it firmly. Double-check to ensure everything is level as you go. Tighten the screws, making sure the mount is securely anchored to the wall, but being cautious not to overtighten.
Having a second set of hands can help in this stage, providing support and an extra pair of eyes to ensure everything is lined up and secured correctly.
Mounting the Device
Attaching the TV or Monitor
Before lifting your television or monitor onto the wall bracket, ensure it’s safe to do so. If your mount allows, it’s balanced to avoid any sudden falls. Most mounts have specific instructions for attaching the device, so follow these carefully.
Lay your device on a soft surface—this prevents scratches or damage to the screen during the installation process. Then attach the mounting plate to the back of the device using the screws provided. Be cautious not to overtighten the screws, as this could damage the device.
Securing the Device to the Mount
Once the mounting plate is secured, carefully lift the device onto the wall-mounted bracket. Follow the manufacturer’s guidelines for locking it in place. Depending on the mount, you may need to adjust the angle or tilt at this stage.
After securing everything, step back to check that everything looks level and is correctly aligned. Use a level if necessary to double-check that the mounted device is perfectly positioned.
Final Adjustments and Testing
Testing Stability
After installing and securing your device, it’s important to test the stability to ensure everything has been mounted correctly. Gently push and pull on the television or monitor to see if it moves at all. A well-mounted device should remain firmly in place without any wobbling.
If you notice any looseness or movement, revisit the installation to tighten screws or anchors adequately. Ensuring a stable installation will safeguard against accidents and protect your device.
Making Adjustments
Depending on your chosen mount type, you might want to make adjustments for optimal viewing. With full-motion mounts, you can experiment with the angle and distance of the device to find the most comfortable and enjoyable viewing experience in your space.
Finally, tidy up your workspace by removing tools and packaging materials. Enjoy your newly mounted device, knowing you’ve put in the effort to create a functional and aesthetically pleasing setup.
Conclusion
Choosing and installing a wall mount may seem challenging, but breaking the process down into manageable steps can make it a rewarding DIY project. Understanding the variety of wall mounts available, measuring your space accurately, and gathering the right tools set the foundation for a successful installation.
With careful attention to detail and adherence to instructions, you can secure a wall mount that not only enhances your view but also adds to your room’s overall aesthetic. Whether for a television, monitor, or any other device, these steps ensure you enjoy a clean, organized setup while optimizing your space. Now that you’re familiar with the process, get started on your mounting project and elevate your home or workspace today!
