In the age of digital media, the importance of high-quality audio cannot be overstated. For musicians, podcasters, presenters, and videographers, a professional wireless microphone can make all the difference in capturing clear sound. Unlike traditional microphones tethered by cables, wireless models offer the freedom to move around while maintaining audio fidelity. This guide will walk you through the steps to set up and use a professional wireless microphone effectively, ensuring you get the best possible audio for your needs.
Understanding the Components of a Wireless Microphone System
Wireless Microphone Basics
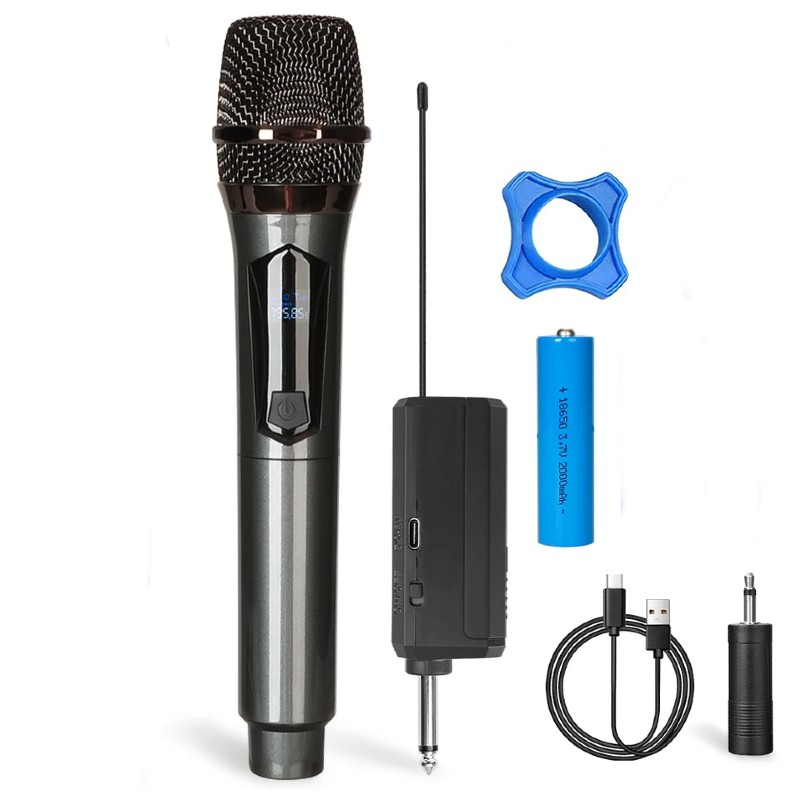
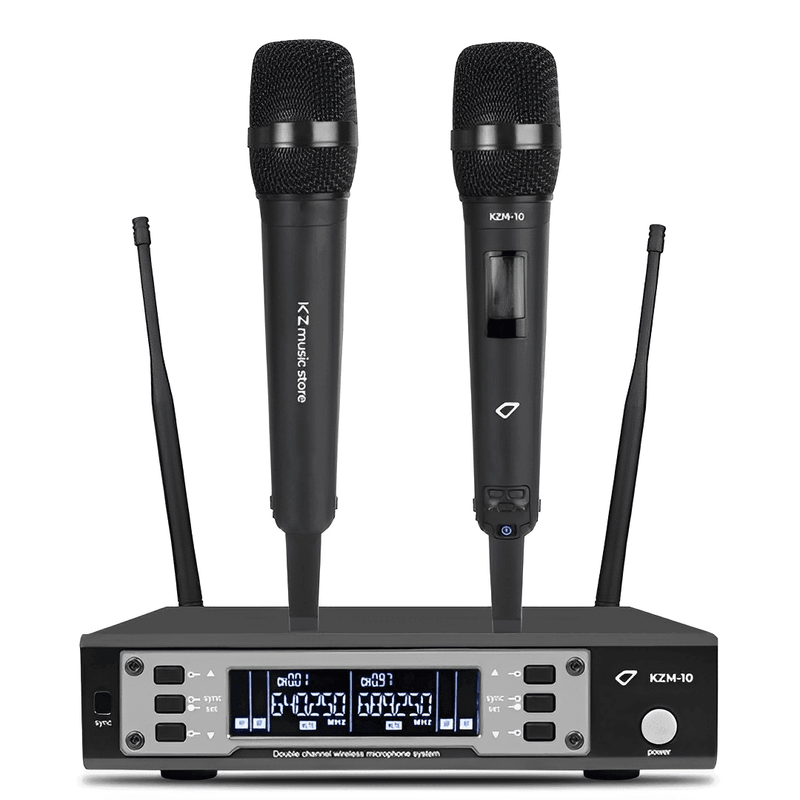
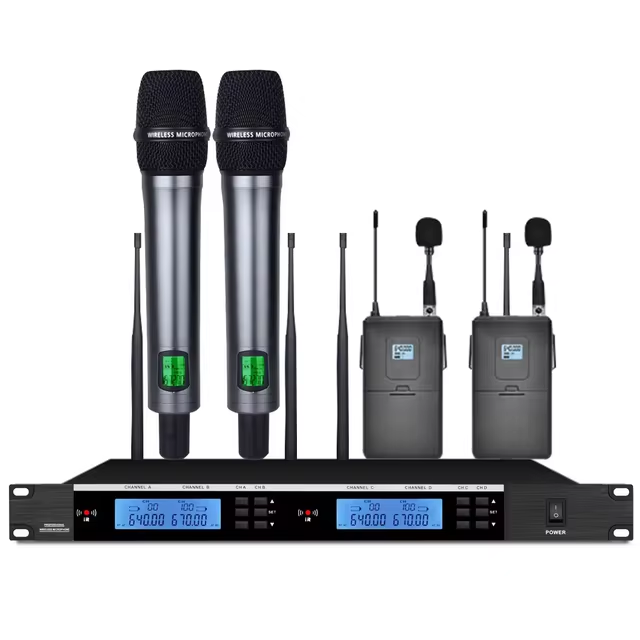
A complete wireless microphone system typically includes three main components: the microphone itself, a transmitter, and a receiver. The microphone captures sound through its diaphragm. It converts the sound waves into an electrical signal, which is sent to the transmitter. The transmitter modulates this signal and sends it through radio waves to the receiver, which then converts the signal back into audio that can be amplified or recorded.
Wireless microphones can vary in type. Some are handheld, while others may come in the form of lavalier or bodypack microphones, ideal for situations requiring hands-free operation. Understanding these components and how they work together is crucial for effective setup and operation.
Frequency Bands and Interference
Wireless transmitters operate on specific frequencies, usually within designated bands such as UHF (Ultra High Frequency) or VHF (Very High Frequency). When selecting a system, ensure it operates on frequencies that comply with local regulations. Avoiding crowded frequency bands can help prevent interference, which can disrupt audio quality.
Be mindful of possible interference sources during events, including Wi-Fi networks, Bluetooth devices, and other wireless systems that may collide with your microphone’s frequency. Understanding frequency bands will help you choose a compatible system and minimize disruptions during usage.
Selecting the Right Wireless Microphone System
Identifying Your Needs
Before purchasing a wireless microphone system, consider your specific needs. Are you using it for live performances, interviews, or video recording? Different applications can benefit from different types of microphones. For instance, handheld microphones are great for performances, while lavalier mics are ideal for interviews or presentations, allowing for free movement without holding a mic.
Also, think about the environment where you will be using the microphone. If you’re operating outdoors, you may require a system with strong signal strength and resistance to wind noise. Conversely, in controlled indoor settings, a standard system should suffice. By identifying your needs, you can find the right microphone that fits your application.
Researching Brands and Models
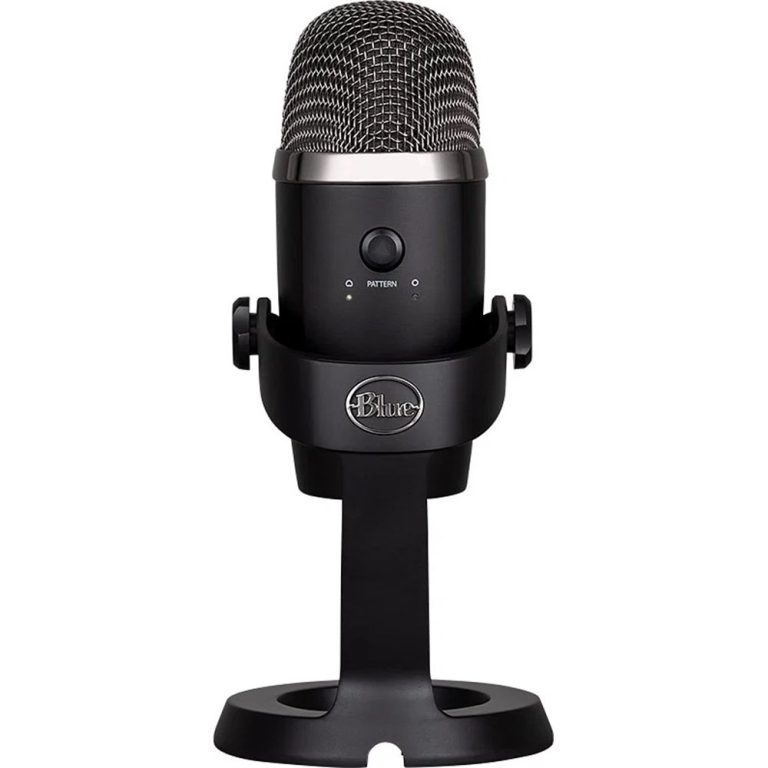
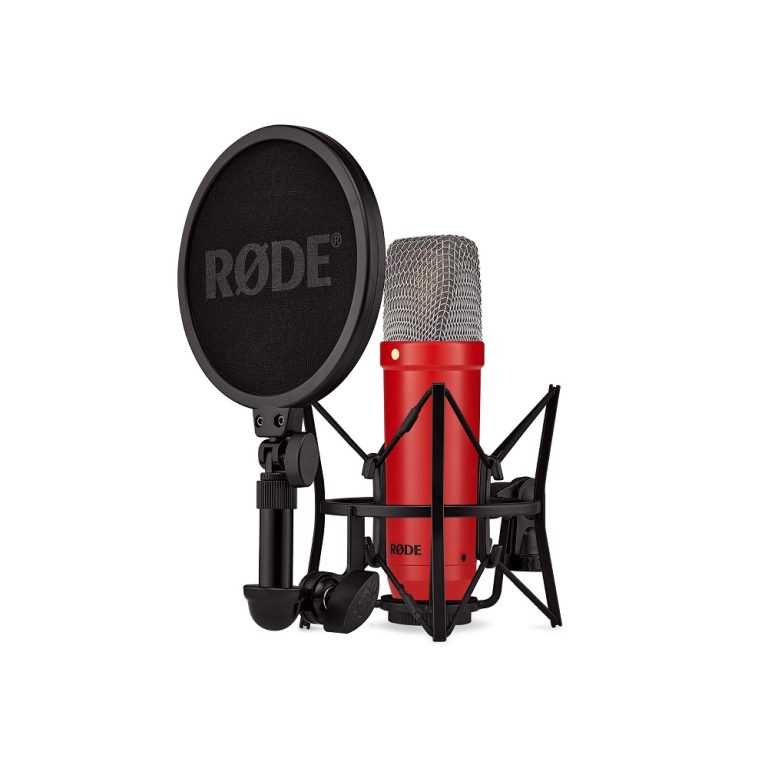
With numerous brands and models on the market, doing thorough research will help narrow down your options to find the best fit for your requirements. Popular brands like Shure, Sennheiser, and Rode offer highly regarded wireless microphone systems that cater to varied needs and budgets.
Check specifications such as battery life, range, and frequency response before making a decision. Online reviews and user feedback can also provide valuable insights into reliability and performance. Consider visiting a local audio equipment store to test different models, as hands-on experience can aid in finding the perfect wireless system for you.
Setting Up Your Wireless Microphone System
Unpacking and Organizing Components
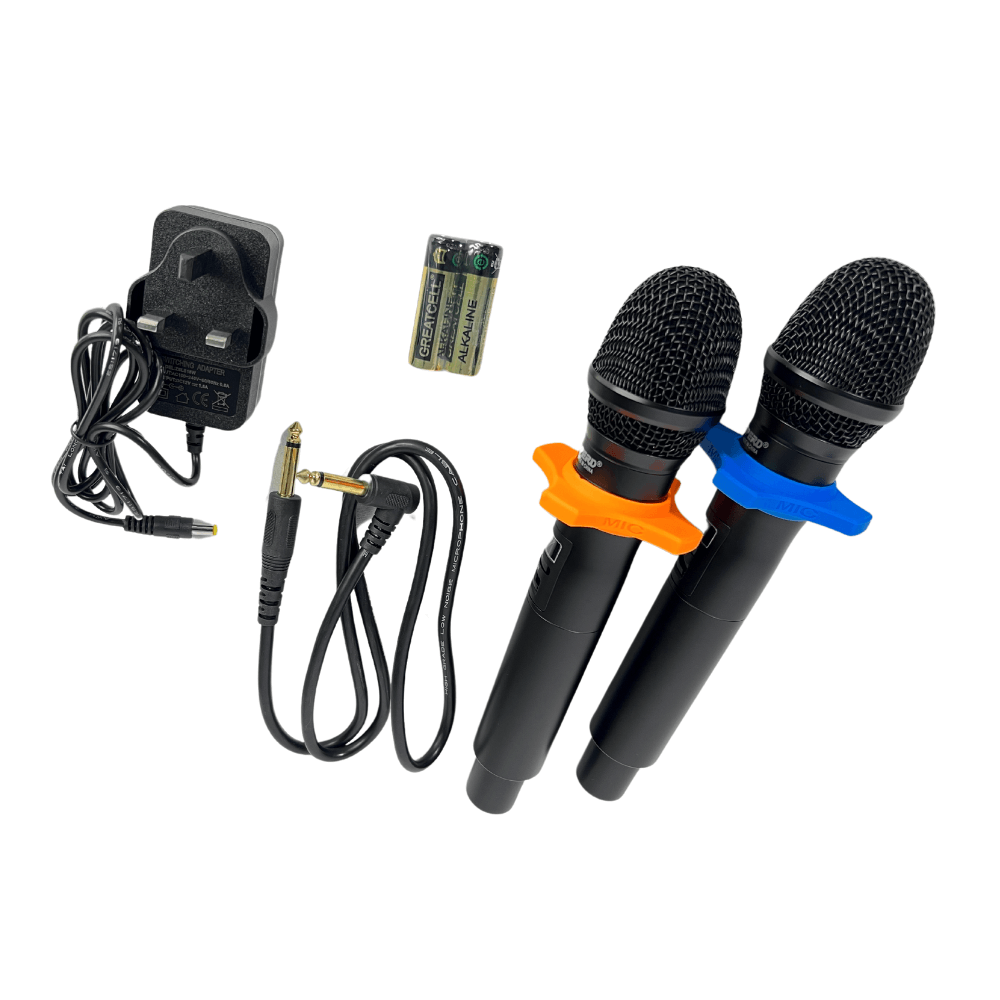
Once you’ve chosen a wireless microphone system, the first step is to unpack everything carefully. Organize the components, including the microphone, transmitter, receiver, batteries, and any accessories like cables or mounts. Familiarize yourself with each part and its function, which will simplify setup.
Make sure you check for any additional items the manufacturer might include with your microphone, such as windshields, adapters, or carrying cases. Having everything organized at the start will facilitate a smoother setup process.
Installing Batteries
Most wireless microphone transmitters and receivers run on batteries. To ensure your system functions correctly, install fresh batteries according to the manufacturer’s guidance. Follow the polarity labels on the battery compartment to avoid any operational issues.
If your microphone system uses rechargeable batteries, make sure to charge them fully before use. Some systems provide battery level indicators on the screen, allowing you to monitor battery life throughout the performance. Ensuring your batteries are adequately charged can prevent interruptions during use.
Pairing the Microphone and Receiver
Choosing the Right Frequency
After setting up the batteries, the next step is pairing the microphone with the receiver. Power on both the transmitter and receiver, and consult the user manual for specific pairing instructions related to your microphone model. Generally, you’ll need to select a compatible frequency on both devices.
Many systems include an automatic frequency setup feature, making it easier to find an open channel. If you encounter interference or other issues, try switching to different frequencies until you achieve a clear signal. Regularly check for available channels, especially in crowded environments where multiple wireless devices may be used.
Conducting a Signal Test
Once paired, conduct a signal test before your performance or recording session. Speak into the microphone while observing the receiver to ensure it’s picking up the audio properly. Watch for any signal dropouts or performance issues. If the audio drops out intermittently, consider adjusting the position of the receiver or checking for obstructions.
During the sound check, walk around the intended performance area while speaking into the microphone. This exercise helps evaluate the range and identify any potential dead zones where the signal might weaken. Identifying these areas in advance ensures you can address any issues before your event.
Optimal Microphone Placement and Handling Techniques
Positioning the Microphone
Proper microphone positioning is crucial for capturing quality audio. If you’re using a lavalier microphone, attach it securely to your clothing, ideally near the chest area, allowing the mic to capture your voice without excessive background noise. Ensure that the microphone is unobtrusive and does not interfere with your movements.
For handheld microphones, hold the mic at a comfortable distance, typically 6 to 12 inches from your mouth. Avoid covering the microphone grill with your hand, as it can muffle the audio. If you’re using a stand, make sure it’s positioned closely enough to capture your voice clearly while maintaining a natural posture.
Handling and Movement
If you’re using a handheld microphone, be mindful of how you handle it. Avoid tapping or bumping the microphone against your body or other surfaces, as this can produce unwanted noise. If you’re moving around, maintain a consistent volume and distance from the microphone to ensure steady audio levels.
In performances, practice your movements to ensure you’re aware of the mic’s positioning. The smoother your transitions, the better your audio quality will be. Remember that clear audio delivery enhances your audience’s experience, whether you’re performing or presenting.
Troubleshooting Common Issues
Interference and Signal Dropouts
If you experience audio dropouts or interference during use, try to identify any potential sources of trouble. Common culprits include Wi-Fi networks and other wireless devices operating on similar frequencies. If interference occurs, consider switching frequencies or moving the receiver closer to the microphone to establish a stronger connection.
Sometimes, objects or walls can obstruct the signal path. Ensure a clear line of sight between the transmitter and receiver whenever possible. If interference becomes persistent, check for firmware updates for the microphones that may improve performance.
Audio Quality Concerns
If you notice poor audio quality, such as distortion or low volume, several factors could be the cause. First, check the levels on the receiver and adjust them as needed. Excessive gain can lead to distortion, while low levels can result in inaudible sound.
If problems with audio quality persist, inspect the microphone and cables for any signs of damage. Ensure proper connections between all components, and remember that using high-quality cables can reduce the chances of interference and maintain signal integrity.
Maintaining Your Wireless Microphone System
Routine Cleaning and Care
To ensure longevity, practice routine maintenance of your wireless microphone system. Clean the microphone grill regularly to eliminate dust or debris that may accumulate. Use a soft, dry cloth for the microphone casing and avoid using cleaning solvents that could damage the material.
If your microphone is in a lavalier format, check the clips and cables for fraying or wear. Ensure that all connections remain secure and that any protective windshields are intact. Proper care will extend the lifespan of your microphone and maintain optimal audio performance.
Regular Firmware Updates
Many wireless microphone systems offer the ability to update firmware through the manufacturer’s software. Keeping your firmware updated can provide enhancements and newer features, ensuring you’re leveraging the latest technology available. Regularly check for updates, especially before significant events or recording sessions.
By maintaining your equipment and staying informed about updates, you can preserve your system’s reliability and performance, helping ensure troubles are minimized during crucial audio capture moments.
Conclusion
Setting up and using a professional wireless microphone can seem daunting at first, but with the right knowledge and processes, it becomes a manageable task. By understanding the components of a wireless microphone system, selecting the appropriate model, and following proper setup and usage guidelines, you can achieve clear and professional audio for your projects.
Whether you are a musician, presenter, content creator, or filmmaker, investing time in understanding your wireless microphone thoroughly elevates your audio quality. From conducting signal tests to troubleshooting common issues, being well-prepared will make your experience smoother and more enjoyable.
So, the next time you’re ready to capture crystal-clear audio, follow these steps and unleash the full potential of your professional wireless microphone system. Your audience will notice the difference, and you’ll take confidence in delivering high-quality audio during every performance, presentation, or video recording you undertake.
