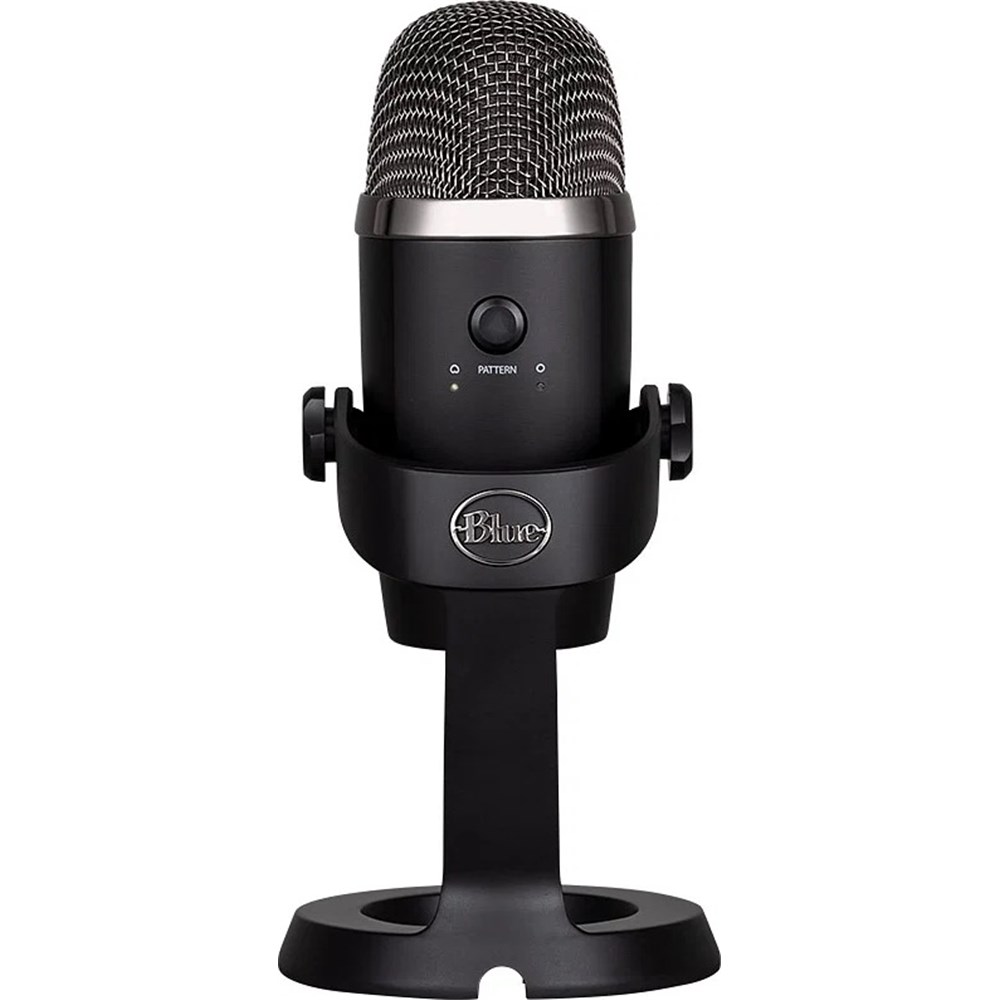
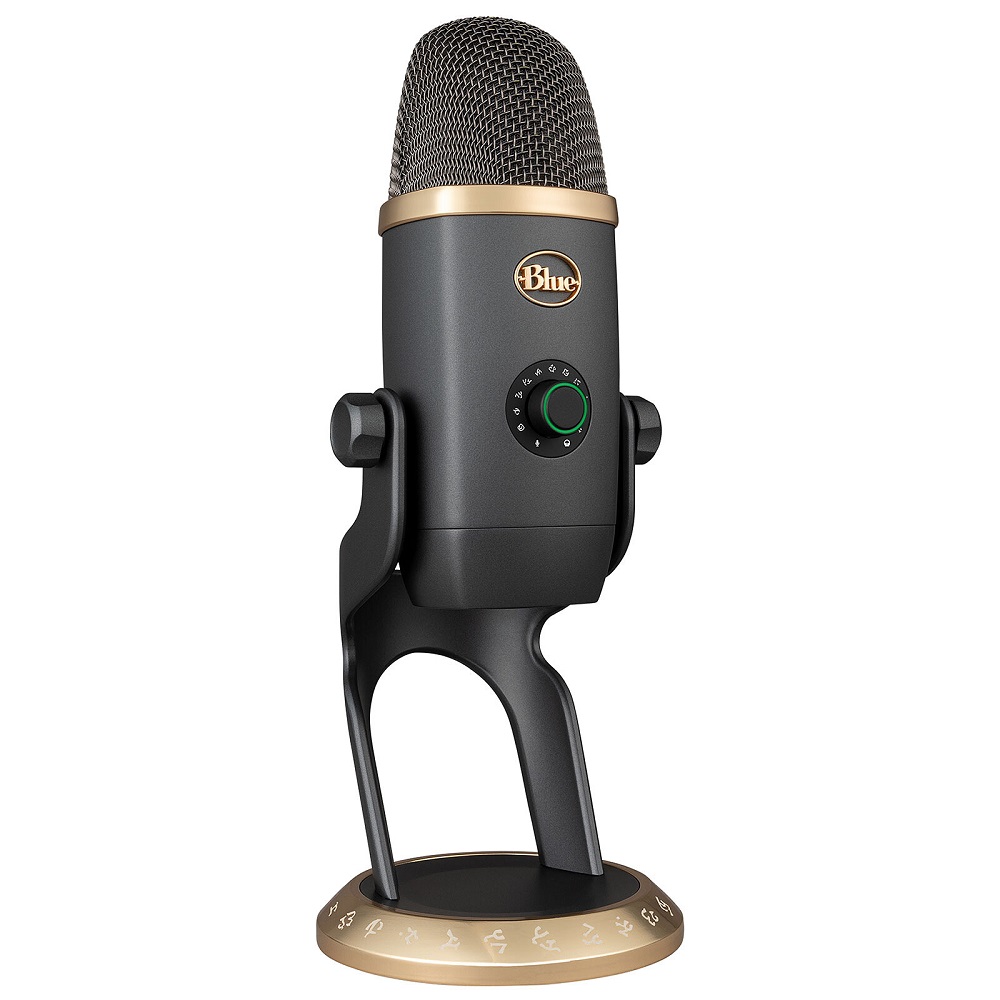
The Blue Yeti microphone stands out as one of the most popular choices for podcasters and streamers alike. Known for its versatility, high-quality sound, and ease of use, the Yeti microphone can significantly enhance your audio recording experience. However, achieving optimal sound quality requires an understanding of the various settings and configurations this mic offers. This article will guide you through the best Yeti microphone settings, helping you maximize its potential for podcasting and streaming.
Understanding the Blue Yeti Microphone
Features of the Blue Yeti
Before diving into settings, it’s essential to understand what makes the Blue Yeti a preferred choice for many content creators. The microphone features multiple polar patterns—cardioid, omnidirectional, bi-directional, and stereo—allowing you to choose the best recording method for your needs.
- Cardioid: Best for solo recording, capturing sound directly in front of the microphone while reducing background noise.
- Omnidirectional: Captures sound equally from all directions, making it ideal for group interviews or environmental sounds.
- Bi-directional: Records from the front and back of the mic, making it perfect for interviews where two people face each other.
- Stereo: Combines left and right channels, producing a realistic sound stage for music or soundscapes.
By understanding these features, you can harness their power to achieve the best audio quality.
The Importance of Proper Settings
Using the right settings transforms your audio recordings. Improper configurations can lead to poor quality, making your content less engaging and professional. Adjusting the Yeti microphone settings ensures that your voice sounds clear, rich, and dynamic while minimizing unwanted sounds.
Taking the time to learn about your microphone’s capabilities helps you deliver polished audio consistent with today’s podcasting and streaming standards.
Finding the Right Polar Pattern
Choosing the Appropriate Setting
When beginning your podcast or stream, selecting the right polar pattern is essential. For most solo podcasters and streamers, the cardioid mode is the best option. This setting focuses on sound coming directly from the front, making it less susceptible to background noise.
To select the cardioid pattern, simply turn the knob on the back of the microphone until the indicator points to the cardioid symbol. If you plan to host guests or conduct interviews, switch to bi-directional mode, capturing audio from both speakers.
Testing Background Noise
Once you select your preferred polar pattern, it’s a good idea to test the recording environment. Ideally, find a quiet space to minimize background noise. Before recording, conduct a quick test by speaking at various volumes and distances to ensure unwanted sounds stay out of the recording. Adjusting the polar pattern can dramatically impact audio quality, so conduct tests to find the sweet spot for your specific location.
Setting Gain Levels
Understanding Gain Control
Gain control plays a vital role in determining how much sound your microphone picks up. The Yeti microphone settings features a gain knob that adjusts the microphone sensitivity. Turning the gain up increases sensitivity but also raises background noise. Conversely, keeping it low reduces noise but may result in a quieter recording that necessitates post-processing.
Finding the Optimal Gain Setting
Start with the gain knob set to about the halfway point, then conduct a sound check. Ask someone to listen to the audio while you speak at your intended recording volume. Adjust the gain higher if your voice seems too quiet or lower if background noises exceed your voice level. Test with your typical speaking voice, as this gives you the most accurate representation of sound quality.
Generally, you want the gain level to hover around -12 to -6 dB on your audio meter. Staying within this range decreases the risk of distortion, ensuring clarity in your recordings.
Microphone Positioning Techniques
The Importance of Distance and Angle
Placement of your Blue Yeti microphone substantially affects the sound quality. Positioning the mic about 6-12 inches away from your mouth generally produces the best results. Speaking too closely may result in distorted audio, while being too far away could lead to a quieter recording.
For optimal audio pickup, angle the microphone slightly toward your mouth. A 45-degree angle can help capture your voice clearly while rejecting noise from other sources. This positioning reduces the likelihood of plosive sounds—harsh bursts caused by letters like ‘P’ and ‘B’.
Using a Pop Filter
Another recommended technique involves incorporating a pop filter. A pop filter acts as a barrier for harsh sounds produced during speech, reducing the risk of unwanted plosives. You can purchase pop filters designed specifically for the Yeti or use a DIY approach with household items like a stocking stretched over a wire hanger.
By utilizing a pop filter, you enhance your audio quality further and provide a professional feel to your recordings.
Managing Headphone Monitoring
The Benefits of Headphone Monitoring
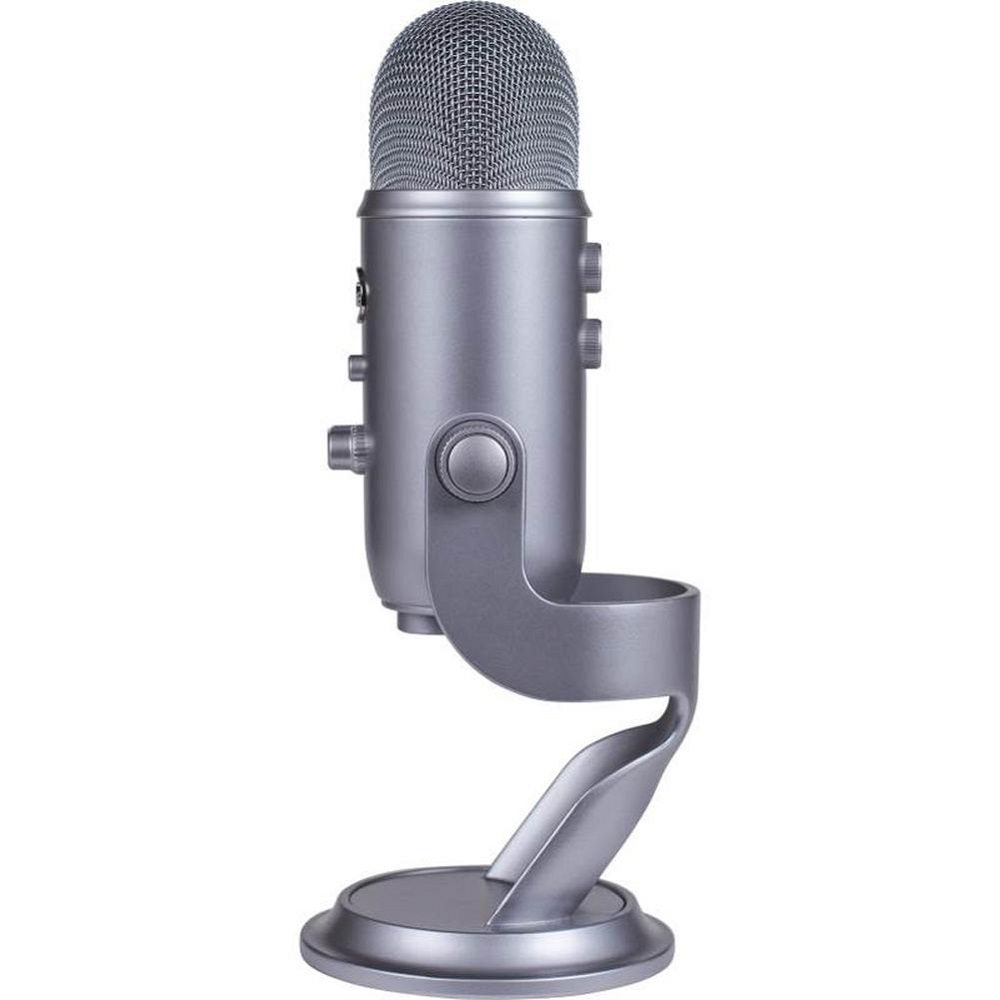
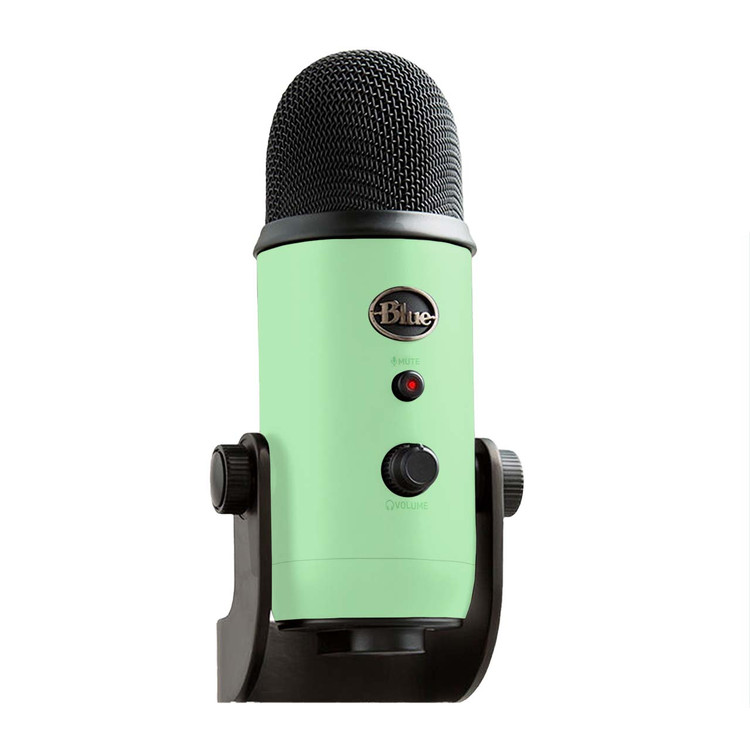
The Blue Yeti is equipped with a headphone jack and volume control, enabling live monitoring of your recordings. Using headphones allows you to listen to your voice in real time and detect any audio issues as they occur. This feature greatly enhances your control over the final audio quality.
Setting Up Headphones
Connect your headphones directly to the microphone’s 3.5mm jack. Adjust the headphone volume control to a comfortable level before you start recording. Listen for clarity, background noise, and latency. Ideally, the audio you hear should closely match what you are recording.
While monitoring, pay attention to any intrusive sounds, such as computer fans or keyboard clicks, that may need to be adjusted in your recording environment. Making real-time adjustments ensures you capture the best quality possible.
Utilizing Software Settings
Recording Software Options
Choosing the right recording software can elevate your audio editing and production process. Programs such as Audacity, Adobe Audition, or GarageBand provide powerful tools to enhance recordings. Familiarize yourself with the primary functions of your selected software, including gain adjustment, noise reduction, and equalization.
Fine-Tuning with Equalization
After recording, apply equalization to improve clarity and presence. Most audio software includes EQ tools that allow you to enhance specific frequency ranges. For voice recordings, boosting frequencies around 3-6 kHz can bring out the natural tone of your voice, making it sound clearer and more defined.
Also, consider adding a slight cut in the lower frequencies (below 80 Hz) to reduce muddiness in your recordings. Fine-tuning the EQ settings enhances overall clarity, creating a more professional sound quality for your stream or podcast.
Monitoring and Improving Audio Quality
Regular Testing and Adjustment
Achieving the best sound quality isn’t just a one-off task; it requires regular adjustments. Periodically conduct sound checks to ensure that your settings still meet your needs, especially after making changes to your environment or recording location.
Review your recordings critically and take notes on any areas for improvement. Listen for background noises, volume inconsistencies, and overall clarity. Identifying these factors early on helps you make the necessary adjustments.
Seeking Feedback
If you can, include others in the evaluation process. Share your recordings with trusted friends or colleagues and request constructive feedback. Their perspectives can highlight issues you might not notice on your own, allowing you to improve your audio quality continuously.
With the Blue Yeti microphone, mastering your recording environment, settings, and equipment can significantly impact your podcast or stream. By following these guidelines and making adjustments based on your experiences, you can create high-quality audio that resonates with your audience and benefits your overall content creation journey.
Elevating Your Podcasting and Streaming Experience
The Blue Yeti microphone is a remarkable tool for podcasters and streamers aiming for excellence in audio quality. Understanding the best settings, techniques, and software options can help you harness its full potential. By choosing the right polar pattern, setting appropriate gain levels, and implementing effective microphone positioning, you set yourself up for success in delivering engaging content.
Remember: audio quality is just as important as your content itself. With these tips and techniques, you can create polished recordings that captivate listeners and enhance the overall quality of your podcasts and streams. Embrace these strategies, and watch your content elevate to new heights!
