Taking care of your hair clipper is vital for achieving optimal performance and prolonging its lifespan. Regular cleaning and proper oiling can keep your clipper functioning smoothly, prevent hair pulling, and ensure precision during every cut. This guide will walk you through essential steps for cleaning and oiling your hair clipper, along with valuable maintenance tips to enhance its durability and effectiveness.
The Importance of Cleaning Your Hair Clipper
Understanding the Benefits
Cleaning your hair clipper regularly is not just about hygiene; it’s about maintaining the quality of your grooming tool. Hair and product buildup can lead to dull blades, rough cuts, and potential malfunctioning. By keeping your clipper clean, you’ll ensure that it operates effectively, providing clean and sharp cuts every time.
Moreover, regular cleaning helps prevent the growth of bacteria and fungi in the hair clippings left behind. This is particularly important if you use the clippers for multiple clients or family members. Keeping your tool in top shape not only benefits you but also promotes a healthier grooming experience for everyone involved.
Recognizing Signs of Neglect
If you notice that your clipper starts pulling hair, producing uneven cuts, or running hot, these could be signs that it needs a thorough cleaning. Neglecting maintenance may lead to more significant issues, such as the need for more expensive repairs or even replacement.
Make it a habit to inspect your clipper regularly. If you see visible hair buildup on the blades or casing, it’s time to clean. Addressing these issues early can save you time and money in the long run.
Essential Cleaning Tools
Gathering Your Supplies
To effectively clean your clipper, you need the right tools. Here’s a list of essential supplies that will make the process less daunting:
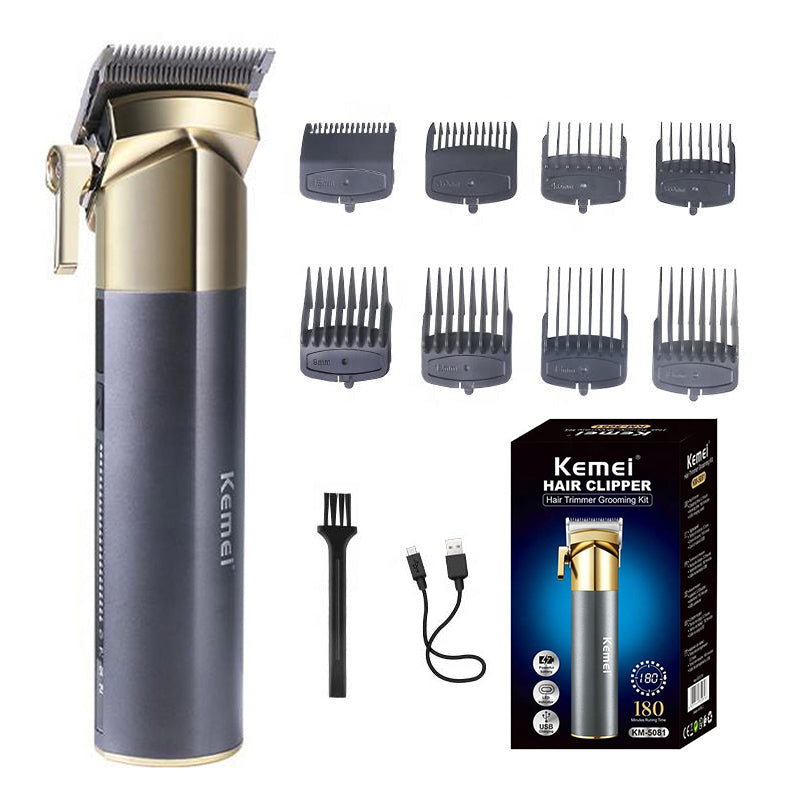
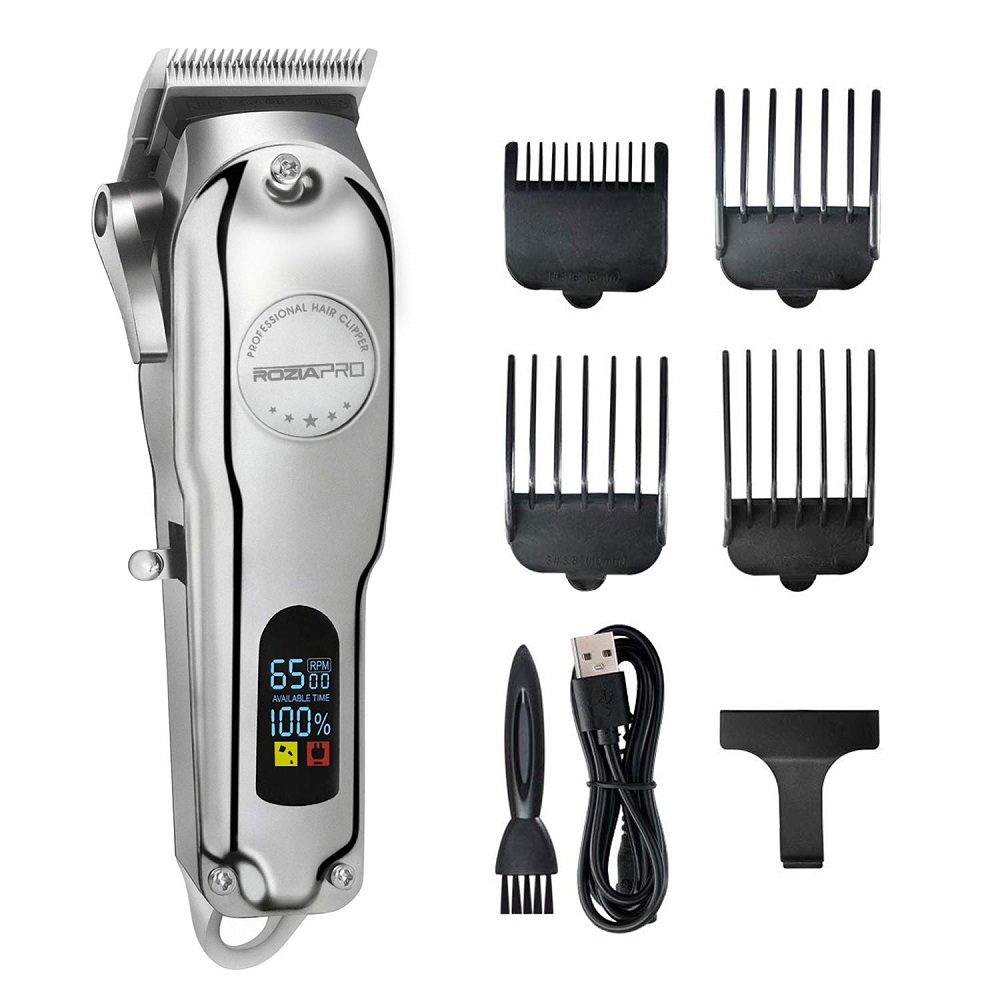
- Cleaning Brush: Most clippers come with a small brush specifically designed for cleaning. This tool is essential for removing hair and debris from the blades and body of the clipper.
- Damp Cloth: A soft, damp cloth helps wipe down the clipper’s surface. Ensure you have one handy to clean the exterior without scratching the surface.
- Clipper Cleaning Spray: While optional, a dedicated clipper cleaning spray can help dissolve stubborn hair and grime, offering a more thorough clean.
- Blade Oil: Ensure you have quality clipper oil, as this will be crucial for maintaining the blades after cleaning.
- Small Bowl: If you remove the blades for a more detailed clean, have a small bowl ready for soaking them.
Having these supplies at your fingertips will make the cleaning process easier and more efficient.
Ready Your Space
Choose a well-lit and clean workspace to perform the maintenance. A bathroom sink or a clean table works well, giving you ample area to maneuver your clipper. Lay a towel down to catch any stray hairs and prevent them from spreading around your home. Setting up a conducive space simplifies the cleaning process and minimizes mess.
Step-by-Step Cleaning Process
Initial Preparation
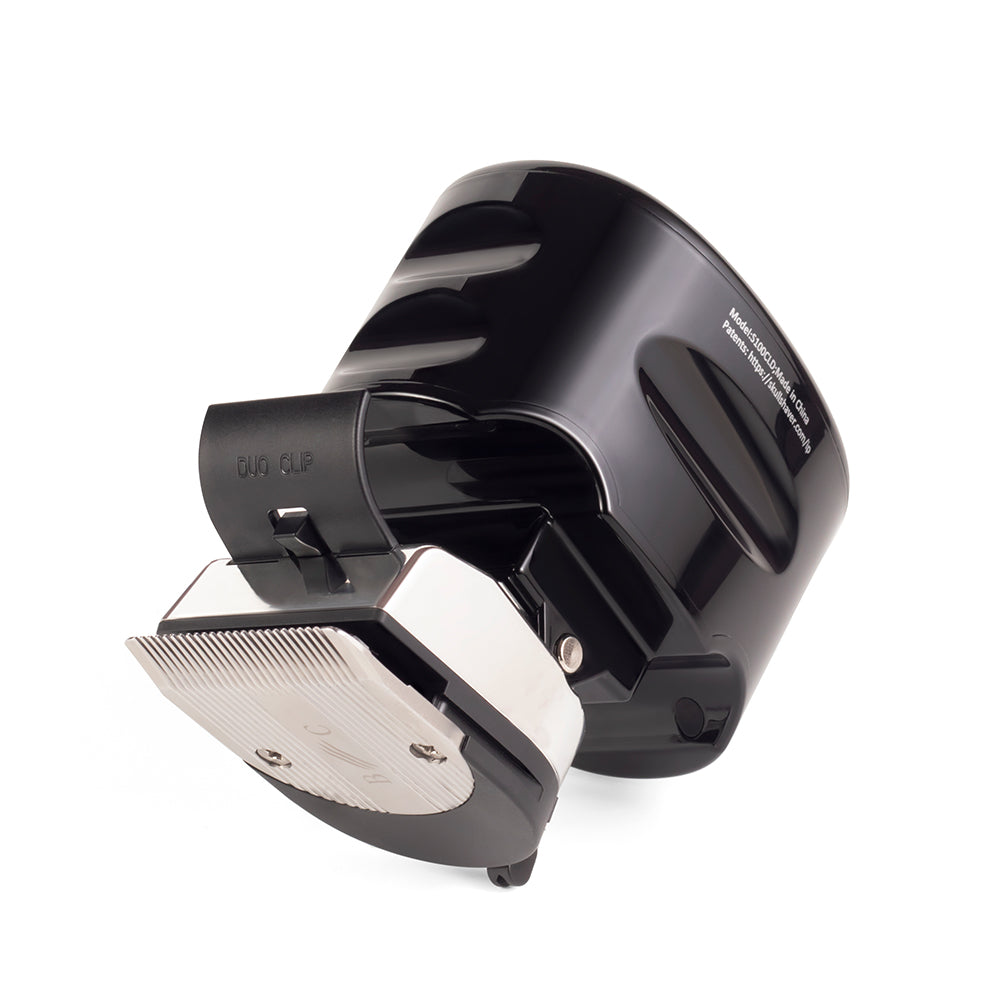
Before you begin cleaning, turn off and unplug your clipper. Ensuring your tool is powered off prevents any accidents during the cleaning process. Also, remove any attachments or guards you might be using, so the blades can be cleaned properly.
Next, use the cleaning brush to remove hair from the blades and around the clipper’s body. Pay attention to any hard-to-reach spots where hair may accumulate. Taking the time to thoroughly brush the entire clipper will improve the effectiveness of the subsequent cleaning steps.
Deep Cleaning the Blades
Once you’ve brushed off most of the debris, it’s time to focus on a deep clean. For safety, detach the blades if your clipper design allows it. Place the blades in a small bowl of warm, soapy water and let them soak for a few minutes. This will help dissolve any buildup.
After soaking, use the cleaning brush to scrub the blades gently. This process will remove any remaining hair or grime. Rinse the blades thoroughly under warm water and dry them completely with a clean cloth. Make sure no moisture is left, as it can lead to rust and deterioration.
Proper Oiling Technique
The Importance of Oiling Your Blades
Oiling your clipper blades is an essential maintenance step that improves performance. The oil reduces friction between the blades, allowing for smoother cuts. Regular oiling prevents overheating, protects against corrosion, and helps maintain overall effectiveness.
You should oil your clipper blades after every few uses or whenever you notice them becoming dry. Many professionals recommend checking the oil level in your clipper regularly to ensure optimal performance.
How to Oil Your Blades
To oil your blades, first, turn on the clipper. This step warms the blades and helps the oil flow better, ensuring uniform coverage. Once the clipper is running, carefully apply a few drops of clipper oil along the moving blades. Avoid over-oiling; too much oil can attract dust and debris.
After applying the oil, allow the clipper to run for a few seconds. This motion helps distribute the oil evenly across the blades. Finally, wipe off any excess oil with a soft cloth to keep your clipper clean and free from residue.
Regular Maintenance Tips
Develop a Routine
Creating a regular maintenance schedule will keep your hair clipper in prime condition. Aim to perform a basic cleaning after each use, with a deeper clean and oiling session every few weeks. By establishing this routine, you’ll prevent the buildup of hair and grime, ensuring the longevity of your clipper.
In addition to cleaning and oiling, periodically check for loose screws or damaged parts. Tightening screws or replacing worn-out parts can help maintain your clipper’s performance and avoid potential accidents during use.
Store Your Clipper Properly
How you store your hair clipper can directly impact its lifespan. After cleaning and oiling, store the clipper in a cool, dry place, ideally in its protective case. Keeping the clipper in its storage case protects it from dust, moisture, and potential damage. Additionally, avoid storing your clipper in the bathroom, where humidity levels can fluctuate, potentially leading to rust.
Ensure that any attachments or guards are clean and stored separately to prevent damage. Maintaining an organized storage system makes accessing your clippers easier and keeps everything in good condition.
Troubleshooting Common Issues
Recognizing Performance Problems
Being proactive about maintenance helps prevent performance issues, but sometimes things can still go wrong. If you notice that your clipper is pulling hair, making unusual noises, or feeling hot to the touch, it’s crucial to investigate the problem. These issues can indicate dull blades, improper oiling, or misalignments.
If your clipper still struggles to perform well after cleaning and oiling, check the alignment of the blades. Misalignment can lead to uneven cutting or snagging. Loosen the screws accordingly, align the blades, and retighten them.
Seeking Professional Help
If you encounter persistent issues that you can’t resolve, consider reaching out to a professional service. Many barbershops and hairstylists offer maintenance services for clippers and can help inspect or repair any damage. It may seem like an extra expense, but investing in professional help can prolong the life of your clipper and ensure optimal performance.
Always review customer feedback and check qualifications to ensure you’re entrusting your clippers to a reputable service.
Knowing When It’s Time to Replace
Recognizing the Signs of Wear
Despite diligent care, hair clippers will eventually show signs of wear and tear. If the blades become too dull and are unresponsive to sharpening, or if the motor fails to run as it should, it may be time to consider replacing your clipper. Regular maintenance can significantly extend the lifespan of your clippers, but understanding when to replace them is equally important.
A good rule of thumb is to evaluate the performance of your clipper after a certain number of years, typically every three to five years, depending on usage.
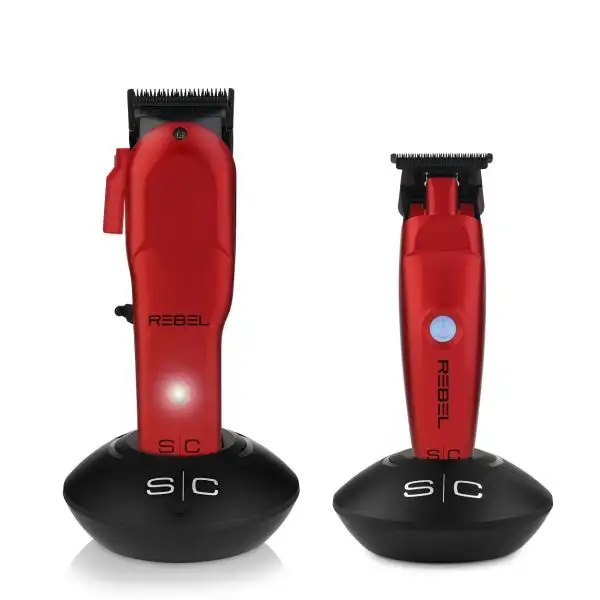
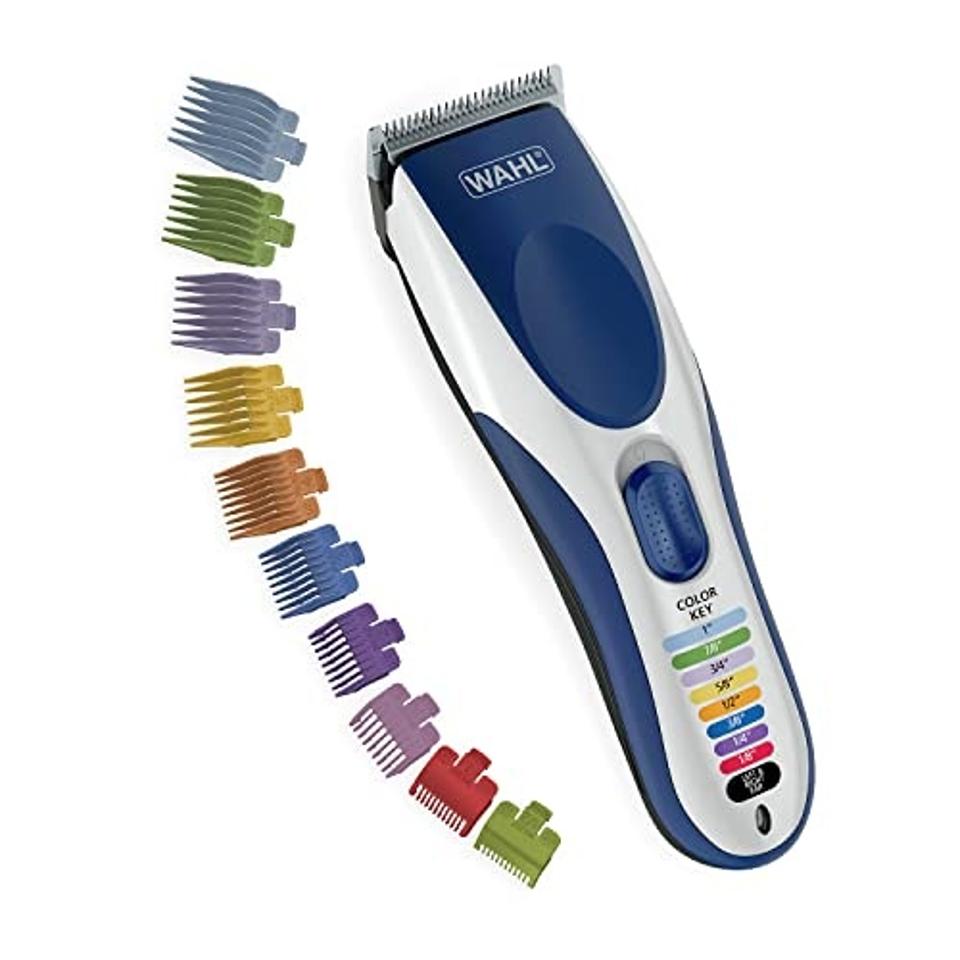
Choosing a Replacement
When choosing a replacement, keep your specific grooming needs in mind. Research the latest models, read reviews, and consider features that enhance performance, such as adjustable blade lengths, battery life, or ergonomic design. Selecting a clipper suited to your preferences will improve your grooming experience, ensuring satisfaction with your new tool.
Choosing a quality replacement ensures that you’ll continue to achieve the results you want while making the most of your grooming routine.
A Commitment to Care
Caring for your hair clipper is essential not only for its performance but also for the quality of the cuts you achieve. By following these steps for cleaning and oiling, combined with regular maintenance practices, you can extend the life of your clipper and improve your overall satisfaction with the results.
Remember, routine checks and early problem detection can save money and time in the long run. A well-maintained clipper will serve you better, allowing you to enjoy precise haircuts and grooming experiences. Embrace these maintenance tips as an integral part of your grooming routine, ensuring your hair clipper remains a reliable tool for years to come.