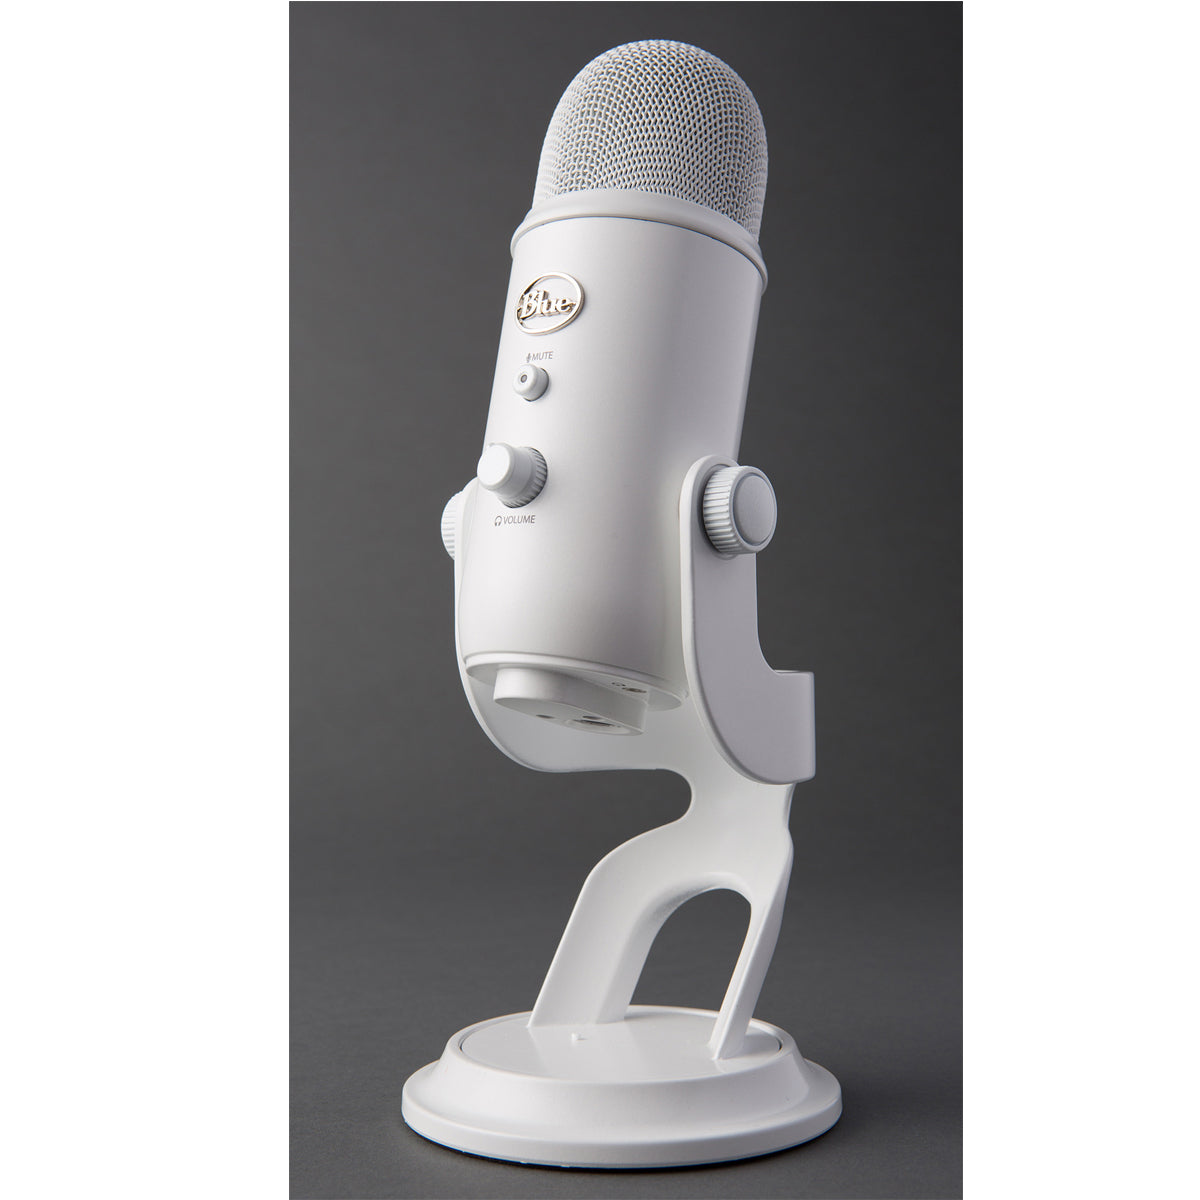
The Blue Yeti microphone has become a favorite among podcasters, streamers, and musicians due to its impressive sound quality and versatility. However, achieving the best audio quality doesn’t happen automatically. Understanding how to set up and configure your microphone is crucial for capturing clear, professional-grade sound. In this article, we’ll explore optimal Blue Yeti microphone settings and tips, ensuring you get the most out of your audio recordings.
Understanding the Blue Yeti Microphone Features
Multiple Pickup Patterns
One of the standout features of the Blue Yeti microphone is its multiple pickup patterns: cardioid, bidirectional, omnidirectional, and stereo. Each pattern is designed to capture sound in different ways, making it essential to choose the right one based on your recording needs.
For example, the cardioid pattern captures sound primarily from the front, making it ideal for podcasts or vocal recordings. The omnidirectional pattern picks up sound equally from all directions, which is great for group discussions or instruments. Understanding these patterns enables you to make informed decisions about how you set up your microphone for each unique situation.
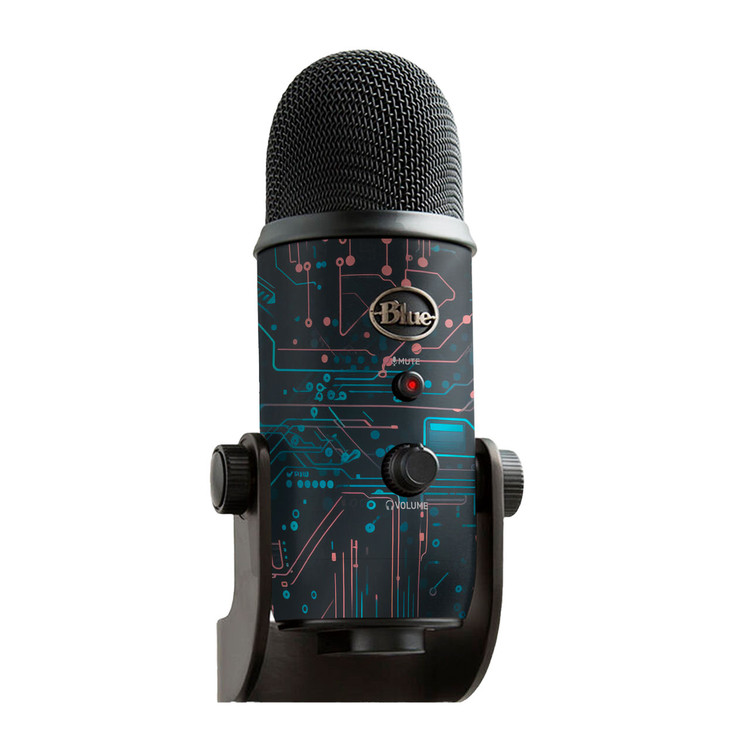
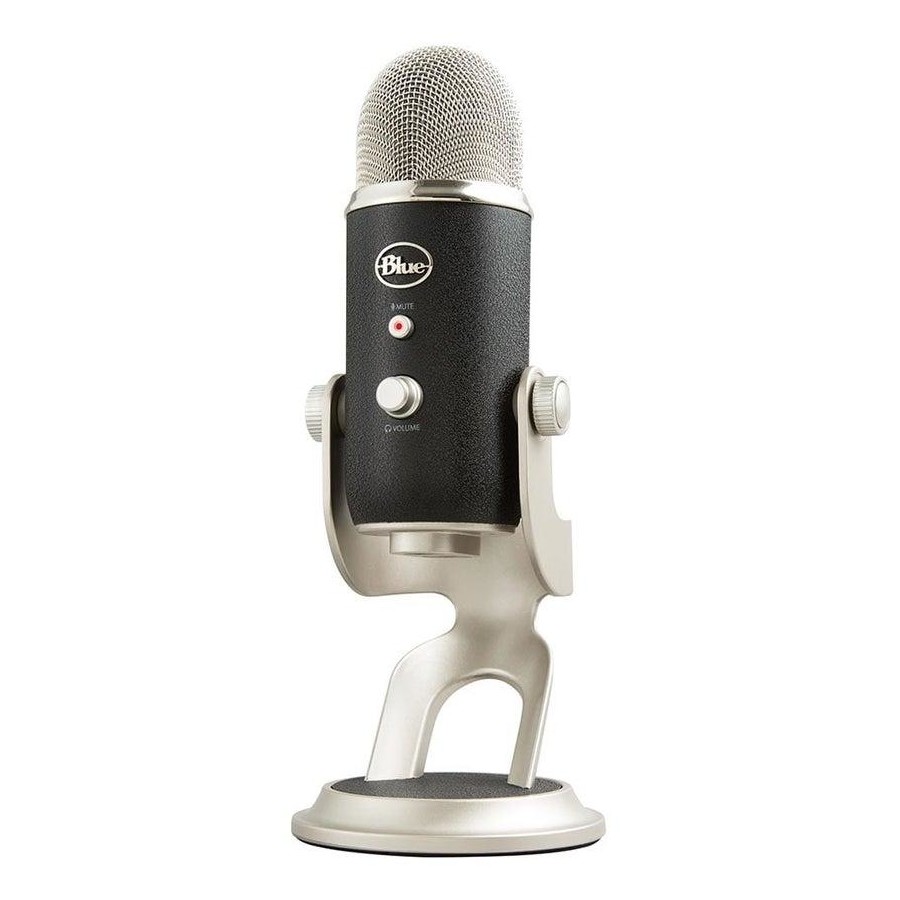
Gain Control
The Blue Yeti also features a gain control knob located on the front. Adjusting the gain affects the microphone’s sensitivity. Lowering the gain prevents distortion and background noise, while higher settings capture more sound but can also amplify unwanted noise. Choosing the right gain level is crucial for ensuring high-quality audio at the correct volume.
Knowing how to balance gain settings will allow for optimal audio capture—ensuring that your voice is clear and prominent without overwhelming distortion or background sounds. Learning to manage these elements will significantly improve your recordings.
Placement and Positioning
Optimal Distance from the Microphone
The distance from which you speak into the Blue Yeti microphone can affect audio quality. A general rule of thumb is to position yourself approximately 6 to 12 inches away from the microphone. This distance allows the mic to capture your voice clearly while minimizing breath sounds and plosives.
Experimentation is key here. Test recordings at various distances to find the sweet spot for your voice. If you find you’re too close, you may inadvertently record excessively loud audio or produce undesirable sounds. Finding that balance will help you maintain consistent sound quality.
Microphone Angle and Direction
The angle at which you position the Blue Yeti can also impact sound quality. For the cardioid mode, make sure the microphone’s logo faces directly towards you. This positioning ensures that your voice captures well while minimizing background noise.
For other pickup patterns, adjust the microphone orientation according to your needs. If you are recording a duet, for instance, switch to the bidirectional setting and position the microphone between you and your partner. Proper positioning significantly improves audio fidelity, making your recordings sound professional.
Utilizing the Right Pickup Pattern
Choosing the Best Pattern for Your Needs
Selecting the right pickup pattern according to your recording goals is essential. For most solo setups, the cardioid pattern is highly recommended. It focuses on your voice while reducing ambient sound, making it suitable for podcasts, streaming, and voiceovers.
If you’re conducting interviews or recording multiple speakers, switch to the bidirectional pattern. This setting helps capture sound from both front and back, allowing for a more natural conversation flow. Understanding when to switch patterns leads to better audio quality tailored to each recording scenario.
Unique Uses for Other Patterns
While cardioid and bidirectional patterns are commonly used, don’t overlook the omnidirectional and stereo settings. The omnidirectional pattern is excellent for recording group discussions or ambient sounds, while the stereo pattern captures a wider sound field, making it perfect for musical instruments.
Experiment with these settings during practice sessions and keep notes about what works best in different situations. Diversifying your use of pickup patterns can elevate the quality of your recordings and provide versatility in your audio content.
Adjusting Gain Settings
Understanding Gain Levels
Gain controls how much sound is captured by the microphone and can make a significant difference in recording quality. Start by setting the gain to a moderate level and adjust based on your voice intensity and the environment. A lower gain is generally preferable for louder environments, as it minimizes background noise.
If the gain is set too high, your voice may distort, especially during peaks, and unwanted sounds may creep in. Test your recordings after adjusting gain levels to find the optimal setting that balances clarity and volume while avoiding distortion.
Recording Environment Considerations
Your recording environment also plays a crucial role in determining gain settings. In quiet rooms, a lower gain setting may suffice, as background noise isn’t an issue. However, in noisier settings, you may need to increase the gain to ensure your voice stands out.
Always conduct a test recording before starting your actual session. Listen back carefully, and adjust the gain accordingly. Adapting your settings based on environmental factors will lead to consistent high-quality audio.
Use of Headphones
Monitoring Your Audio
Using headphones while recording is essential for monitoring your audio in real-time. The Blue Yeti features a headphone jack that allows for direct monitoring. This setup enables you to listen to your recordings as you make them, which is invaluable for catching issues like distortion, interference, or unwanted background noise.
When selecting headphones, choose closed-back designs to prevent sound leakage. This allows for a more accurate representation of your recordings without external noise bleeding into your audio.
Adjusting Latency Settings
When using headphones, be aware of latency—delay between the audio input and what you hear in the headphones. Ideally, you want zero latency for accurate monitoring. The Blue Yeti does offer direct monitoring capabilities, so check your software settings to ensure latency is minimized.
Setting up for optimal monitoring will enhance your recording process, giving you a more precise understanding of the sound quality and allowing you to make adjustments on the fly.
Post-Processing Adjustments
Equalization and Compression
After recording, post-processing can elevate the quality of your audio even further. Learning basic audio editing techniques such as equalization (EQ) allows you to enhance specific frequencies in your voice. For example, boosting mid-range frequencies can help your voice sound clearer, while cutting low frequencies can reduce rumbling.
Compression is another critical post-processing tool, which helps even out audio levels. It reduces the volume of loud sounds and amplifies quieter ones, resulting in a consistent output. Programs like Audacity or Adobe Audition offer user-friendly interfaces to implement these adjustments effectively.
Noise Reduction Techniques
Background noise can be particularly distracting in audio recordings. Many editing tools contain a noise reduction feature that helps minimize unwanted sounds. By selecting a portion of audio that contains only background noise, you can teach the software to recognize and reduce it throughout the recording.
Invest time in learning these post-processing techniques. Mastering audio editing not only enhances the quality of your recordings but also helps refine your overall sound.
Regular Maintenance and Care
Keeping Your Microphone Clean
To maintain sound quality, it’s important to keep your Blue Yeti microphone clean. Dust and debris can accumulate on the grille and control knobs, affecting both functionality and audio quality. Use a microfiber cloth to gently wipe down the exterior of the mic regularly.
Avoid using liquids or harsh chemicals that can damage the microphone. For more thorough cleaning, consider using compressed air to blow out dust from inside the microphone grille.
Performing Regular Software Updates
After you’ve set everything up, don’t forget to check for firmware updates for the Blue Yeti. While the microphone itself doesn’t change much, software improvements may be available that enhance compatibility or fix bugs. Keeping both the driver software and your recording software up-to-date ensures optimal performance.
By regularly maintaining your microphone and staying abreast of any updates, you increase its lifespan and continue to capture high-quality audio effectively.
Elevate Your Audio Quality
By understanding and adjusting the settings of your Blue Yeti microphone, you can significantly enhance the quality of your recordings. From choosing the right pickup pattern to managing gain levels and using proper maintenance techniques, each aspect plays a crucial part in achieving optimal results.
The flexible options offered by the Blue Yeti allow you to adapt to various recording scenarios, making it an excellent choice for content creators. Whether you’re recording a podcast, streaming gameplay, or making music, commit to learning the ins and outs of your microphone. With these settings and tips, you’ll be well equipped to produce professional-sounding audio that elevates your content. Happy recording!