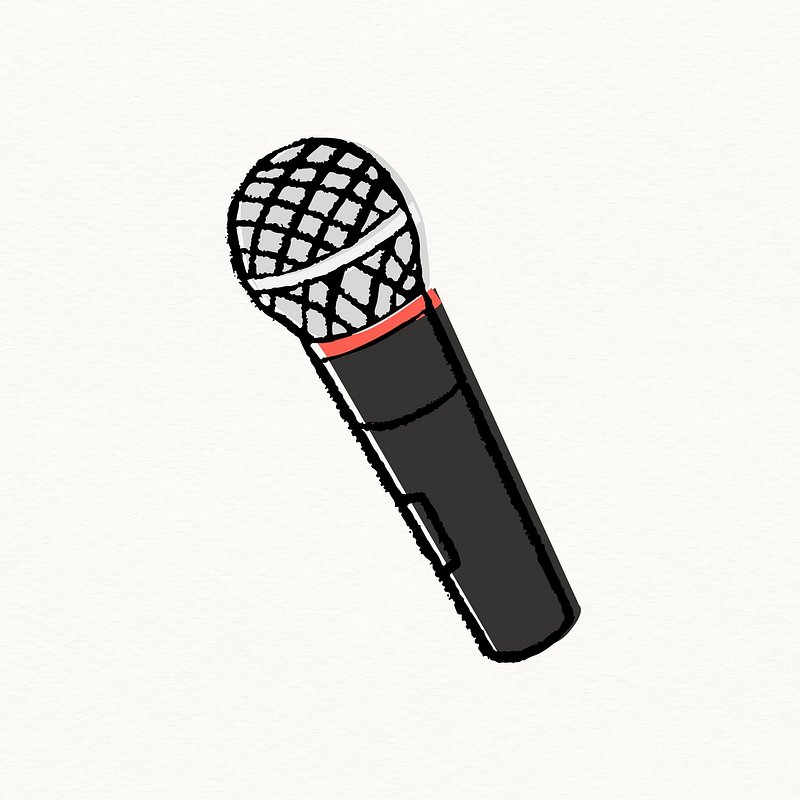
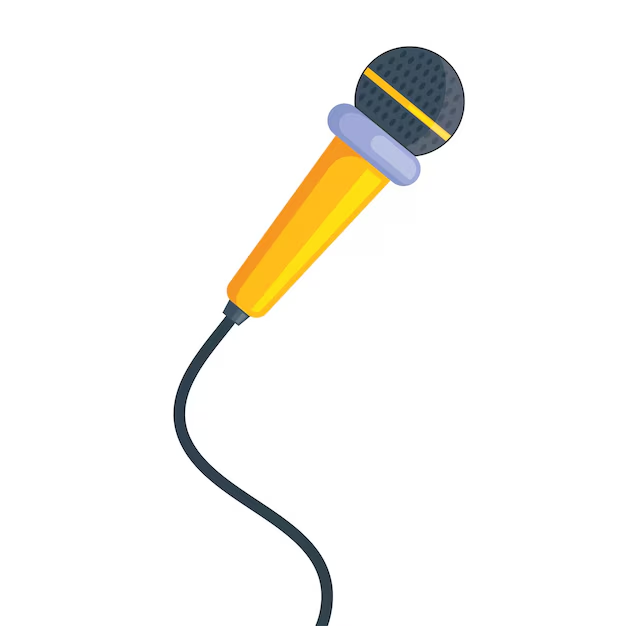
Microphone vector art can add a unique flair to various projects, from music-related designs to promotional materials. With vector art, you can create crisp, clean images that are easily scalable without losing quality. This guide will walk you through essential tips and techniques for creating stunning microphone vector art, whether you’re a novice or an experienced designer. Each section is crafted to enhance your understanding and execution of this art form.
Understanding Vector Graphics
What are Vector Graphics?
Vector graphics are images created using paths defined by a start and end point, along with other points, curves, and angles. Unlike raster graphics, which are made up of pixels, vector graphics retain their quality at any size. This characteristic is vital for designers who need to create visuals that may be scaled up for posters or shrunk down for logos without any loss of resolution. The precision of vector graphics also allows for sharp, clean lines that are aesthetically pleasing, which is crucial when creating intricate designs like microphones.
Benefits of Using Vector Art
Creating vector art offers several advantages that enhance both the design process and the final product. First, vector files are generally smaller than raster files, making them easier to share and store. This is especially useful for collaborative projects or when sending files across different platforms. Moreover, since vector graphics can be resized without loss of quality, they are perfect for varied applications, such as print materials, digital platforms, and branding. Lastly, vectors allow for easy editing. You can adjust colors, shapes, and layers to suit the requirements of various projects without starting from scratch, which saves a significant amount of time and effort.
![]()
Choosing the Right Software
Popular Vector Graphic Tools
To create microphone vector art, you’ll need the right software to facilitate your creative process. Some popular options include:
- Adobe Illustrator: As a leading vector graphic design tool, it’s packed with features and widely used in the industry. Illustrator offers advanced tools for precision, making it ideal for professional quality work.
- CorelDRAW: Known for its user-friendly interface, CorelDRAW provides powerful features suitable for both beginners and experienced designers. It also supports a wide variety of file formats.
- Inkscape: This free, open-source software is a fantastic starting point for those new to vector art. It offers a robust set of tools comparable to paid software, making it a great option for budget-conscious creators.
Choosing the right tool will depend on your comfort level, project needs, and whether you’re looking for advanced features. Each software has its strengths, and exploring a few can help you find a suitable fit for your style.
Familiarizing Yourself with the Software
Before diving into your design, take some time to become familiar with your chosen software. This may include exploring tutorials, taking online courses, or simply experimenting with the tools. Understanding essential features like the pen tool, shape builder, and various color palettes will significantly enhance your design capabilities. Learning about shortcuts and customizable settings can also streamline your workflow. If you’re comfortable with the tool, you’ll be more confident when executing your ideas, allowing for greater creative expression and efficiency as you work.
Starting Your Design
Gathering Inspiration
Inspiration can come from various sources, and gathering visual references can set the foundation for your design. Browse websites like Behance, Dribbble, or Pinterest, focusing specifically on microphone designs or related topics. Observe the different styles, colors, and layouts that stand out to you. Consider how these aspects can be incorporated or adapted to your own design. Collect various examples and create a mood board to keep your vision cohesive. This step not only motivates you but also provides a direction that can guide your creative decisions throughout the design process.
Sketching Your Idea
Begin the design process with a sketch. This can be a quick outline of your microphone concept or a detailed drawing, depending on your preference. Use either traditional tools like pen and paper or digital drawing tools like a tablet or software application. Sketching helps clarify your idea and allows for easy adjustments before diving into digital creation. It’s a crucial step that can save time and effort later on, as you may find certain aspects of your design work better when visualized on paper. Plus, having a rough layout can serve as a reference as you transition to the digital format, keeping you focused on your original intent.

Creating the Microphone Vector
Using Basic Shapes
Start by creating the basic shapes of your microphone. Use circles, rectangles, and lines to lay the foundation of your design. For example, the microphone head is usually circular, while the body is often cylindrical. Using simple shapes as building blocks can simplify the design process. By breaking down the microphone into manageable components, you can more easily manipulate them later on to achieve a polished look. It’s a key technique in vector art: starting simple allows you to focus on proportions and placements before adding intricate details.
Refining Your Design
Once you’ve created the basic shapes, it’s time to refine your design. Adjust the curves, angles, and sizes to achieve a more realistic representation of the microphone. This often involves using the shape builder tool to combine or subtract elements to create a seamless design. Pay particular attention to detail, including vents or texturing that make microphones distinctive. Adding small embellishments like highlights or outlines can elevate the overall look of your design. Don’t hesitate to zoom in and examine your work closely; this can help you catch any inconsistencies or areas that could be improved upon.
Adding Color and Texture
Selecting a Color Palette
Color plays a vital role in design since it can evoke emotions and set the tone. Choose a color palette that reflects the mood or theme of your project. Consider using color theory principles to select combinations that resonate well together. You can opt for bold, vibrant colors to catch attention, or muted tones for a more sophisticated feel. Tools like Adobe Color can assist you in selecting complementary colors and creating harmonious palettes. Also, keep in mind the context in which your microphone art will appear—whether on a digital platform, in print, or as part of a promotional material—to ensure that your colors translate well across mediums.
Implementing Gradients and Shadows
Using gradients can add depth and dimension to your microphone design. Gradients shift smoothly from one color to another, allowing for highlights and lowlights that give your design a three-dimensional feel. Apply a subtle gradient to parts of your microphone to enhance its physical characteristics. Additionally, shadows can create realism by suggesting the direction of a light source. Experiment with different opacity levels and blending modes to find the right balance. These techniques not only enrich your design but also draw the viewer’s eye, making the microphone stand out as a central element of your artwork.
![]()
Final Touches and Exporting
Adding Details and Effects
Once the main components of your design are complete, it’s time to look for areas to add subtle details or effects. Consider incorporating reflections, highlights, or additional elements like sound waves or musical notes. These touches can elevate your design, making it more engaging and visually appealing. Don’t rush this step; attention to detail can turn a good design into a great one. The final effects should complement the microphone and enhance its artistic expression without overpowering the overall composition.
Exporting Your Vector Art
When your design is complete, it’s time to export your creation. Save your file in vector formats like AI or SVG for future editing. This ensures you retain the ability to modify your design later on. Additionally, export in raster formats like PNG or JPG for sharing online or printing. Be mindful of resolution; a higher resolution is generally better for print projects to maintain crispness, while a lower resolution is sufficient for web use. This careful consideration in exporting ensures that your work looks its best no matter where it appears.
Promoting Your Work
Sharing on Social Media
Once you’ve created stunning microphone vector art, don’t hesitate to share it! Platforms like Instagram, Twitter, and Facebook are excellent avenues for showcasing your designs. Use relevant hashtags to reach a broader audience and engage with design communities. Create eye-catching posts that highlight not only the finished product but also snippets of your creative process. Engaging with other artists and receiving feedback can foster connections and enhance your growth as a designer. The more you share, the more opportunities you have to learn and find inspiration from others.
Creating a Portfolio
Building a portfolio of your work is vital for showing potential clients or employers your skills. Include your best pieces, including your microphone vector art, and highlight your unique style and techniques. An online portfolio can serve as a powerful marketing tool, helping you attract clients and opportunities in the design industry. Make sure to keep your portfolio updated to reflect your growth and new skills. Many artists also benefit from writing up case studies for select projects to showcase not just the final design but also the thought process and techniques involved.
Conclusion
Creating stunning microphone vector art is a fulfilling endeavor that blends creativity, technical skill, and personal expression. By understanding vector graphics, choosing the right software, and following a structured design process, you can achieve impressive results that resonate with your audience. Through careful attention to detail, effective use of color, and thoughtful promotion of your work, you can share your unique skills with the world.
Embracing the journey of crafting vector art allows for exploration and experimentation. Each project enhances your understanding of the medium, giving you the tools to continue innovating and creating. The world of design is vast and filled with opportunities, and your unique style can make a lasting impact. Enjoy the process, celebrate your achievements, and keep pushing the boundaries of your creativity. Happy designing!


