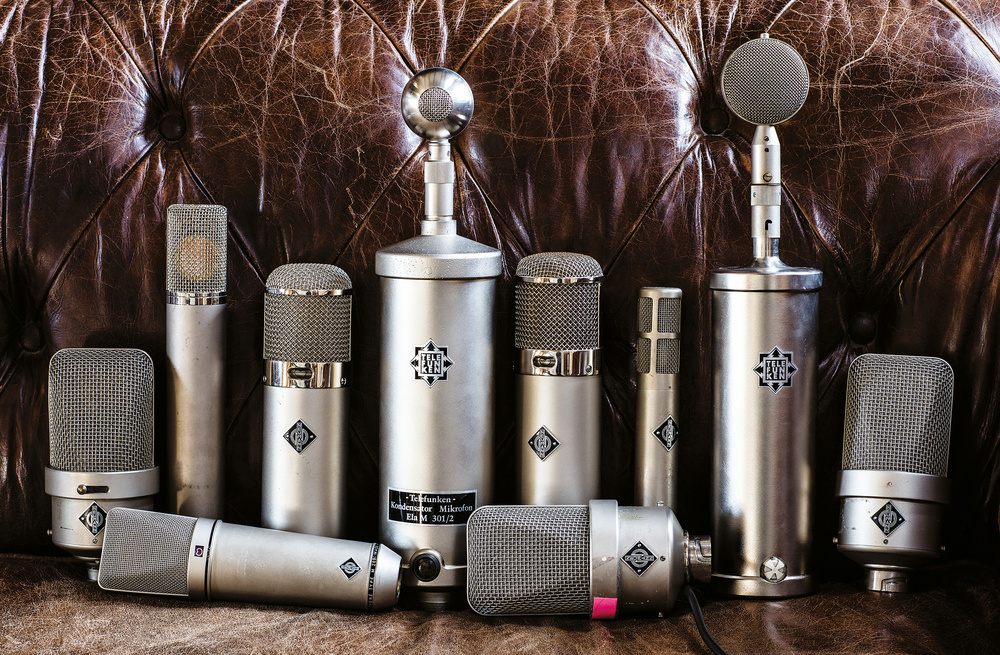
Old microphones hold a special place in the world of sound recording — a tribute to the golden age of audio engineering. These vintage treasures not only carry a rich history but sometimes offer a unique warmth and character to recorded audio. Whether you’re an audiophile, a recording enthusiast, or a collector, understanding how to restore and maintain these vintage pieces is key to preserving their legacy. Here is a comprehensive guide for restoring old microphones to their former glory.
Cleaning and Visual Inspection
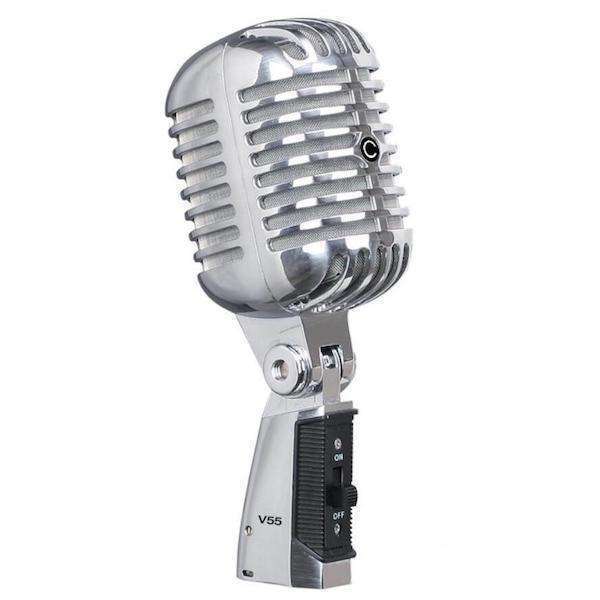
Gently Cleaning Exterior Surfaces
Start by gently cleaning the microphone’s exterior. Use a soft-bristled brush to remove dust and a soft cloth dampened with mild soapy water to wipe surfaces. Avoid harsh chemicals or abrasive materials that can damage delicate finishes or erode lettering. For grill cloths, use a gentle vacuum cleaner or an air blower to remove embedded dust particles.
Assessing for Physical Damage
After cleaning, assess the microphone for any signs of physical damage. Look for dents in grills, corrosion, frayed cables, or damaged connectors. Make a note of these issues, as they will need to be addressed either through careful repair or replacement with authentic parts where possible.
Internal Component Check
Inspecting Wiring and Solder Joints
Open the microphone housing to inspect the wiring and solder joints. These connections can degrade or break over time. If you find any broken wires or loose connections, re-solder them using a low-wattage soldering iron to avoid damaging other components. Handle the wiring with care as older wires can be fragile and more prone to breaking.
Replacing Worn or Faulty Components
Check for signs of wear or damage to other internal components, such as the diaphragm. If replacements are needed, source parts that are as close to the original specifications as possible. This preserves the microphone’s characteristic sound. Specialized online forums and vintage audio shops can be good resources for finding these parts.
Dealing with Rust and Corrosion
Cleaning Corroded Metal Parts
Rust and corrosion can be common problems with old microphones. To clean small corroded areas, use a fine-grit sandpaper or steel wool. For stubborn rust, consider using a rust remover solution, but apply it precisely to avoid damage to the surrounding areas. After rust removal, protect the metal with a suitable sealant or metal polish.
Preventing Future Corrosion
Prevention is key when dealing with corrosion. Store microphones in a dry environment and use desiccants if necessary. Consider giving the microphone a protective case or container for storage to keep moisture and dust at bay.
Electronic Tuning and Calibration
Testing Frequency Response and Sensitivity
Old microphones may need tuning and calibration to return to their optimal performance. Test the frequency response and sensitivity using a sound source and audio interface with spectrum analysis software. Compare your findings to the original specs, if available, to see if any tuning is needed.
Making Adjustments to Restore Audio Quality
If testing reveals any discrepancies in audio performance, make electronic adjustments. This could involve tuning the microphone’s capsule or replacing certain electronic components, such as resistors or capacitors, that may have drifted from their original values.
Replacing or Refurbishing the Capsule
Identifying Capsule Issues
The capsule is the heart of the microphone and is critical to its sound quality. If you notice a lack of clarity or response in the microphone’s output, the capsule might need attention. Older ribbon or condenser capsules can be particularly fragile and susceptible to damage.
Consider Professional Services for Capsule Repair
Refurbishing or replacing a microphone capsule can be a delicate process. If you’re unsure about doing it yourself, consider seeking a professional service experienced in vintage microphone restoration. They will have the expertise and tools needed to carefully replace the capsule without compromising the microphone’s integrity.
Final Assembly and Testing
Reassembling with Care
Once all parts have been cleaned, repaired, or replaced, it’s time to reassemble your microphone. Do this carefully and methodically, ensuring that every component is secure and properly connected. Take care not to over-tighten screws or fittings, which can cause damage to older materials.
Comprehensive Testing After Assembly
After reassembly, do a full test of the microphone. This should include a noise floor evaluation, response to different frequencies, polar patterning, and a recording test. Use your earlier tests as a baseline to confirm that your restoration efforts have been successful.
Updating Connection Interfaces
Adapting to Modern Equipment
As technology evolves, so do the connection standards. Old microphones often come with outdated connectors that might not interface well with modern recording equipment. To bridge this gap, you may need to update the connectors or use adapters. For example, changing from a vintage 3-pin Amphenol to an XLR connector can greatly enhance compatibility with contemporary audio interfaces and mixers.
Ensuring Signal Integrity
When updating connectors, ensure that signal integrity remains a top priority. Use high-quality components to maintain the microphone’s audio quality. Poor connections can introduce noise or degrade the signal, undermining the restoration work. It’s also important to make such modifications reversible whenever possible to keep the original value of the microphone intact.
User Experience and Ergonomics
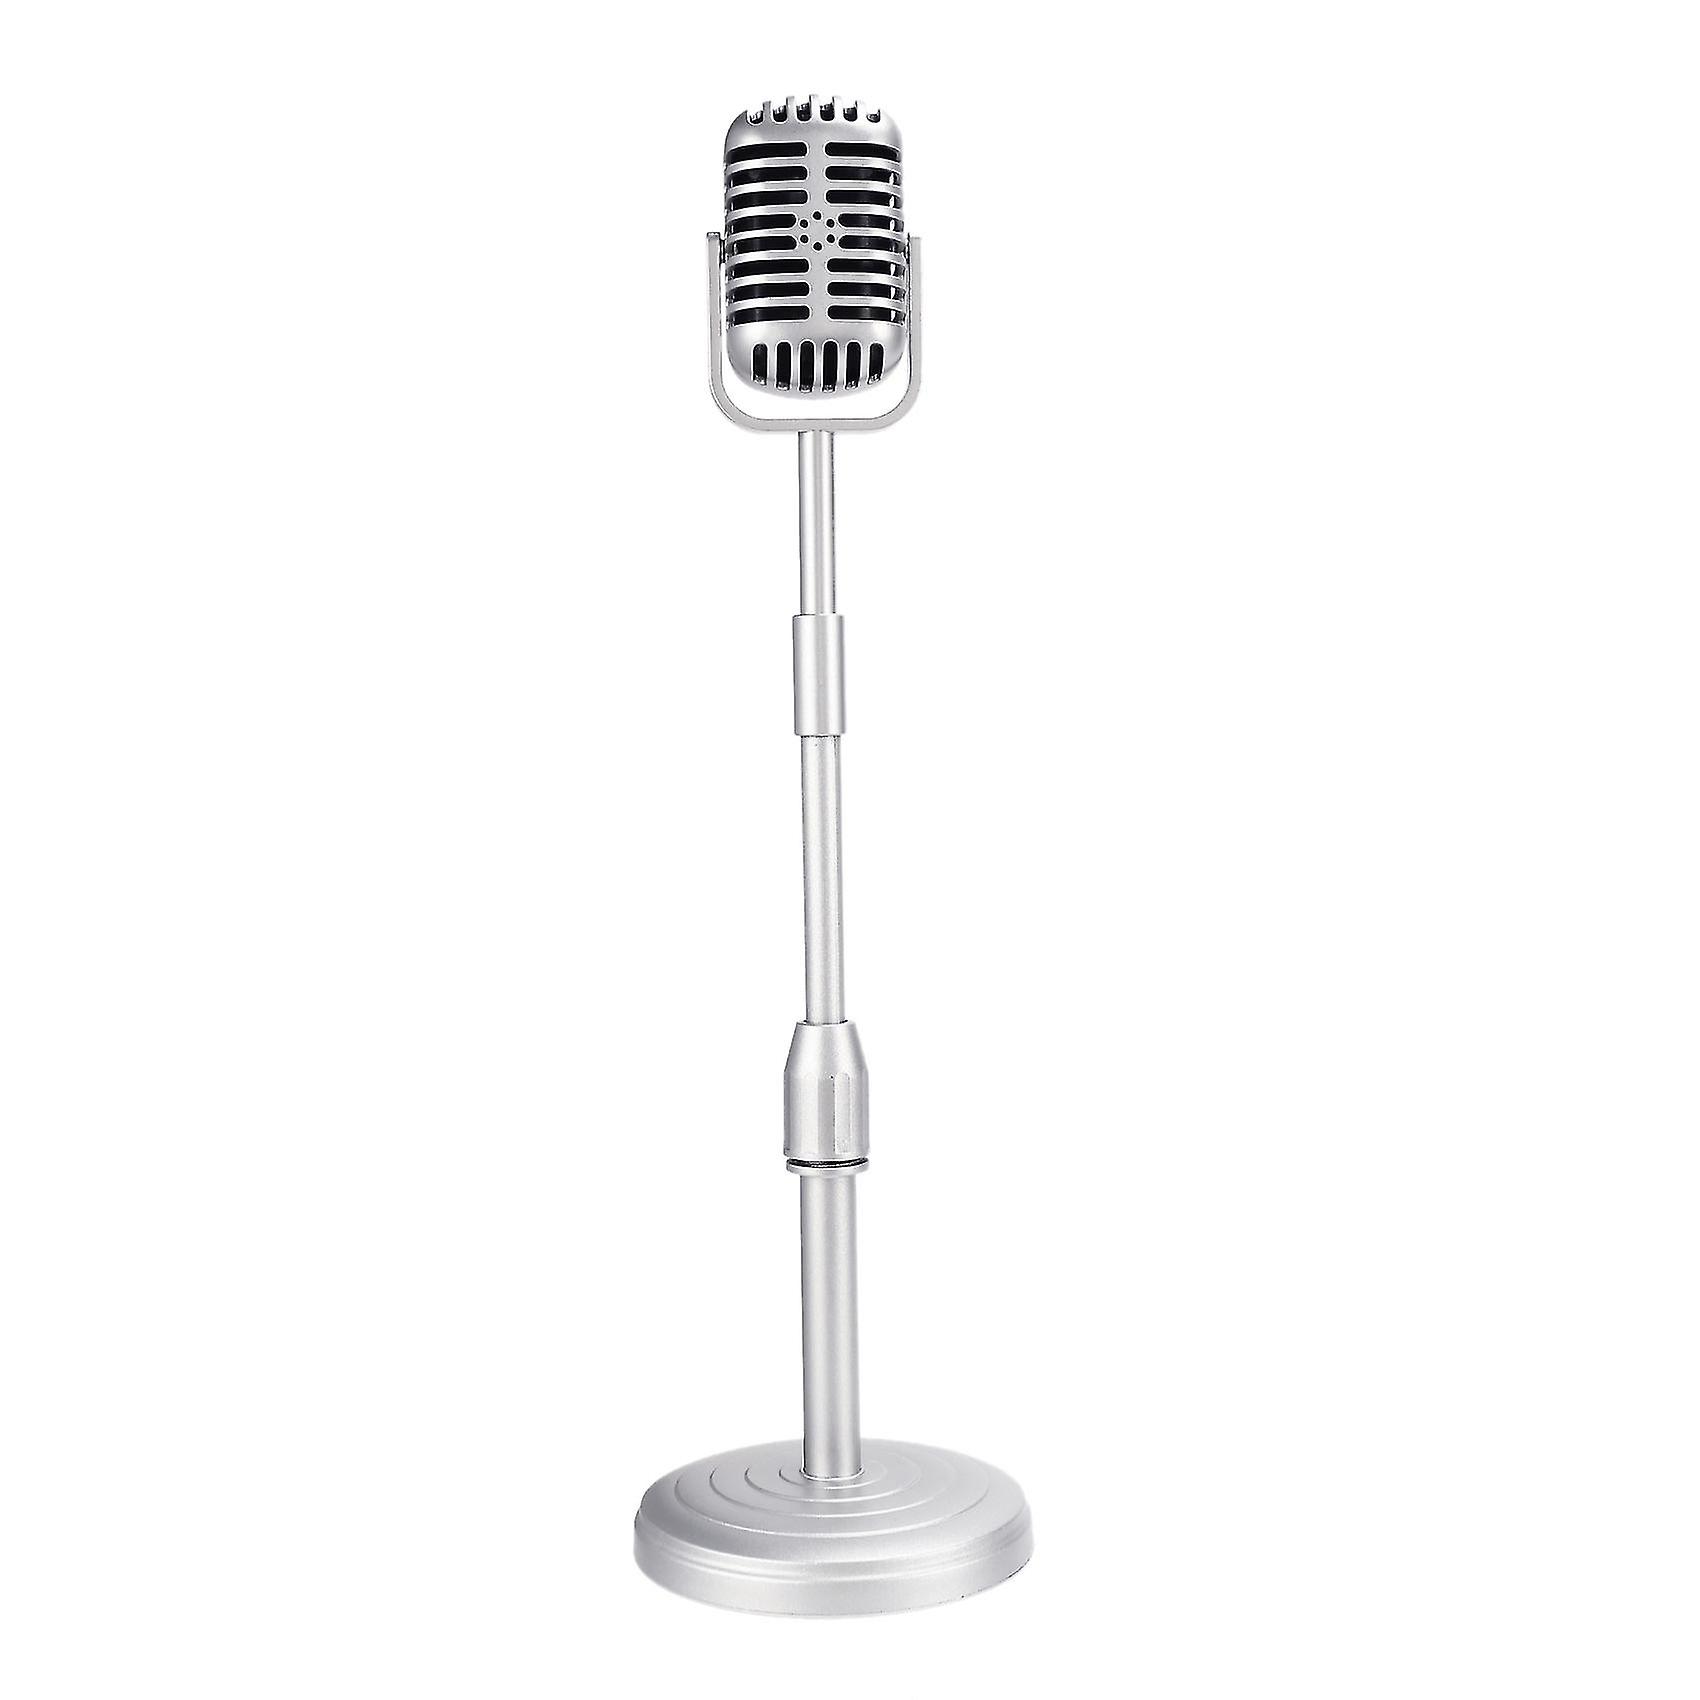
Customizing Handling and Mounting
The user experience of older microphones is often different from what we expect today. For instance, ergonomics might not have been a primary consideration in the design of older models. If you plan to use the microphone regularly, consider custom mounting options or stands that enhance its usability. These additions can make a vintage microphone more accommodating to modern studio and stage settings while preserving its classic feel.
Intuitive Integration Into Your Setup
Think about how the microphone will fit into your current audio setup. Planning for convenient switches, accessible volume controls, and stand adaptability can make using the microphone more intuitive. Such thoughtful integration enhances the user experience, allowing the unique sound qualities of the vintage microphone to shine through without hassle during the recording process.
Restoring old microphones is a labor of love that requires patience, a gentle touch, and attention to detail. By meticulously going through each of these steps, you can breathe new life into your vintage audio equipment, ensuring the quality and character of its sound endures for many more years. Whether for personal enjoyment, professional recording, or preservation, a well-restored microphone is a piece of history with a voice that can continue to tell stories through sound.