In the pursuit of superior audio quality for various applications ranging from podcasting and streaming to online meetings and interviews, a clip-on microphone emerges as a versatile and efficient solution. Known for their portability, ease of use, and ability to capture clear sound, clip-on microphones can significantly enhance your audio recordings when used correctly. This guide explores practical steps to maximize audio quality with a clip-on microphone, ensuring your voice comes across as crisp and professional.
Selecting the Right Microphone
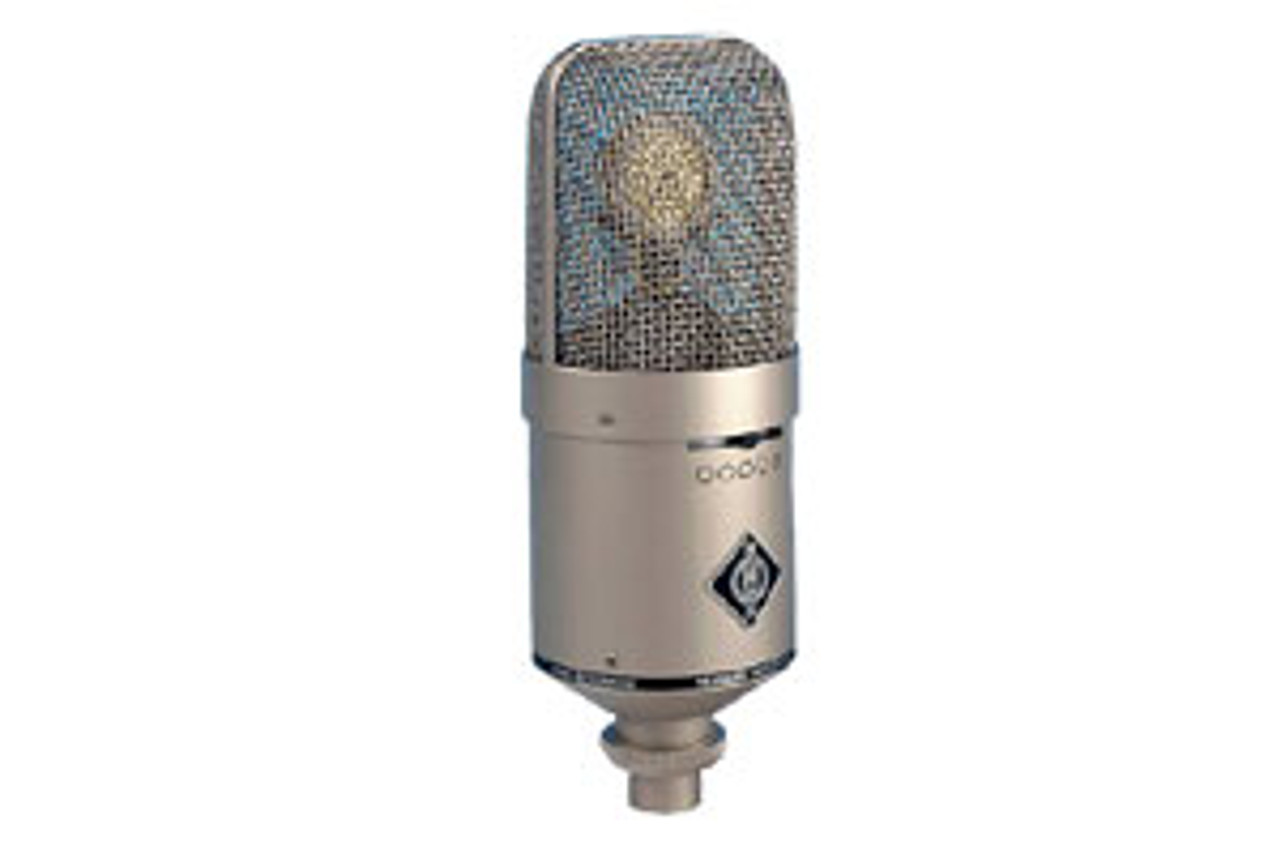
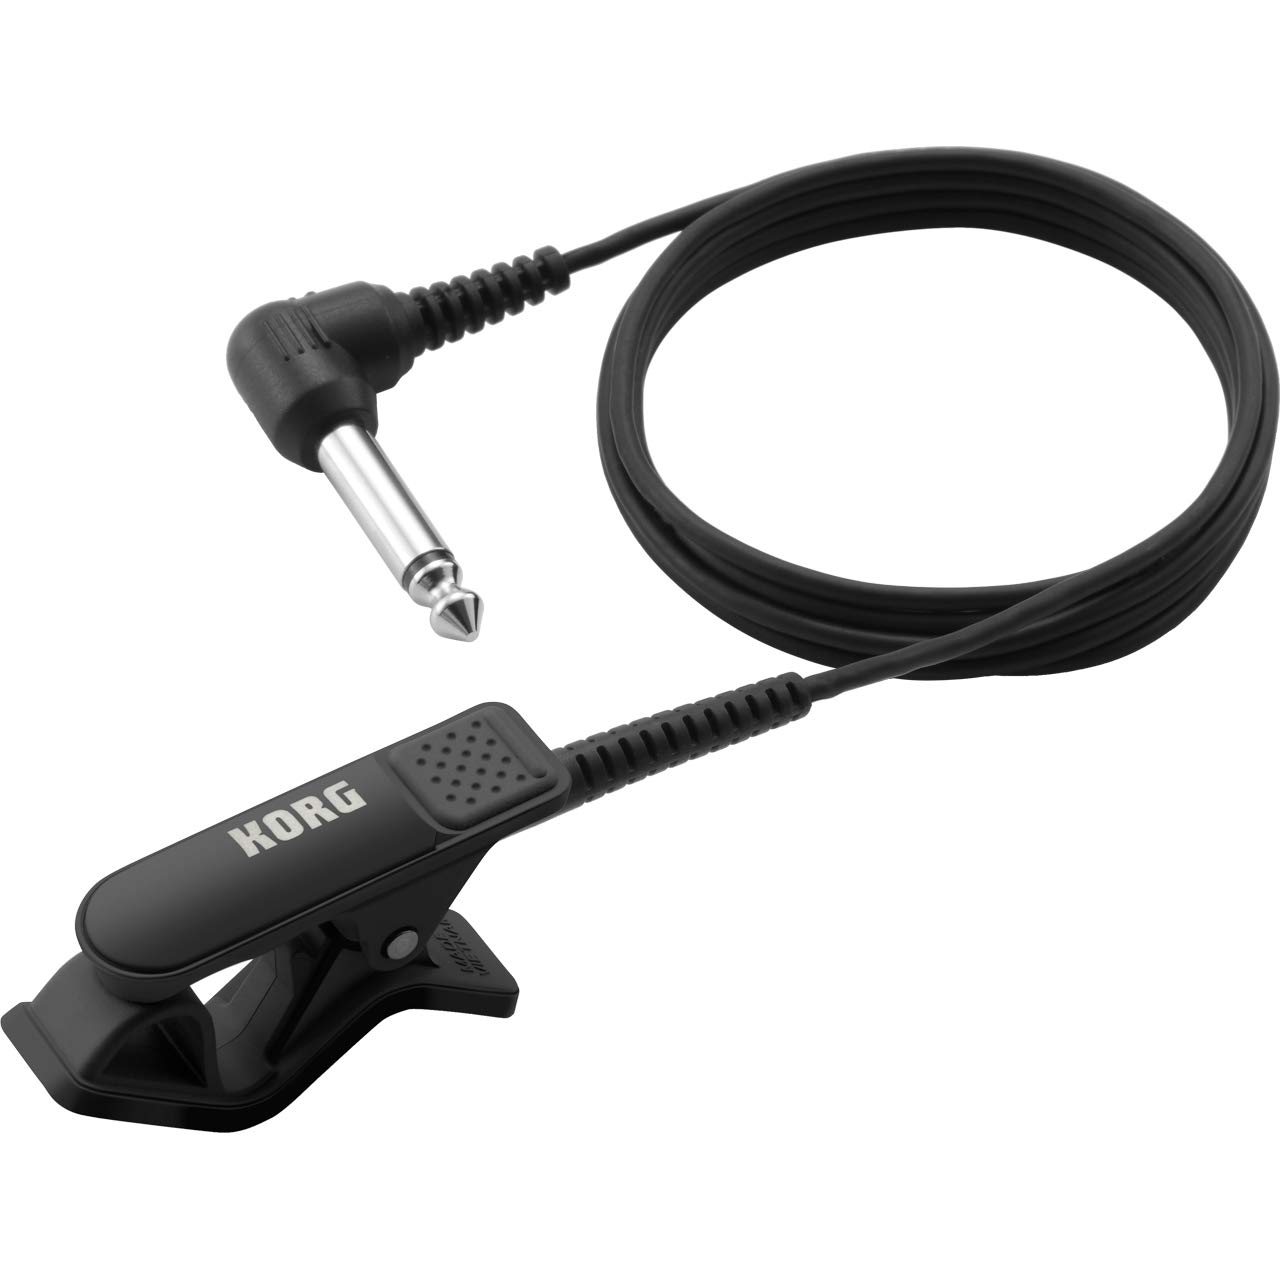
Understanding Different Types of Clip-On Microphones
Not all clip-on microphones are created equal, and knowing the differences is crucial for selection. Condenser microphones excel in sensitivity and sound quality, making them ideal for studio recordings. Dynamic microphones, on the other hand, are more rugged and better suited for live performances and outdoor use. Additionally, some clip-on microphones offer omnidirectional pickup patterns that capture sound from all directions, while others provide cardioid patterns focusing on sound from in front of the microphone, reducing background noise.
Prioritizing Features for Your Needs
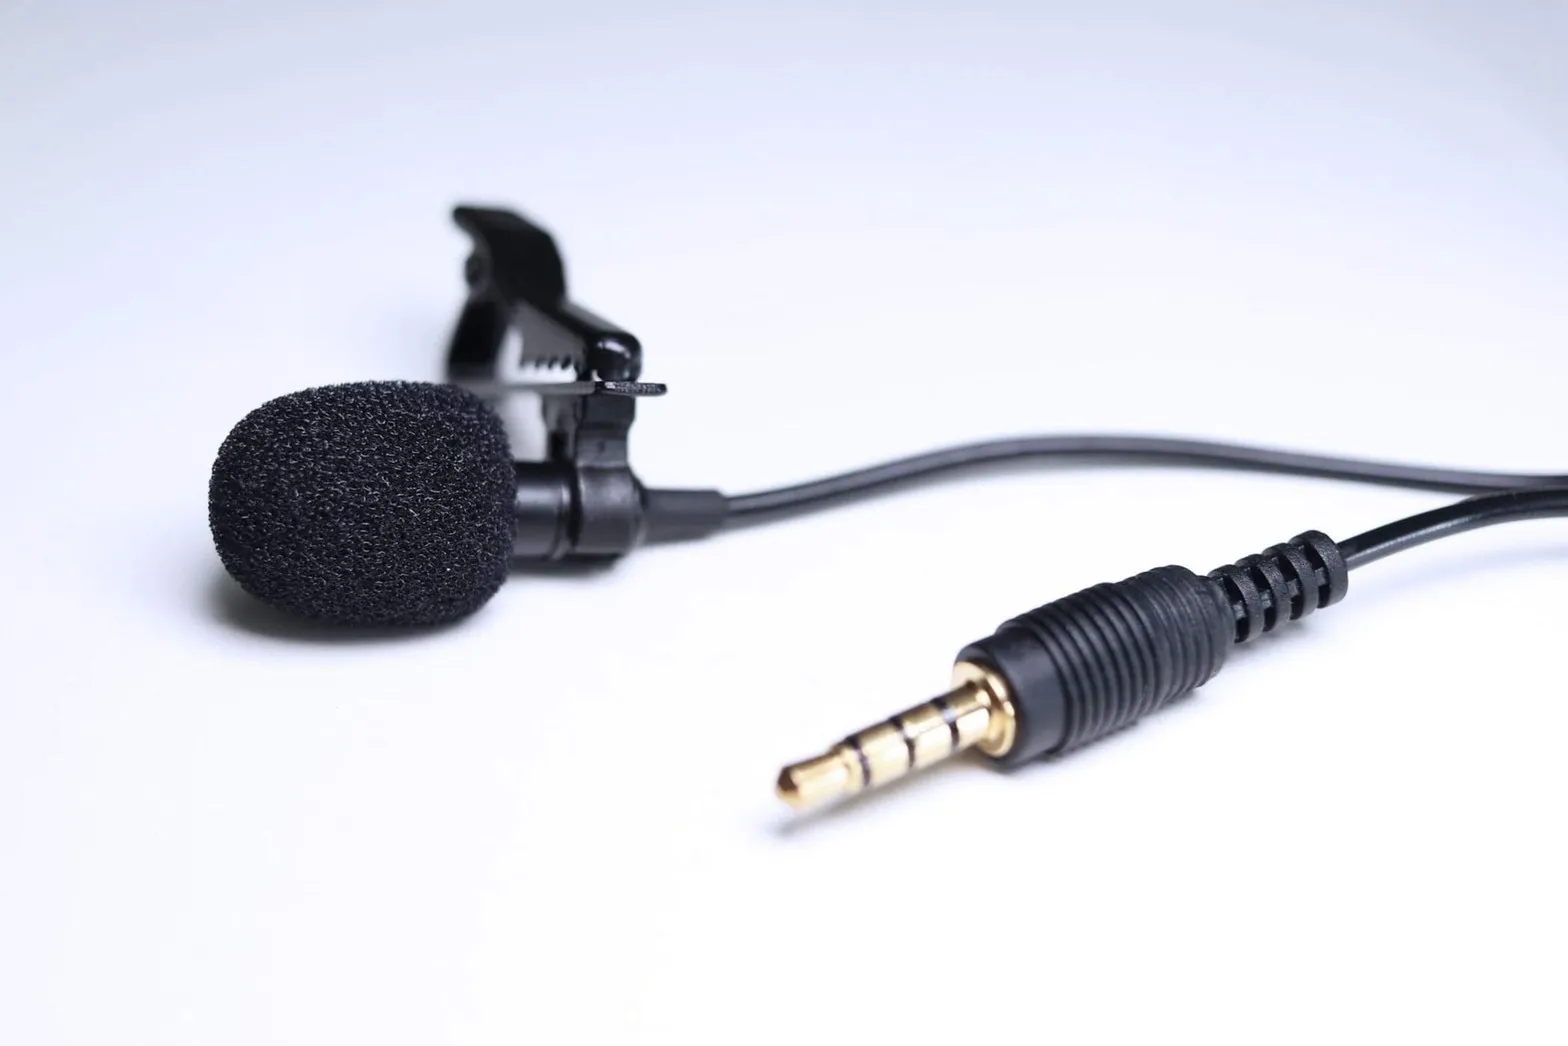
When choosing a clip-on microphone, consider additional features that align with your specific needs. Look for models with a wide frequency response to ensure natural-sounding audio. If you’re often mobile, a microphone with a built-in pop filter and windscreen can help minimize unwanted noise from movements and breathing. Additionally, connectivity options such as USB for computers or TRS/TRRS connectors for smartphones and cameras can influence your decision based on your preferred recording device.
Optimizing Microphone Placement
Finding the Ideal Position
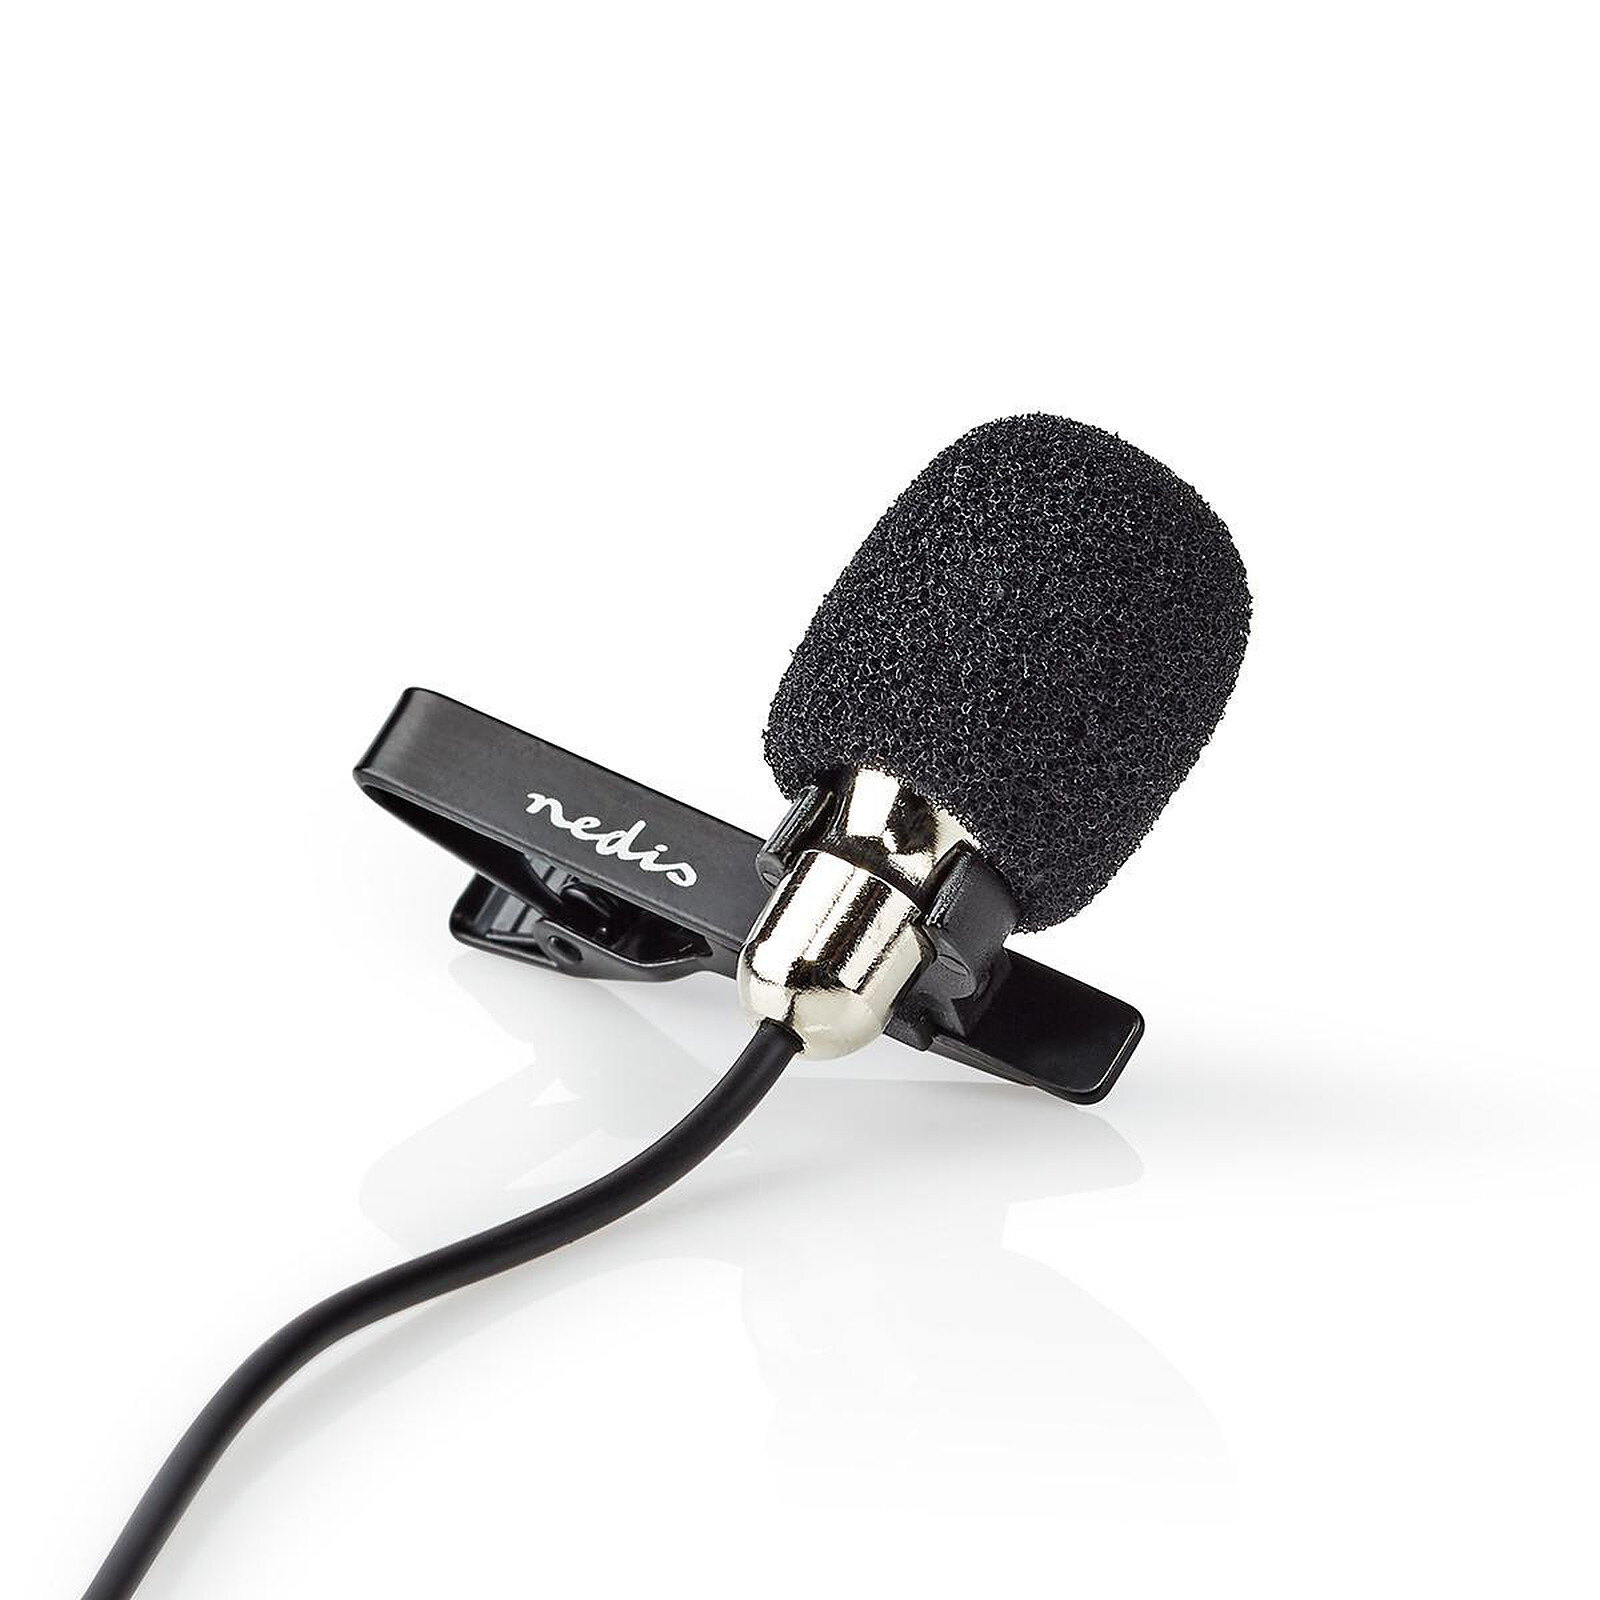
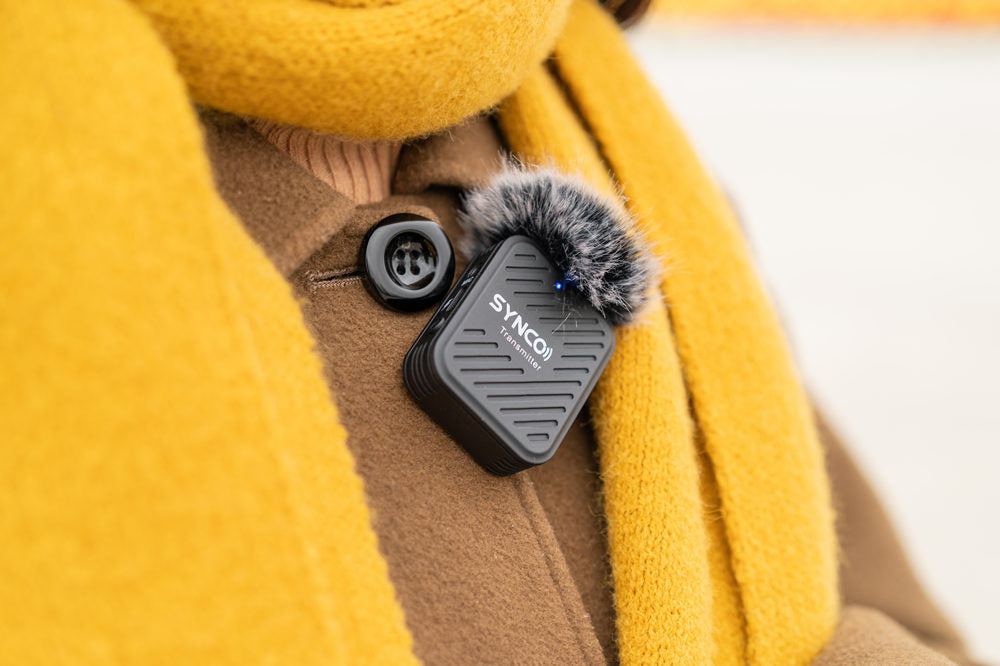
The placement of your clip-on microphone significantly affects the audio quality. Ideally, position the microphone about six to eight inches away from your mouth, usually on the collar or lapel of your shirt. This distance helps capture clear vocals while minimizing plosives—harsh sounds produced by letters like “p” and “b.” Ensure the microphone points towards your mouth but slightly off to the side to avoid direct breaths hitting the mic.
Securing the Microphone
To prevent rustling and noise disruptions, securely fasten the microphone to your clothing using its clip. Be mindful of the cable; neatly tuck it away or secure it with tape to reduce handling noise and maintain a professional appearance, especially in video recordings. Some clip-on microphones come with cable management solutions or clips to assist in this task.

Enhancing Audio Capture
Adjusting Gain Settings
Properly adjusting your microphone’s gain is essential for optimal audio capture. Too high, and your audio will clip or distort; too low, and your voice will be too quiet, inviting unwanted noise when amplified. Start with a moderate gain setting and adjust based on a test recording, aiming for a loud and clear sound without peaking. On many devices, visual indicators or meters help in monitoring the gain levels.
Utilizing External Preamps or Interfaces
For an extra boost in audio quality, consider using an external preamp or audio interface with your clip-on microphone, especially if it’s XLR compatible. These devices can provide cleaner, higher-quality power and more precise gain control, elevating your audio recordings beyond the capabilities of built-in microphone preamps found in most recording devices.
Minimizing Background Noise
Creating a Quiet Recording Environment
The smallest background noise can detract from your primary audio. Find a quiet, well-insulated location to record. Soft furnishings and carpets can help absorb sound and reduce echo. For critical recordings, turning off fans, air conditioners, and muting phone notifications can make a significant difference.
Leveraging Software Solutions
Post-recording, software-based noise reduction can enhance your clip-on microphone’s audio quality. Numerous audio editing programs offer tools to reduce or eliminate background noise, hums, and hisses. While it’s always best to minimize noise at the source, these software solutions can be invaluable for cleaning up your recordings.
Experimenting and Continuous Learning
Testing Different Scenarios
Experimenting with your clip-on microphone in various environments and recording conditions can help you understand its capabilities and limitations. Test different clothing materials, positions, and settings to find what works best for your voice and content type. Each scenario may require slight adjustments to achieve the best audio quality.
Staying Updated and Educated
The field of audio technology is constantly evolving, and staying informed on the latest trends, tools, and techniques can significantly benefit your recordings. Join forums, follow blogs, and participate in communities dedicated to audio production to exchange tips and tricks with fellow users. Continuous learning will enable you to adapt and refine your approach, ensuring your clip-on microphone always captures audio at its best.
Mastering Audio Post-Processing
Editing for Clarity and Consistency
Once you have your raw audio captured, post-processing is where you can truly polish your sound. Employ equalization (EQ) to balance frequencies, accentuating the clarity of speech while diminishing any low-end rumbles or high-pitch hisses. Consistent volume levels are also key; consider using compression to even out your audio, preventing drastic swings between loud and soft passages. A limiter can help in avoiding clipping without compromising loudness.
Utilizing Effects Sparingly
Audio effects can enhance your recordings but should be used with caution. Reverb can add depth, but too much may cause your audio to sound distant and indistinct. Noise gates help silence background noise when you’re not speaking but set the threshold carefully; a gate that’s too aggressive might cut off softer speech. Use these tools sparingly, always aiming to preserve the natural tone of your voice.
Learning From Professionals
Look to tutorials from professional audio engineers and producers who specialize in vocal recordings. They often share valuable insights into software features and techniques that can elevate your audio editing skills. Applying pro-level tips on de-essing, breath control, and stereo imaging can take your clip-on microphone’s audio quality from good to great.
Investing in Accessories
Choosing Quality Headphones for Monitoring
To accurately assess and improve your audio recordings, invest in a quality pair of headphones. Good monitoring headphones offer a flat frequency response for a true representation of your sound. They allow you to catch nuances and imperfections that might go unnoticed through standard speakers, enabling more precise edits and adjustments.
Expanding with External Gear
While a clip-on microphone is a fantastic tool on its own, pairing it with external gear can further enhance your audio experience. For example, a portable digital recorder can provide high-quality preamps and convenient recording on the go. A shock mount can reduce handling noise, and a sound shield can isolate your microphone from unwanted reflections in untreated rooms.
In conclusion, maximizing your audio quality with a clip-on microphone involves careful selection, optimal placement, and strategic adjustments, along with a commitment to minimizing background noise and an ongoing process of experimentation and education. By following these practical steps, you can ensure your recordings achieve professional-level sound, enhancing the overall impact of your content.