Achieving professional-quality sound with a PC microphone is essential for podcasters, streamers, musicians, and remote workers. The right setup can significantly elevate the audio experience for an audience or improve communication in a virtual meeting environment. In this guide, we’ll cover all the key steps, from selecting the right microphone to positioning and calibration, ensuring your PC microphone setup delivers crisp, clear audio for a professional audio experience.
Selecting the Right Microphone
Understanding Microphone Types
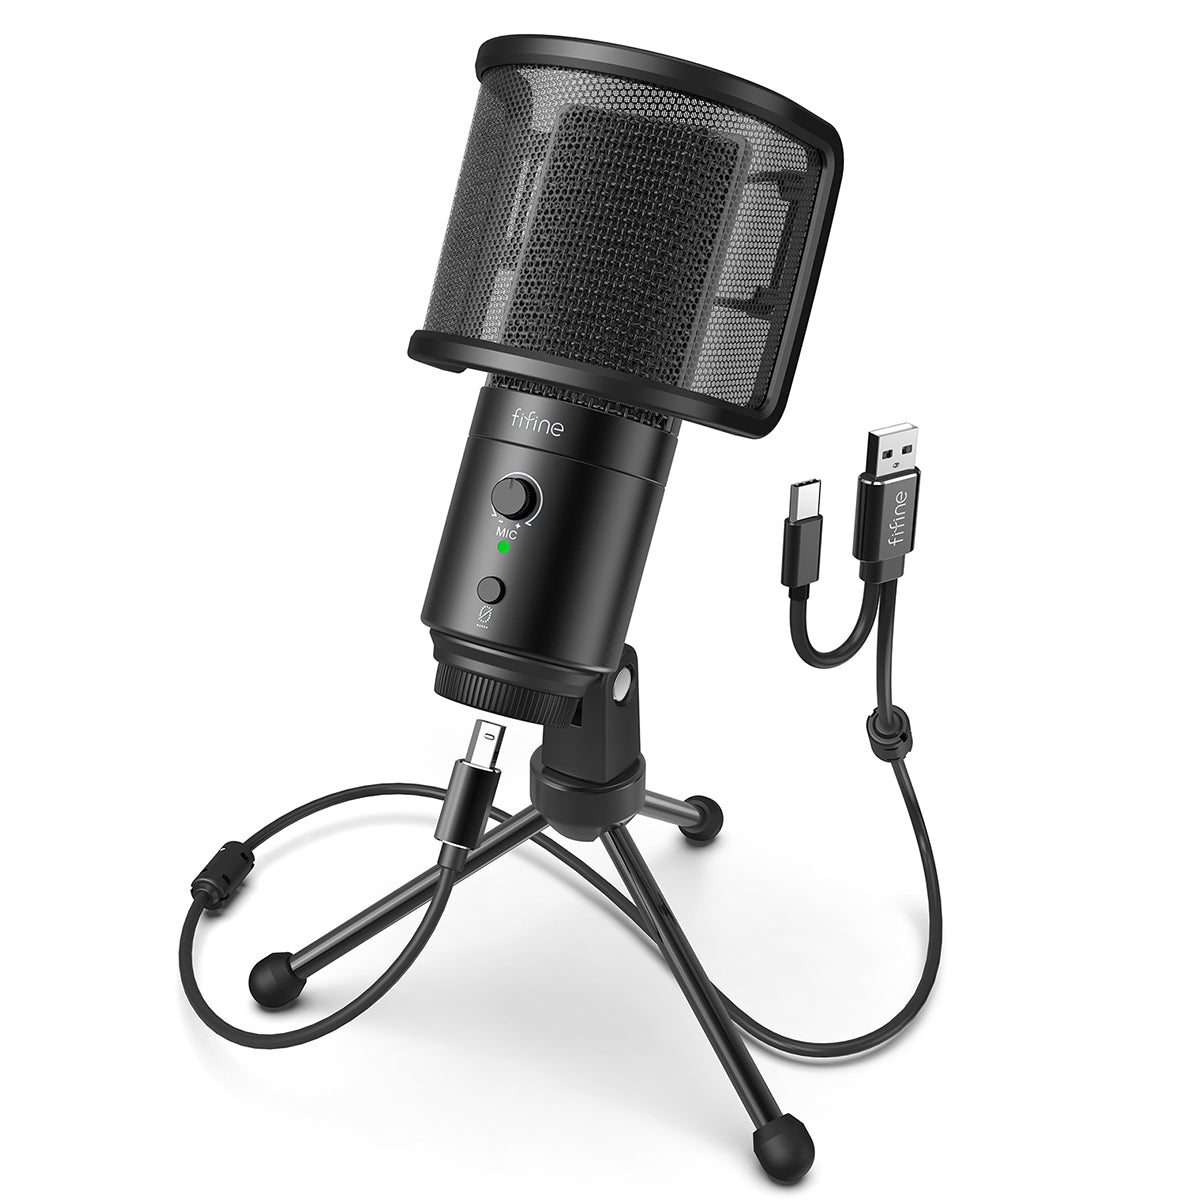
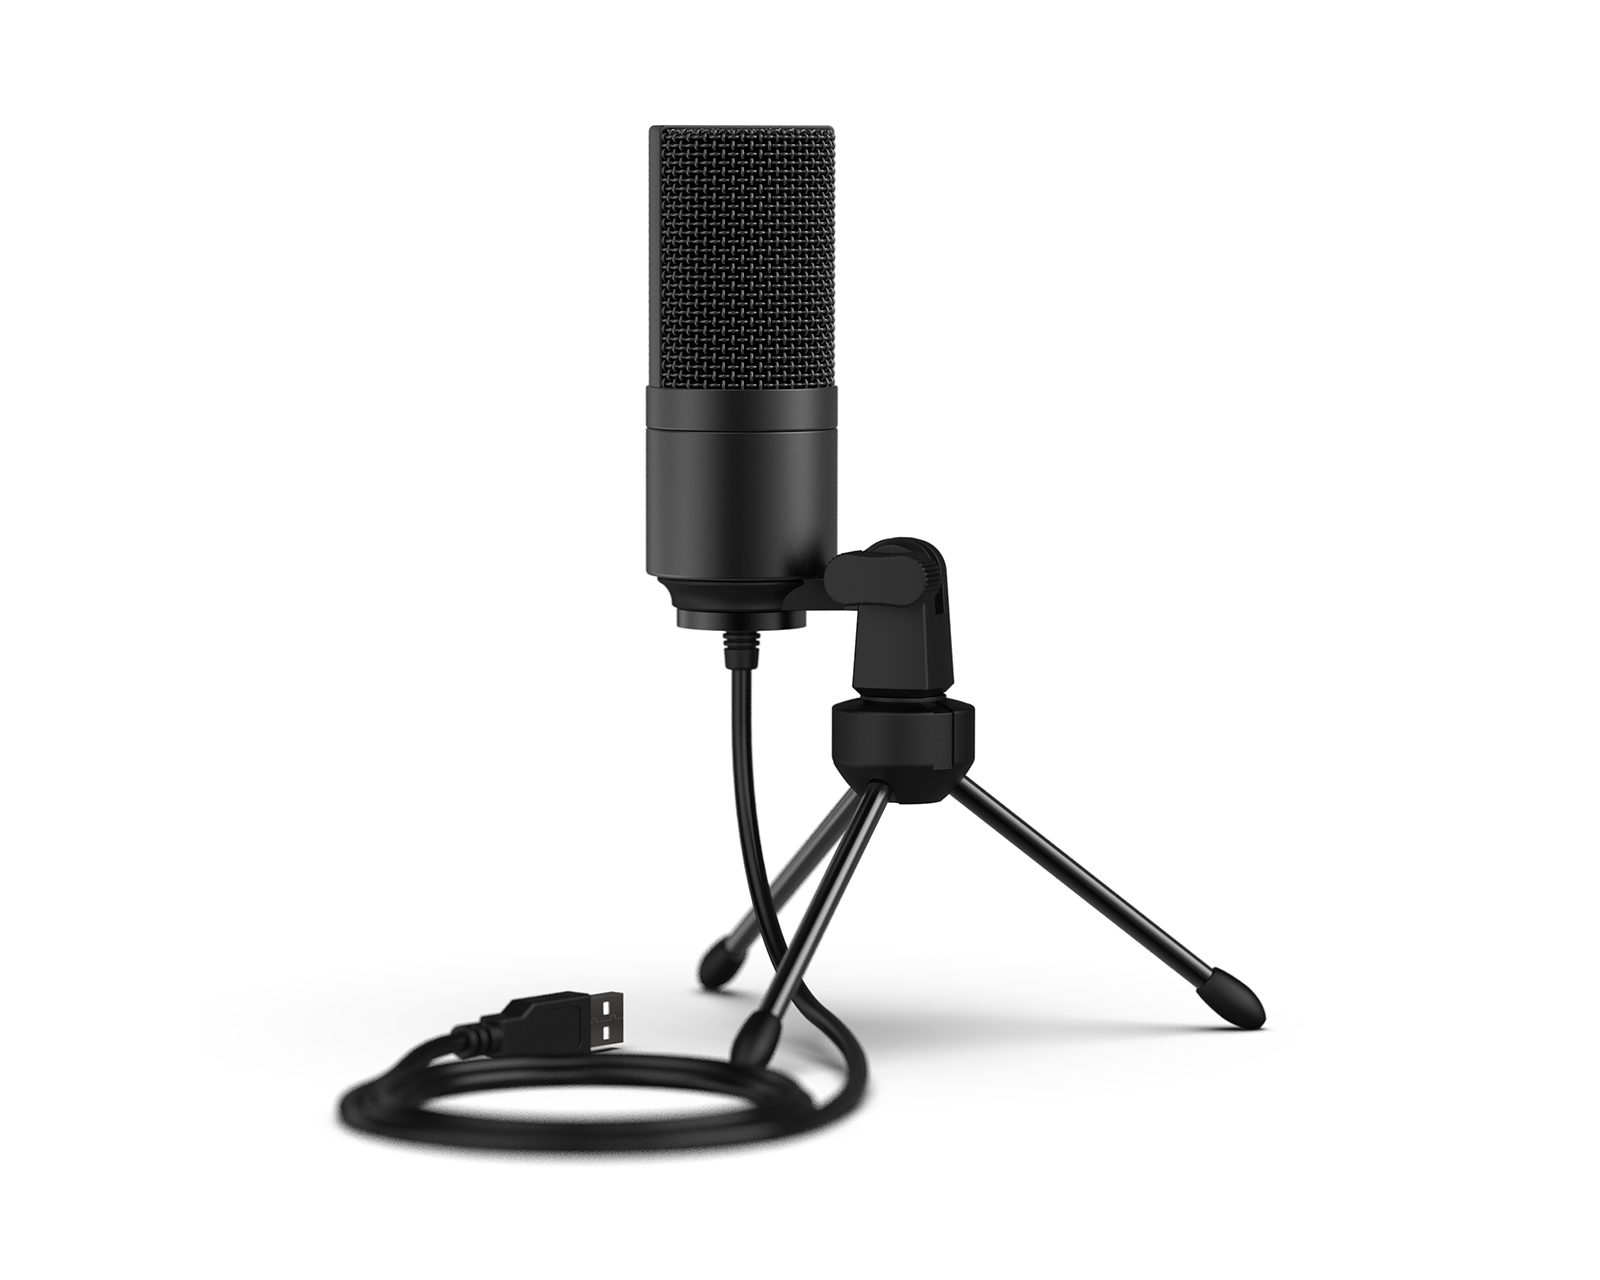
When picking a microphone for professional use, you must understand the different types available. Dynamic microphones are robust, handle high sound pressure levels well and are suited for loud, live sound sources. Condenser microphones, on the other hand, are more sensitive and offer greater frequency response, making them ideal for studio recording where clearer, more detailed sound capture is needed.
Considering Pickup Patterns
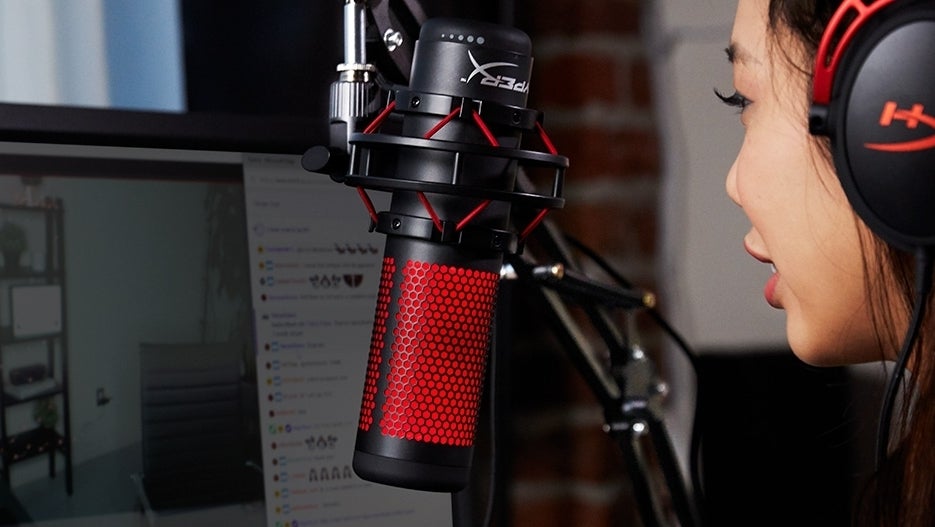
The directionality of a microphone, or its pickup pattern, affects how sound is captured. Common patterns include cardioid, omnidirectional, and bidirectional. A cardioid microphone is excellent for solo podcasts or gaming streams as it picks up sound primarily from the front and minimizes background noise. Omnidirectional mics, while capturing sound from all directions, are suitable for roundtable discussions. Bidirectional mics are perfect for one-on-one interviews.
Preparing Your Environment
Reducing Ambient Noise
Before you even set up your microphone, prepare your recording environment. Eliminate as much background noise as possible. Close windows, turn off fans or noisy electronics, and work in a room with carpeting or furniture that absorbs sound. These steps can prevent unwanted noises from being picked up by your microphone.
Creating an Acoustically Friendly Space
Professional quality sound often requires a space with proper acoustics. This doesn’t mean you need a recording studio, but incorporating elements such as acoustic panels, foam, or even heavy curtains can reduce echo and improve sound quality. Position these strategically in the room to minimize reverberations and enhance your audio recording conditions.
Positioning Your Microphone Correctly
Finding the Sweet Spot
Microphone placement is crucial. For voice recording, the microphone should be about six to twelve inches from your mouth. This distance helps to avoid plosives – the popping sounds that occur especially with ‘p’ and ‘b’ sounds. Angle the microphone slightly off to the side instead of directly in front of you to help with this as well.
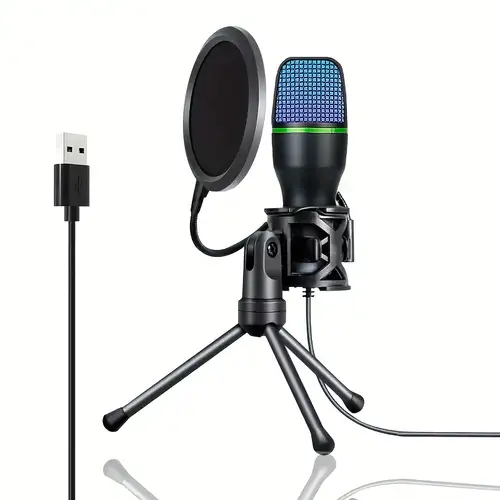
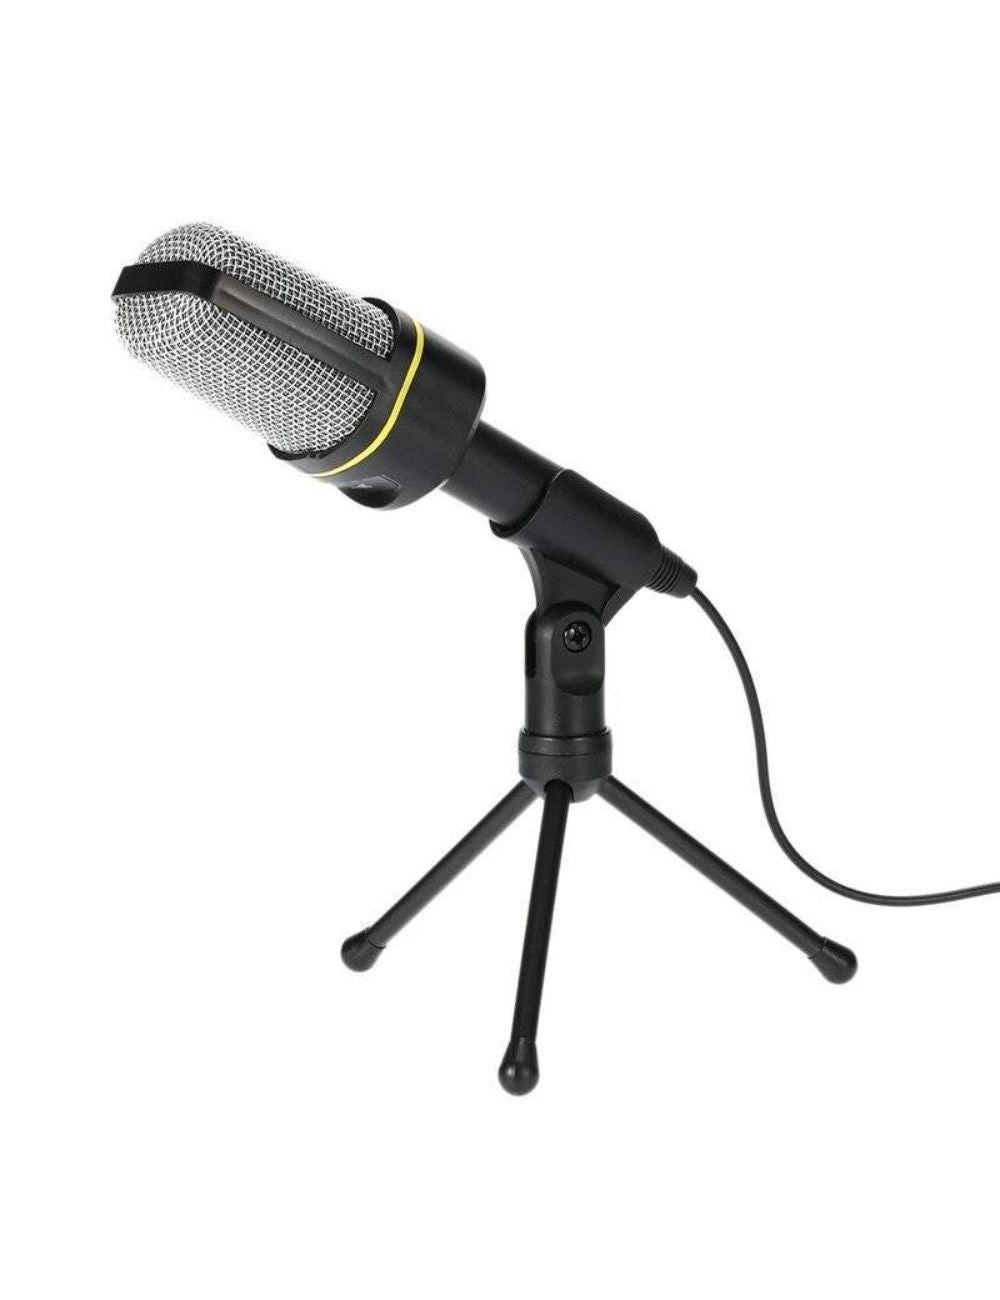
Utilizing Pop Filters and Stands
A pop filter or windscreen can further prevent plosives and also cut down on sibilance – the hissing sound that comes with ‘s’ and ‘sh’ sounds. Additionally, use a good quality stand or boom arm to hold the microphone steady and at the right height and angle. A shock mount can also reduce vibrations that lead to low-quality sound pickup.
Setting Optimal Levels and Gain
Calibrating Gain and Volume
To avoid distortion, set your microphone’s gain correctly. Begin with lower gain levels, gradually increasing until your voice is clear without any clipping or peaking. Use your computer’s audio controls or dedicated software that comes with your microphone (if applicable) for fine-tuning.
Testing and Adjusting
Record test audio snippets and listen back. Pay attention to the sound quality and make adjustments as necessary. Professional-level sound isn’t achieved immediately – it requires trial and error. Use audio editing software to gauge levels and ensure they are consistent throughout your recording.
Utilizing Additional Software
Enhancing With EQ and Effects
After recording, you can use software to refine your audio. Equalization (EQ) tools can balance the frequency spectrum, and effects like compression can even out dynamic range, ensuring soft and loud sounds are more consistent in volume. Only apply such processing subtly to retain natural sound quality while improving clarity.
Storage and Formats
Use high-quality file formats for recording and storage. Uncompressed formats such as WAV or AIFF offer the best quality, though they require more storage. Consider also the final format and bit rate needed for your content’s distribution, whether it’s for a podcast, stream, or another medium.
Continuous Maintenance and Upgrades
Regularly Cleaning and Checking Equipment
Maintain your microphone and accessories regularly. Dust and debris can affect sound quality, so keep everything clean and stored properly when not in use. Regular checks and routine care can prolong the life and performance of your equipment.
Knowing When to Upgrade
As you progress or as your demands increase, be open to upgrading your setup. Better microphones, preamps, sound cards, and acoustic treatments can lift your audio setup to higher professional standards. Stay informed about new technologies and gear that can enhance your audio quality even further.
Implementing Proper Feedback and Quality Control
Incorporating Listener or Viewer Feedback
Effective setup for professional sound quality isn’t solely about the hardware and environment but also about understanding your audience’s preferences. Actively seek feedback from your listeners or viewers concerning the audio quality of your content. This direct feedback can highlight issues you might not have noticed, such as background noises, audio clipping, or even volume inconsistencies. Adjust your setup based on constructive criticism to continuously improve your professional sound output.
Regular Quality Checks
Consistency is key in maintaining professional quality sound. Make it a habit to perform regular quality checks of your recordings. Listen to them on different devices, such as headphones, car speakers, or home audio systems, to assess how well your recordings translate across various playback scenarios. These regular checks help ensure your content maintains a consistent level of quality and can help identify potential equipment issues before they become serious problems.
Integrating Professional Standards into Your Workflow
Adopting Industry Best Practices
Adopting industry best practices is essential for achieving and maintaining professional sound quality. This includes staying informed about the latest trends in audio production, integrating new techniques into your workflow, and continually educating yourself on the fundamental principles of sound recording and editing. Following the workflows used by professionals in your field can streamline your process and yield better results. Whether it’s how to mic a dialogue effectively in a noisy environment or the best way to EQ a vocal recording, learning from the pros can dramatically improve your output.
Structuring Your Recording Sessions
Professionalism extends to how you approach your recording sessions. Structuring your sessions can greatly impact the quality of your sound. This means planning your recording schedule, preparing scripts or outlines in advance, and allowing time for setup and post-production editing. Minimizing interruptions during recording sessions and ensuring you’re recording in a controlled environment help maintain the integrity of your sound. Proper session management not only improves the audio quality but also makes the process more efficient and enjoyable.
Adhering to these guidelines and regularly refining your setup can transform your PC microphone output into professional-caliber sound. By focusing on the technical, environmental, and operational components of recording, you can achieve superior audio that stands out. As technology and standards evolve, staying adaptable and committed to quality will keep your productions at the forefront of excellence.