Setting up and optimizing your computer microphone properly is a foundational step for anyone relying on digital communication. Clear audio is critical for tasks like podcasting, voice-overs, gaming, or even routine video calls. Bad microphone setup can lead to poor sound quality, which can be frustrating and unprofessional. By following the steps below, you will be able to set up and optimize your microphone for crystal clear audio recording or broadcasting.
Initial Setup and Configuration
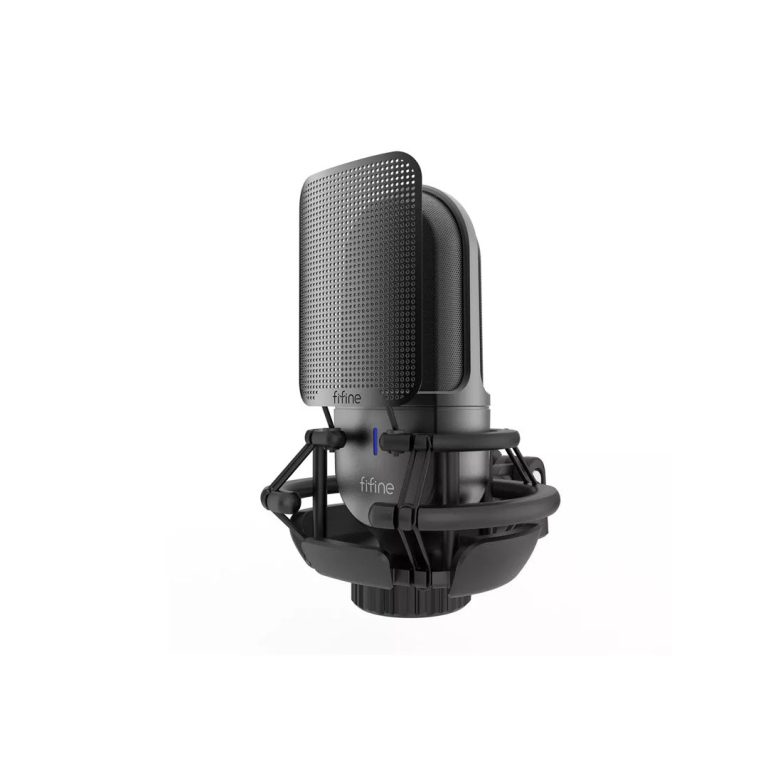
Choosing the Right Microphone and Accessories
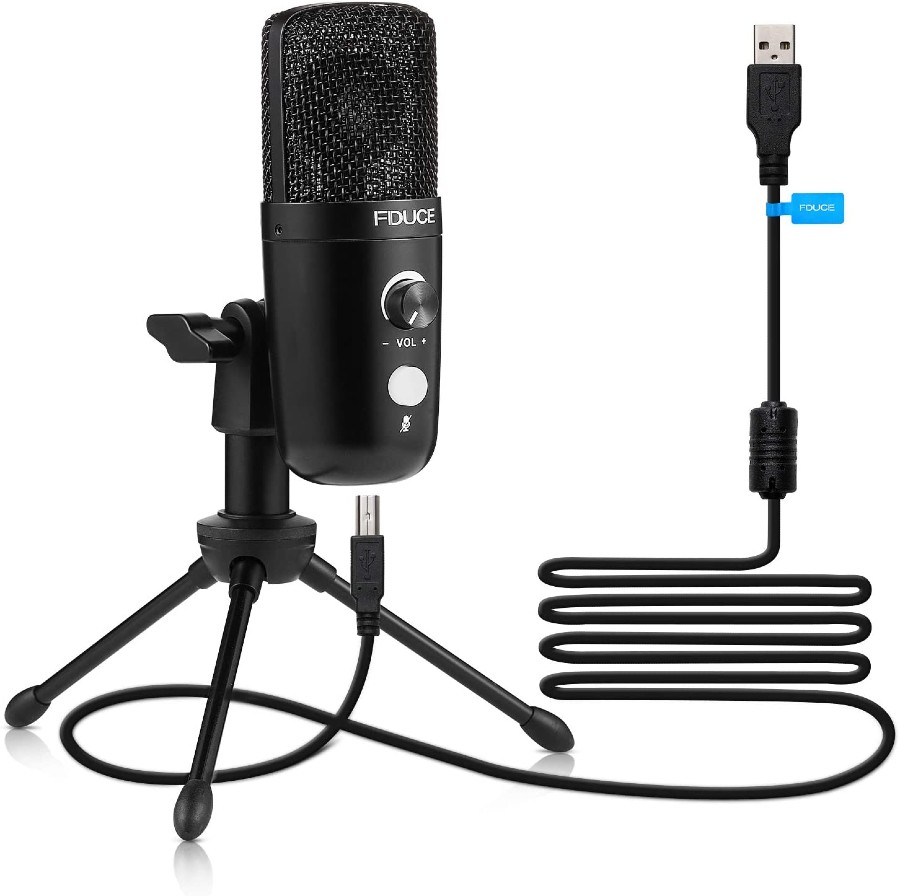
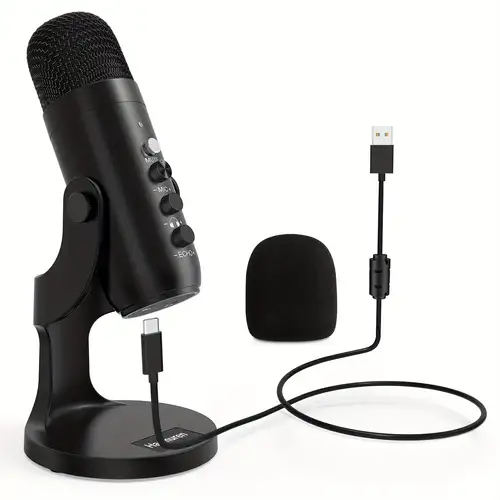
Before you even plug in your microphone, it’s important to select the right one for your needs. Some microphones are better suited for podcasting, while others might be designed specifically for streaming or recording musical instruments. Consider investing in accessories like stands, shock mounts, or pop filters depending on your activity. After you’ve chosen the appropriate microphone and accessories, install them carefully, ensuring they are securely connected to your computer.
Installation and Sound Settings Adjustment
Ensure you install any included software that came with your microphone as it might contain essential drivers or applications for optimizing performance. Once installed, connect your microphone to your computer via USB or audio jack. Then, access your computer’s sound settings to make the initial adjustments. For accurate configuration, navigate to the input settings and select your microphone as the default recording device. Verify that your computer is receiving signal from the microphone by speaking into it and observing the meter in the sound settings. If everything is properly set, the meter should show a green signal when you talk.
Sound Quality Enhancement
Fine-Tuning the Recording Levels
The right levels are crucial for recording good quality audio. If your levels are too high, you risk distorting the audio when you speak loudly. If they are too low, your microphone may also pick up unwanted background noise. Start by setting the microphone level at 50% and slowly increase it while speaking at a normal volume. Watch the level meter and aim to avoid hitting the red zone, which indicates distortion.
Employing Advanced Software Features
The built-in noise reduction feature can be tremendously helpful, but for greater control over the sound quality, investing in professional audio processing software is beneficial. These tools offer advanced features such as equalization to balance sound frequencies, compression to maintain consistent volume levels, and even gating to mute the microphone when no sound is detected. These adjustments can dramatically improve the quality of your audio.
Regular Maintenance and Updates
Maintaining the Microphone’s Functional Condition
Regularly cleaning and inspecting your microphone can prevent many common audio issues. By keeping your microphone’s mesh screen free of dust, you can avert muted or fuzzy sound capture. Always handle your microphone gently, and store it in a safe place when not in use—preferably covered to prevent dust accumulation.
Ensuring Software and Drivers are Up-to-Date
Microphones usually require drivers and software to function optimally with your computer. Regularly check the manufacturer’s website for driver updates. An out-of-date driver can lead to compatibility problems or prevent you from accessing the full suite of features your microphone offers. Similarly, software updates often contain bug fixes and improvements that can enhance your microphone’s performance.
Fine-Tuning for Specific Applications
Calibrating Microphone Settings for Each Program
Different applications tend to have different audio requirements and settings. Most applications that use a microphone will have an audio settings section where you can select your microphone and adjust input levels. In these sections, you can often conduct a test to see how your microphone sounds within the application. Make adjustments until your audio is clear and balanced.
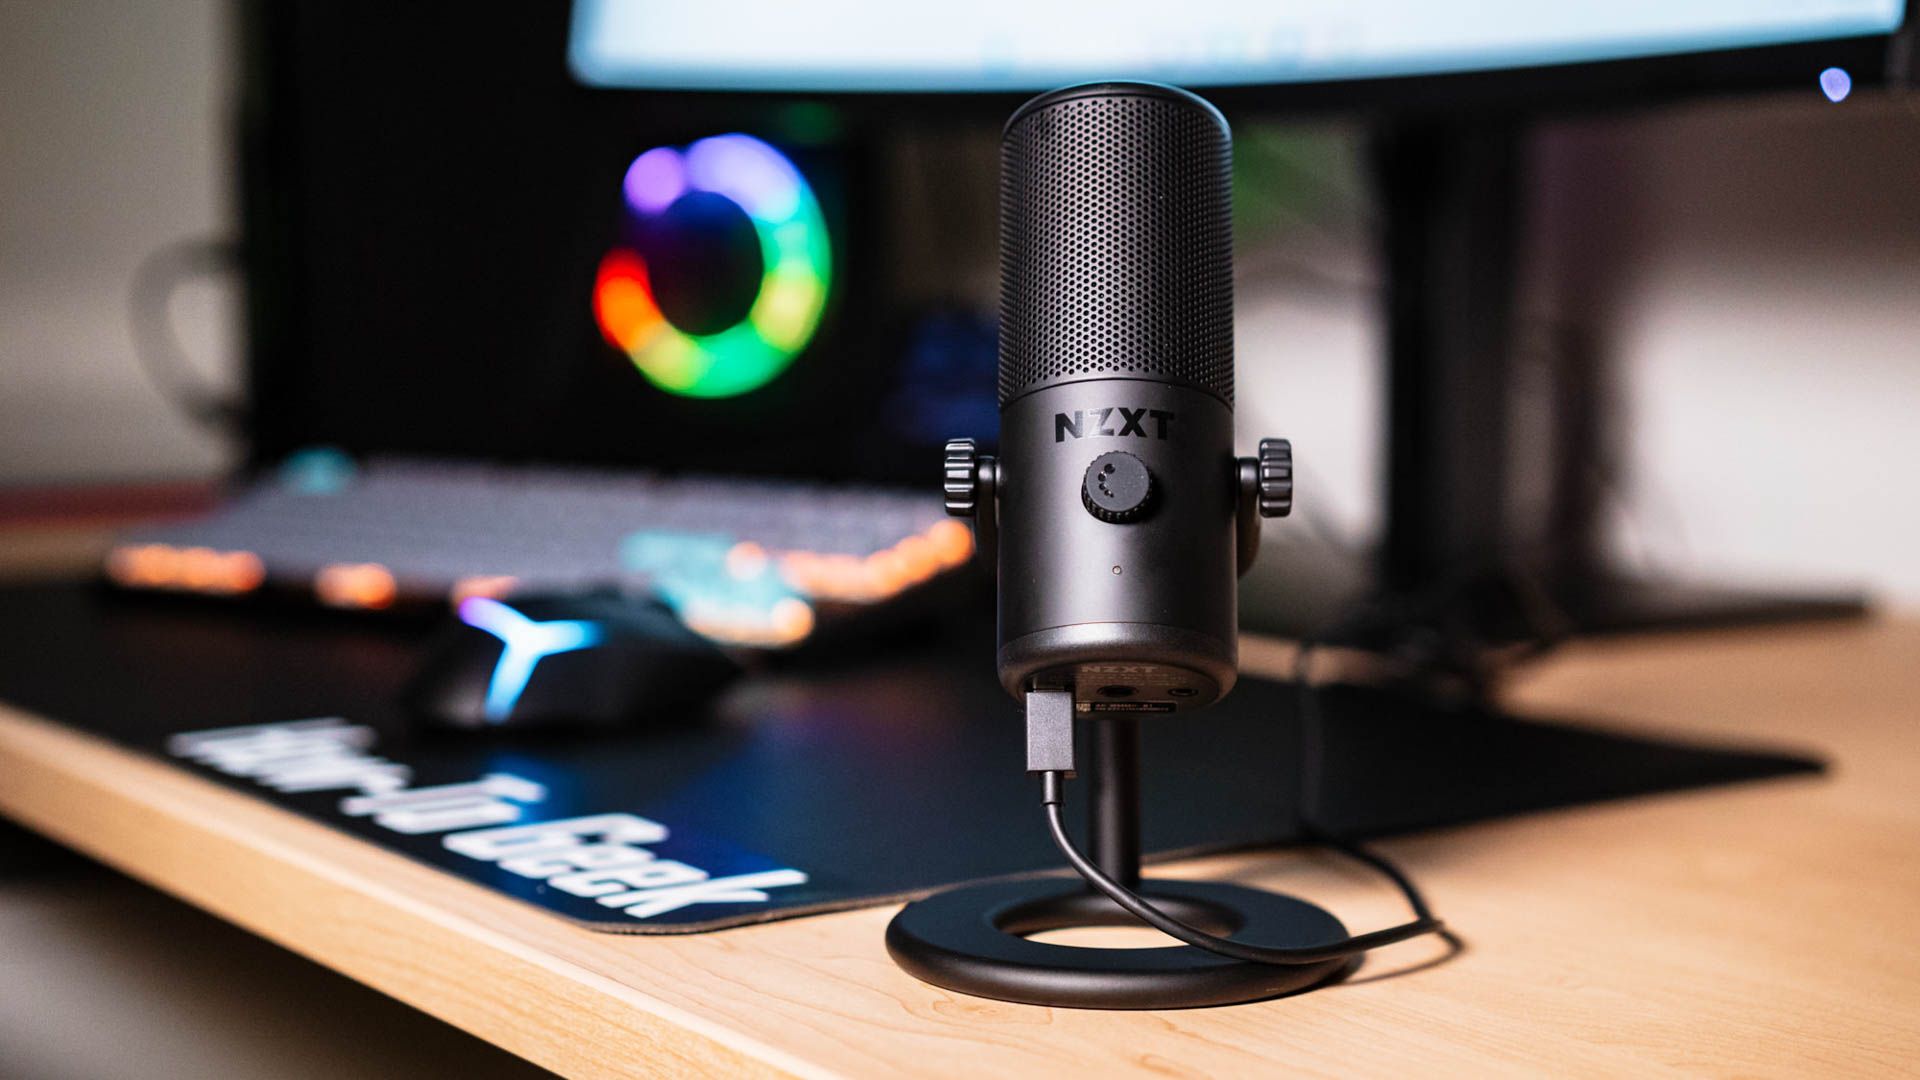
Accessories and Adjustments for Professional Recordings
When recording professional-quality content, additional accessories can greatly improve sound quality. A pop filter can soften the harsh plosive sounds, and a shock mount will dampen vibrations that can cause low-frequency rumbles in your audio. These accessories are invaluable for serious content creators looking to produce the clearest and most professional recordings.
Mastering Microphone Techniques
Practice Proper Mic Techniques and Etiquette
Good microphone technique goes beyond equipment setup—you also need to consider how you use the microphone. Keep a consistent distance from the mic, as moving too close or too far can affect volume levels and clarity. Additionally, be mindful of your environment; avoid making noises that your mic might pick up unintentionally, like tapping on the desk or clicking a pen.
Understanding Your Microphone’s Pickup Pattern
Understanding the pickup pattern of your microphone can have a profound effect on recording quality. For instance, a cardioid pattern is great for individual recordings because it captures sound primarily from the front and less from the sides and back. Position yourself and the microphone accordingly to optimize audio capture and reduce unwanted background noise.
Leveraging Equipment and Environment
Upgrading Your Setup for Peak Performance
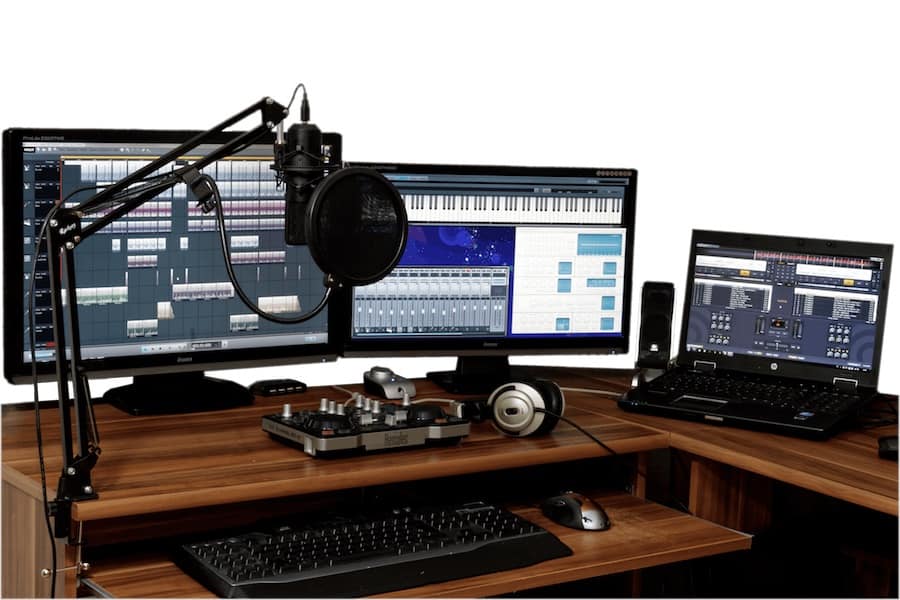
As you get more comfortable with your initial setup, consider upgrading to higher-quality equipment to further enhance your audio. Larger diaphragm condenser microphones, for example, can provide richer sound quality. Advanced interfaces with better preamps can capture clearer audio and offer more fine-tuning options. Additionally, consider the acoustics of your recording environment. Soft materials like carpets, curtains, and acoustic foam can reduce echo and reverberation, promoting a cleaner sound.
Creating a Suitable Recording Environment
No microphone setup is complete without considering the environment it’s in. Try to record in a quiet room with minimal echo. Use rugs, bookshelves, and soft furniture to dampen echo and reverb naturally. For more professional needs, investing in acoustic panels or portable sound booths can create an even more controlled audio environment.
Continuous Learning and Improvement
Seek Feedback and Continue to Learn
After optimizing your microphone setup, it’s important to seek feedback from your audience or peers. They can often provide insights into your audio quality that you may not notice yourself. Use this feedback to make incremental improvements to your setup. Always be open to learning new techniques and staying informed about the latest advances in audio technology.
Embrace Experimentation
Finally, don’t be afraid to experiment with different settings and setups. Each microphone and project can demand a unique approach, so trial and error can be an excellent way to find what works best for you. Over time, you’ll develop a keen ear for what constitutes high-quality audio in various contexts and how to achieve it. Keep testing, and don’t settle for satisfactory—strive for exceptional.
Setting up and optimizing your computer microphone requires attention to both technical and practical details. The right choice of microphone, accessories, and software, coupled with regular maintenance and specialized settings adjustments, can lead to exceptional audio quality. With a bit of patience and the correct adjustments, you can ensure your voice is heard clearly and distinctly, whether you are streaming to an audience, recording a podcast, or chatting on a video call.