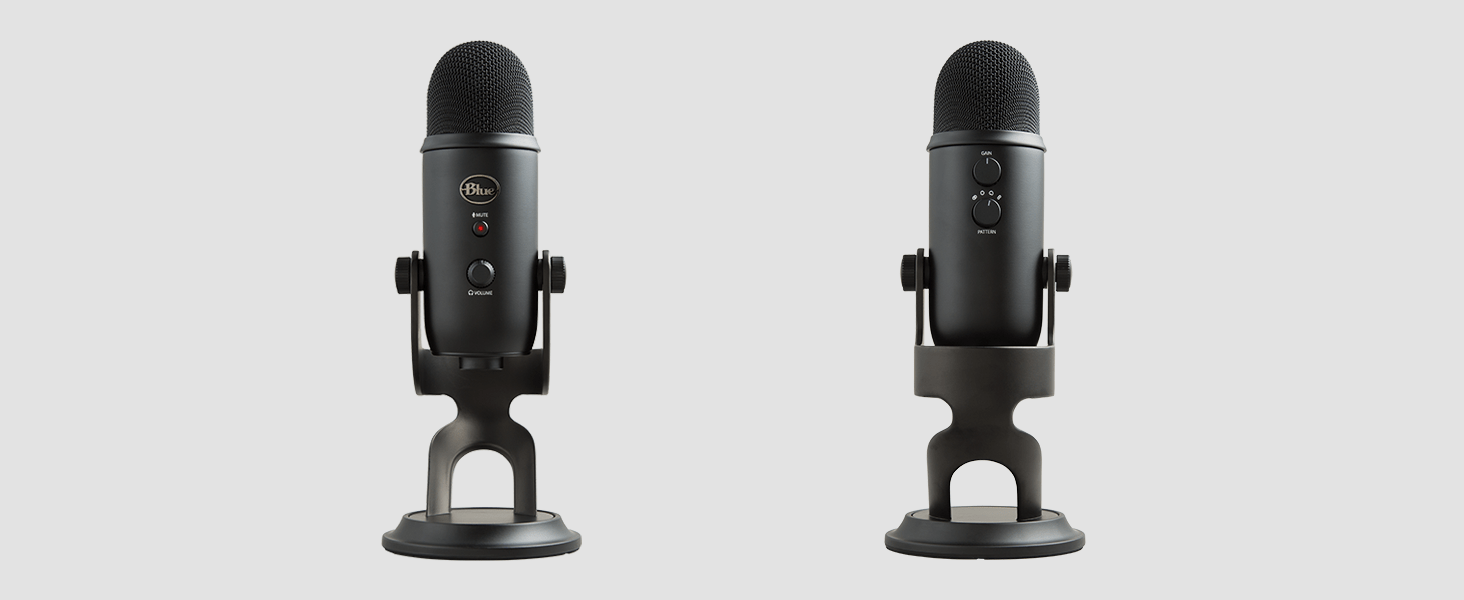
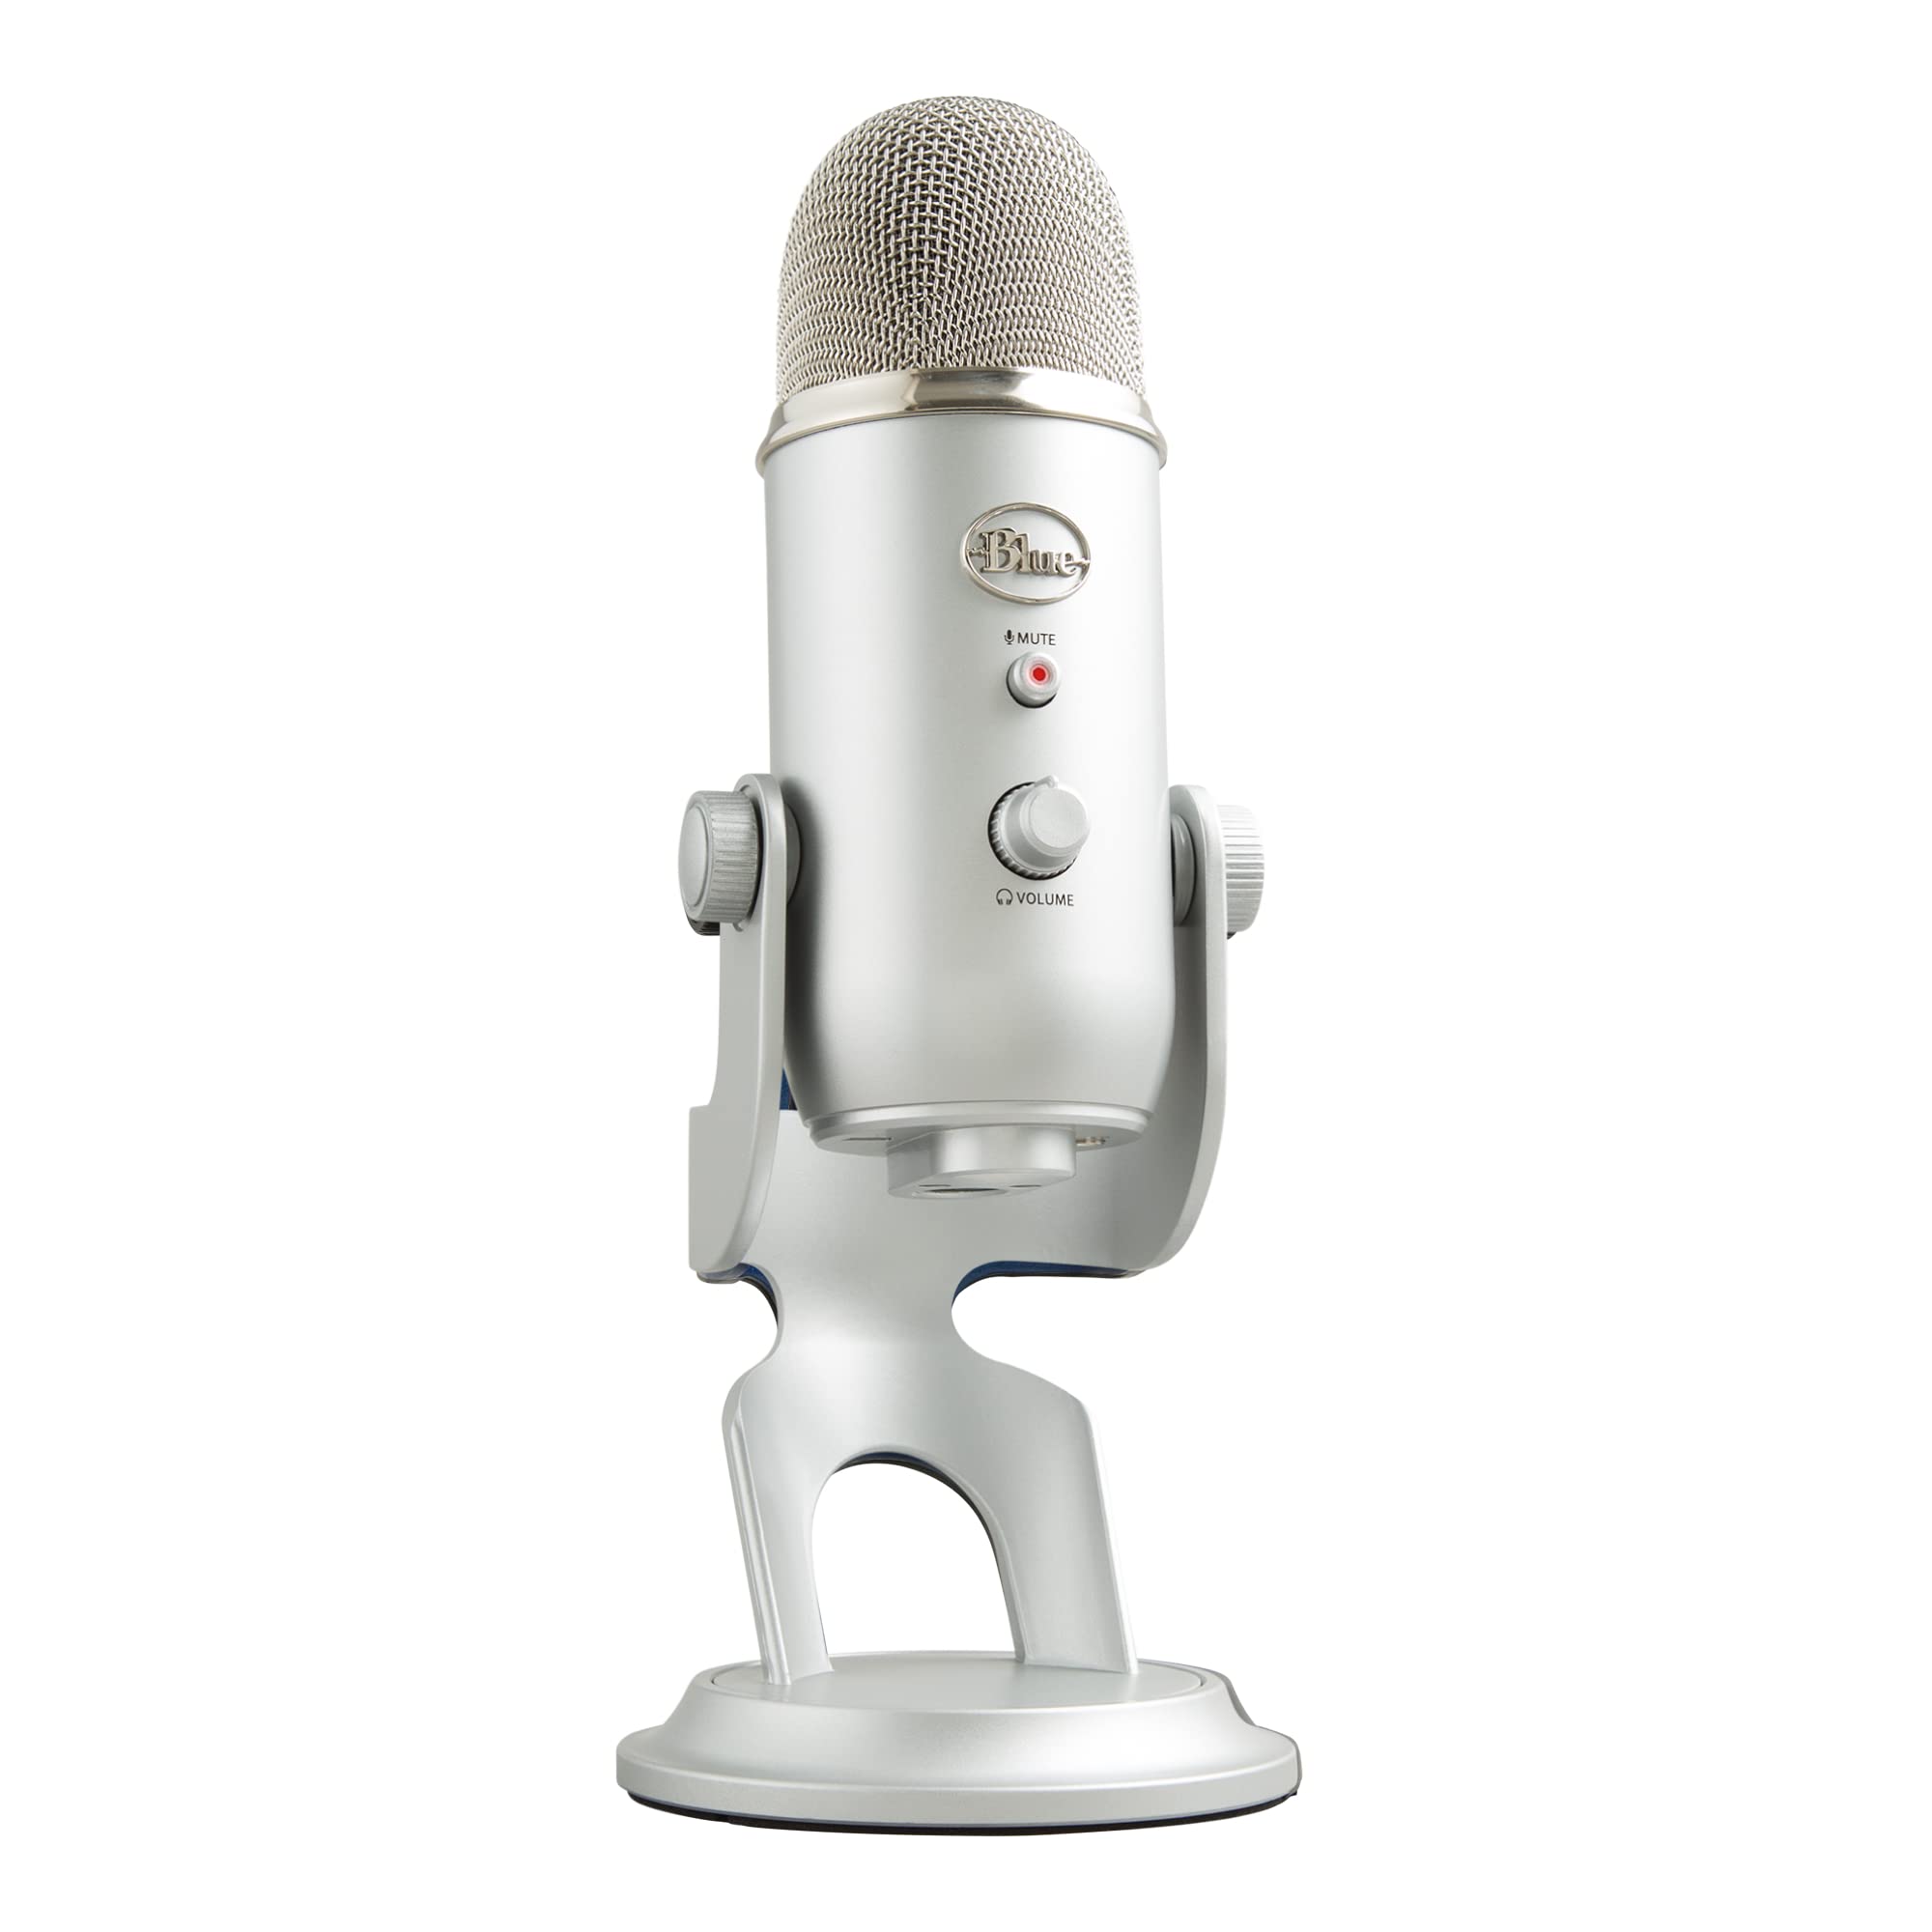
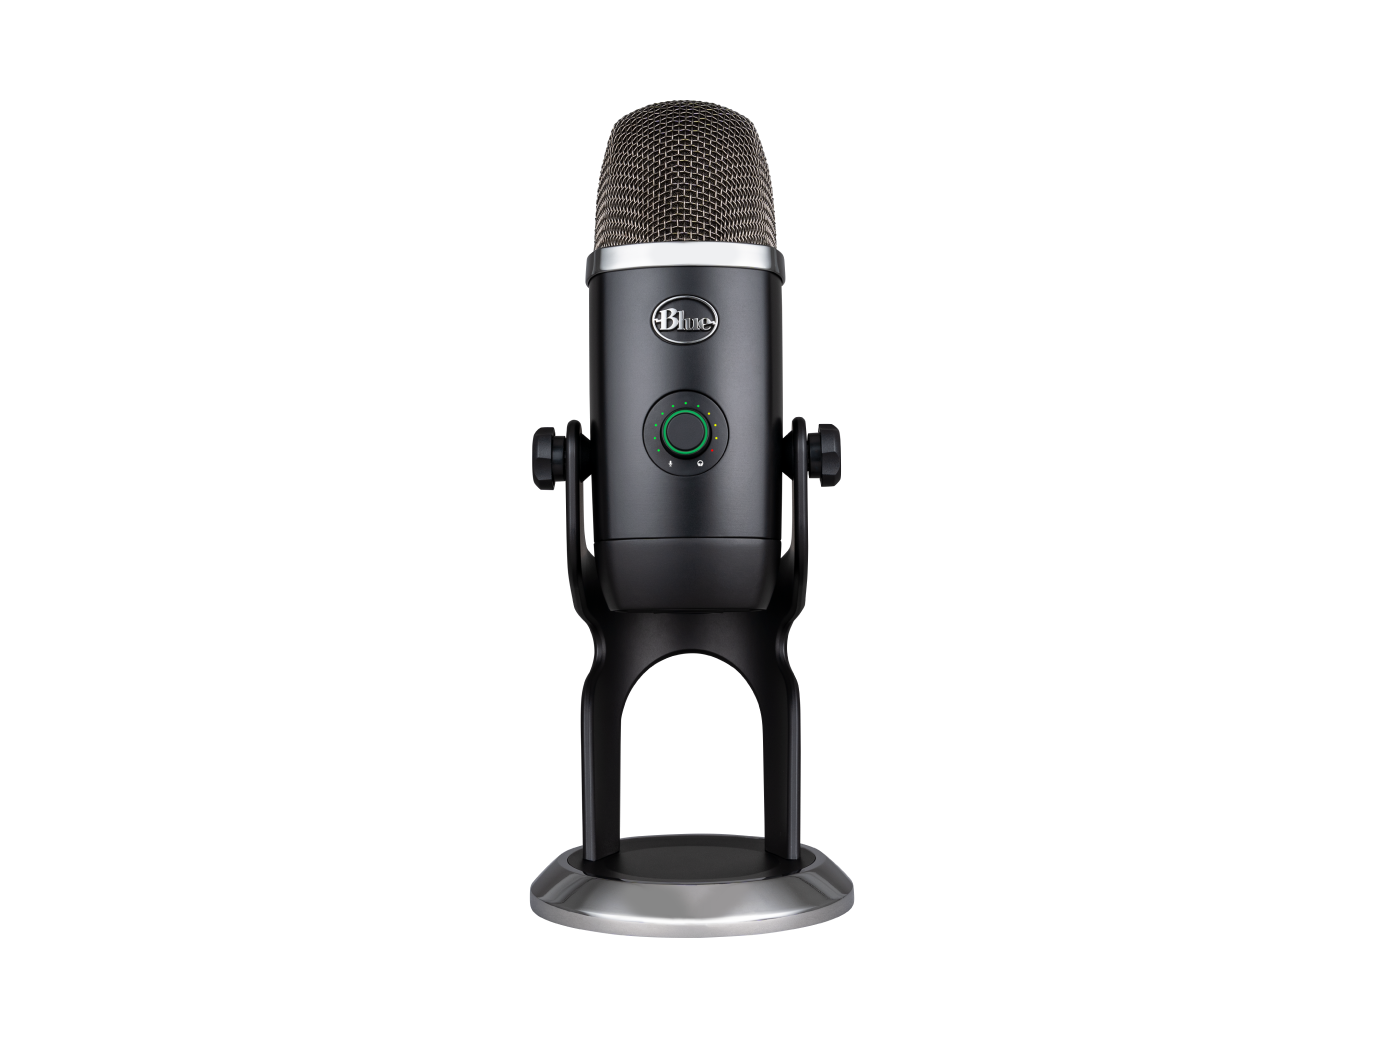
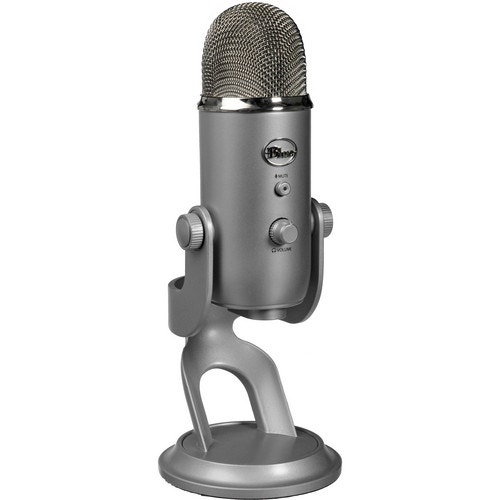
The Yeti microphone by Blue is a favorite among podcasters, streamers, musicians, and content creators for its outstanding sound quality, versatility, and ease of use. Whether you’re recording your latest podcast episode, streaming a gaming session, or tracking vocals for a music project, the Yeti offers professional-level audio capture at an affordable price. However, to truly maximize the potential of your Yeti microphone, understanding its features and how best to use them in various contexts is crucial. This guide will walk you through optimizing your Yeti microphone setup, ensuring you capture crystal-clear audio every time.
Mastering Your Yeti’s Features
Understanding Pickup Patterns
The Yeti microphone boasts four versatile pickup patterns: cardioid, bidirectional, omnidirectional, and stereo. Each pattern is suited to different recording scenarios. For solo recordings, such as podcasting or voice-overs, the cardioid mode focuses on sound directly in front of the microphone, minimizing background noise. Bidirectional mode captures audio from both the front and rear, ideal for interviews. Omnidirectional mode picks up sound from all directions, perfect for conference calls or capturing ambient sounds. Lastly, stereo mode adds a realistic depth to musical or environmental recordings. Experiment with these patterns to find which best suits your recording needs.
Optimizing Your Recording Environment
The environment in which you use your Yeti microphone significantly impacts the quality of your recordings. To achieve the best sound, record in a quiet, non-echoey room. Soft furnishings, such as carpets and curtains, can help to reduce echo and reverb. For even greater sound clarity, consider investing in acoustic panels or a portable isolation shield. Properly positioning your Yeti can also reduce unwanted noise—place it on a shock mount to dampen vibrations and use a pop filter to minimize plosives. Ensuring you’re recording in an optimized environment will drastically improve your audio quality.
Enhancing Your Audio Production Quality
Employing Proper Mic Technique
Your distance and angle relative to the Yeti microphone can significantly affect the sound capture quality. For most scenarios, positioning the microphone about six to eight inches from your mouth with the pop filter in between yields the best results. Speaking directly into the center of the microphone captures a rich, full-bodied sound, while angling it slightly can help reduce plosives and breathing noises. Adjust your position and speak at a consistent volume to maintain even sound levels throughout your recording.
Utilizing Software to Fine-Tune Your Sound
To further refine your recordings, take advantage of audio editing software. Programs like Audacity, GarageBand, or Adobe Audition offer tools for noise reduction, equalization, and compression, allowing you to polish your recordings to professional standards. Noise reduction can help eliminate background hiss, while EQ adjustments can enhance vocal clarity or add depth to your sound. Compression ensures consistent volume levels, preventing drastic swings between loud and soft passages. Investing time in learning these software tools can significantly enhance the quality of your Yeti microphone recordings.
Expanding Your Setup
Integrating with Other Equipment
As you become more experienced with your Yeti microphone, consider expanding your setup with additional equipment. A quality pair of headphones connected directly to the Yeti’s headphone jack enables real-time monitoring, allowing you to catch and correct issues as they occur. For musicians, connecting instruments directly to your computer via an audio interface, and using the Yeti to capture vocals, can achieve a clean mix of sound sources. Streamers might benefit from incorporating a soundboard for live audio effects. Adding new gear progressively can elevate your audio projects’ overall quality and professionalism.
Regular Maintenance for Longevity
To ensure your Yeti microphone continues to perform at its best, regular maintenance is essential. Keep the microphone clean and dust-free, gently wiping it with a soft, dry cloth. Avoid exposing it to extreme temperatures or moisture, which can damage the internal components. Store your Yeti in a protective case or cover it when not in use to protect it from dust and accidental damage. Proper care and maintenance will extend the life of your microphone, making it a lasting investment in your audio production endeavors.
Advanced Usage Tips for Yeti Users
Harnessing the Power of Accessories
To unlock the full potential of your Yeti microphone, incorporating high-quality accessories can make a significant difference. A sturdy boom arm not only offers greater positioning flexibility but also ensures that your microphone stays secure and stable during recording sessions. This can lead to a reduction in handling noise and a more professional setup overall. Additionally, using a high-grade shock mount specific to the Yeti can dramatically reduce vibrations and rumblings that might otherwise compromise your audio quality. These enhancements, while seemingly minor, contribute to a superior recording environment, enabling your Yeti to capture sound at its most pristine.
Networking with Other Creators
Engaging with a community of fellow Yeti microphone users and audio enthusiasts can provide invaluable insights and tips tailored to your specific interests and projects. Online forums, social media groups, and even local meetups act as excellent resources for sharing experiences, troubleshooting common issues, and discussing advanced recording techniques. Networking with individuals who share your passion for audio production not only fosters creativity but also provides opportunities to collaborate on projects, exchange feedback, and stay updated on the latest trends and accessories that can benefit your Yeti microphone setup.
Continuous Learning and Experimentation
The journey to mastering your Yeti microphone does not end with setting up the right equipment and environment. The field of audio production is ever-evolving, demanding continuous learning and experimentation from its practitioners. Subscribe to industry newsletters, follow relevant content creators, and participate in workshops and webinars to deepen your understanding of audio techniques. Experiment with different recording settings, venture into new types of projects, and never shy away from reevaluating and adjusting your approach. Perseverance in learning and the willingness to adapt and innovate are crucial for harnessing the full capabilities of your Yeti microphone and achieving excellence in your audio recordings.
In conclusion, while the Yeti microphone offers exceptional out-of-the-box performance, getting the most out of it relies on your understanding and utilization of its features and capabilities. By mastering its pickup patterns, optimizing your recording environment, employing proper microphone technique, and leveraging audio editing software, you can elevate your recordings from good to great. Expanding your setup with additional equipment and adhering to a regular maintenance routine will further enhance and prolong your Yeti’s performance. Whether you’re a seasoned professional or just starting, following this guide will help you unlock the full potential of your Yeti microphone, ensuring superb audio quality in all your projects.