What Are Tiles and Why Are They Popular?
Tiles are thin, flat materials used to cover floors, walls, or countertops. The term tile encompasses a variety of types—from ceramic to natural stone—offering durability, versatility, and aesthetic appeal.
- Key Advantages:
- Durability: Resistant to moisture, scratches, and wear (e.g., porcelain tile for high-traffic areas).
- Low Maintenance: Easy to clean and long-lasting.
- Design Flexibility: Available in countless colors, patterns, and textures.
- Common Uses:
- Floors: Kitchen, bathroom, or entryways.
- Walls: Backsplashes, showers, or accent walls.
- Outdoor: Costco deck tiles for patios or driveways.
 Types of Tile and Their Applications
Tiles come in diverse materials, each with unique properties suited to specific environments. Here’s an in-depth breakdown of common types and their ideal uses:
1. Ceramic Tile
Made from clay and fired at lower temperatures, ceramic tiles are versatile but softer than porcelain:
- Subtypes:
- Glazed Ceramic: Coated with a glass-like layer for vibrant colors (ideal for backsplashes).
- Unglazed Ceramic: Matte finish for floors (e.g., Mosaic tiles in entryways).
- Applications:
- Indoor Floors: Bedrooms or low-traffic areas (e.g., Daltile’s Classic Ceramic Series).
- Walls: Bathrooms or kitchens where moisture is controlled.
- Pros:
- Affordable, lightweight, and easy to cut.
- Cons:
- Porous; unsuitable for outdoor use.
2. Porcelain Tile
Made from fine clay and fired at high temperatures, porcelain is denser and harder than ceramic:
- Subtypes:
- Polished Porcelain: Shiny finish for modern aesthetics (e.g., Marazzi’s Polished Collection).
- Unpolished Porcelain: Textured surfaces for anti-slip floors.
- Applications:
- High-Traffic Areas: Kitchens, bathrooms, and commercial spaces.
- Outdoor Use: Costco deck tiles for patios due to frost resistance.
- Pros:
- Durable, water-resistant, and frost-resistant.
- Cons:
- Heavier and costlier than ceramic.
3. Natural Stone Tile
Luxury options like marble, granite, and slate add organic texture and elegance:
- Subtypes:
- Marble: Lush veining ideal for bathrooms or entryways.
- Slate: Slip-resistant and rustic for outdoor patios.
- Granite: Durable for kitchen countertops.
- Applications:
- High-End Designs: Luxe bathrooms or focal walls.
- Outdoor: Slate patios in natural landscapes.
- Pros:
- Unique patterns and timeless appeal.
- Cons:
- Higher cost, requires sealing, and prone to staining.
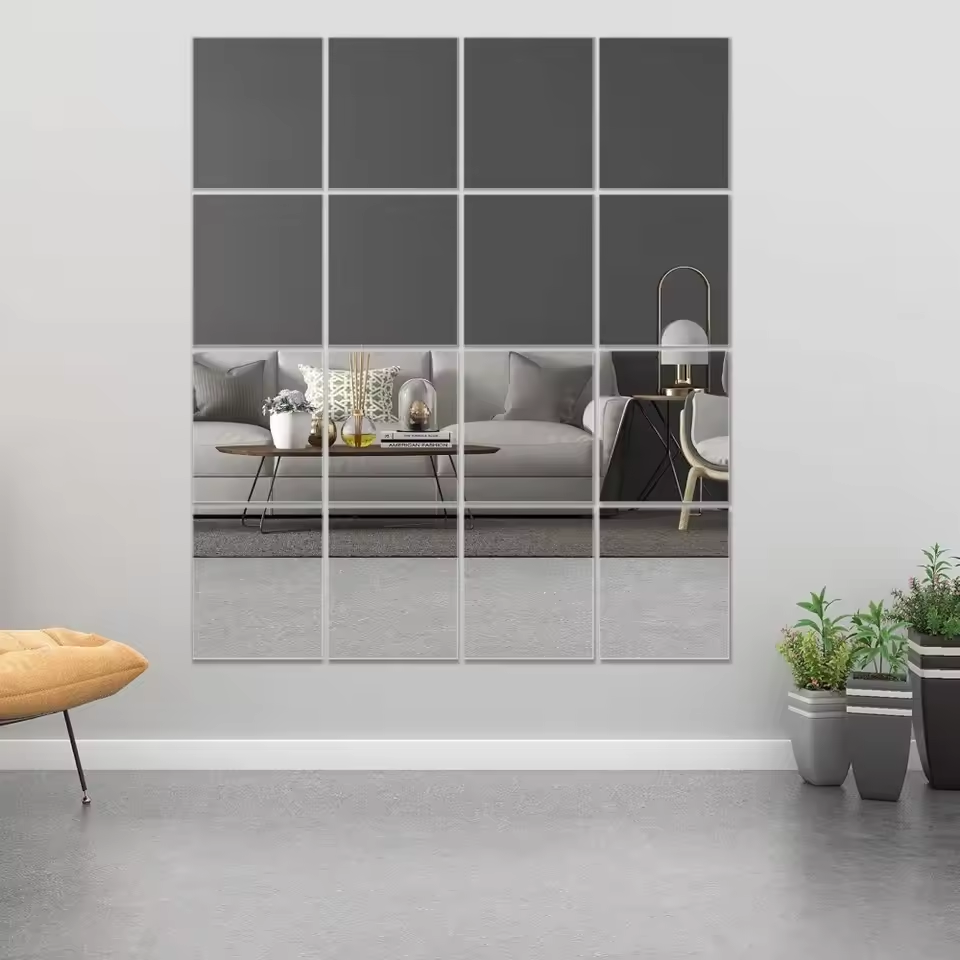
4. Glass Tile
Transparent or colored glass options create sleek, modern accents:
- Subtypes:
- Smooth Glass: Reflective surfaces for light diffusion (e.g., Murano glass tiles).
- Textured or Frosted Glass: Subtle elegance for kitchens.
- Applications:
- Backsplashes: Kitchen walls or bathroom showers.
- Accents: Feature walls or light fixtures.
- Pros:
- Hygienic, non-porous, and easy to clean.
- Cons:
- Fragile and slippery when wet.
5. Concrete Tile
Modern and eco-friendly, concrete tiles offer versatility and durability:
- Subtypes:
- Exposed Aggregate: Textured for outdoor paths.
- Polished Concrete: Sleek floors for industrial designs.
- Applications:
- Outdoor Surfaces: Costco deck tiles for driveways or patios.
- Indoor: Living rooms or modern kitchens.
- Pros:
- Cost-effective, customizable, and weather-resistant.
- Cons:
- Requires sealing to prevent staining.
6. Rubber and Cork Tile
Ideal for comfort and sound absorption:
- Rubber Tiles:
- Applications: Fitness rooms, nurseries, or under kitchen islands.
- Pros: Flexible, anti-slip, and noise-reducing.
- Cork Tiles:
- Applications: Home offices or eco-conscious floors.
- Pros: Insulating and hypoallergenic.
 How to Choose the Best Tiles for Your Space
Selecting the right tiles requires balancing aesthetics, functionality, and budget. Follow these steps for informed decisions:
1. Assess the Environment
- Moisture Levels:
- Bathrooms and kitchens need non-porous tile (e.g., porcelain or glass).
- Outdoor areas require frost-resistant options like Costco deck tiles.
- Foot Traffic:
- High-traffic zones (hallways) choose durable porcelain or concrete.
- Lighting:
- Dark rooms benefit from glossy tiles to reflect light.
2. Material Considerations
- Budget-Friendly:
- Ceramic tile for interior walls (cost: 1–5/sq ft).
- Durability:
- Porcelain (4–15/sq ft) for heavy use.
- Luxury:
- Natural stone (8–50/sq ft) for statement pieces.
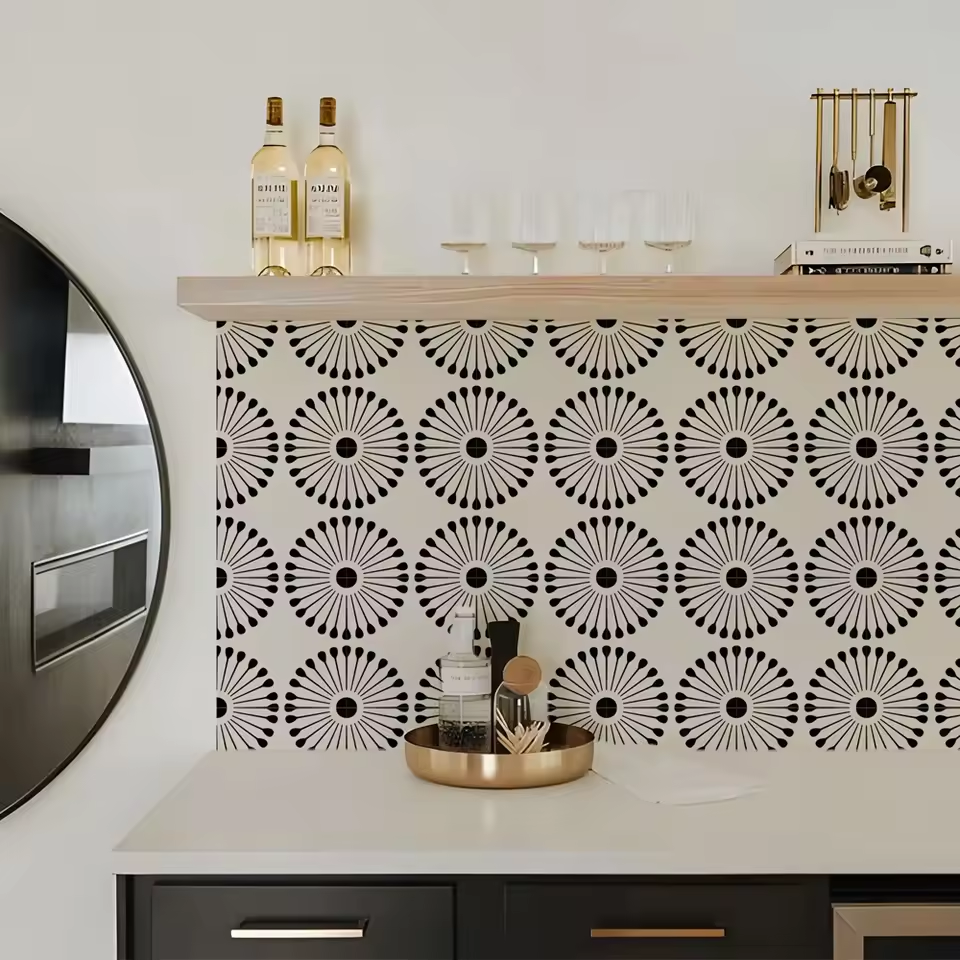
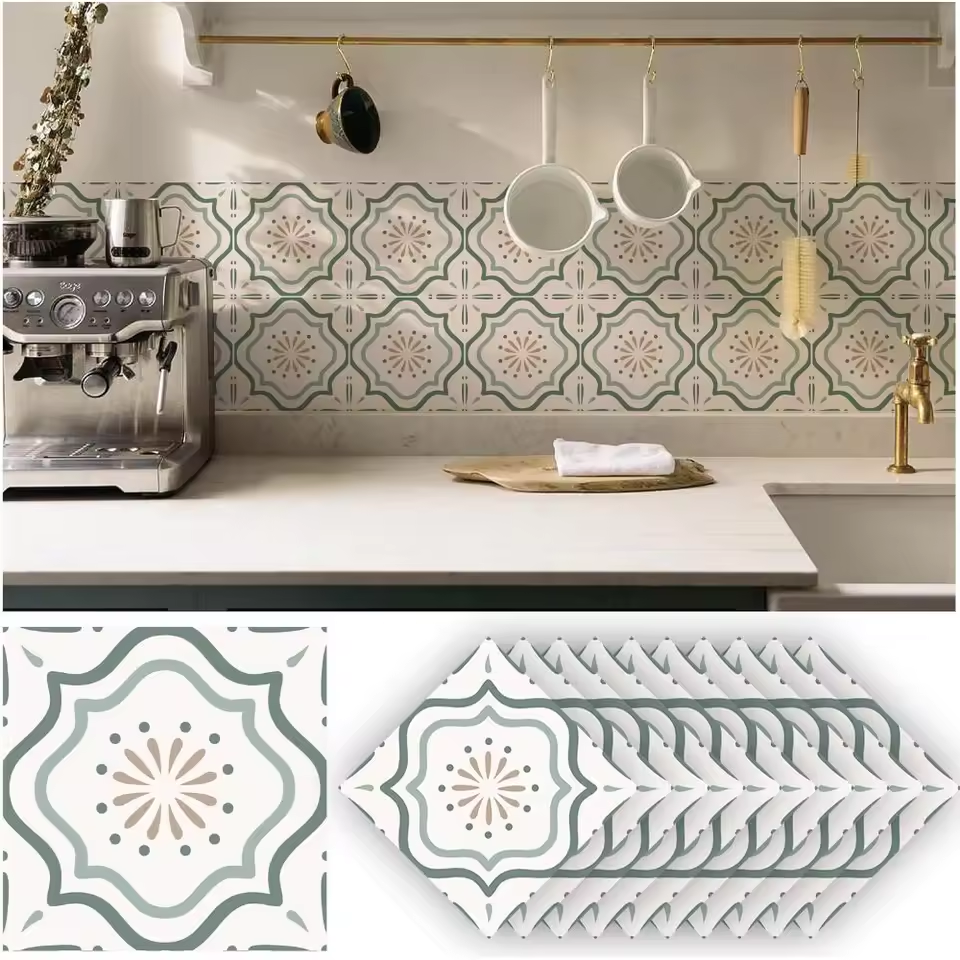
3. Design Preferences
- Color and Texture:
- Neutral tones (grays, beiges) for timeless appeal.
- Mosaic tile add patterns to feature walls.
- Size and Shape:
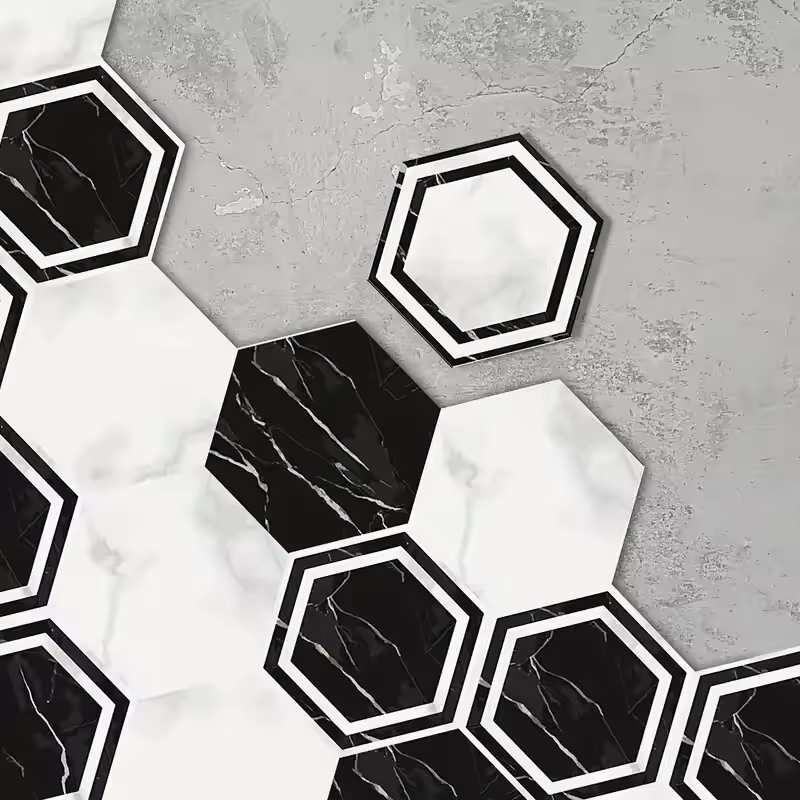
- Large-format tiles (24×24 inches) create continuity in small rooms.
- Hexagonal tiles for bathroom floors add visual interest.
4. Maintenance Needs
- Low Maintenance:
- Smooth, non-porous tile (porcelain, glass) resist stains.
- High Maintenance:
- Natural stone requires annual sealing and cautious cleaners.
5. Popular Tile Pairings
- Modern Kitchens: White subway tiles with matte black grout.
- Bathrooms: Marble-look porcelain for a spa-like feel.
- Outdoor Spaces: Textured concrete tiles for Costco deck tiles installations.
 Porcelain vs Ceramic Tiles: Which Is Better?
Both materials are popular but differ in composition and use cases:
- Porcelain Tile:
- Made from fine clay and high-firing temperatures.
- Pros: Durable, frost-resistant, and suitable for heavy use.
- Cons: Heavier and costlier than ceramic.
- Ceramic Tile:
- Softer and more porous than porcelain.
- Pros: Affordable, easier to cut.
- Cons: Not ideal for outdoor use.
- Key Comparison:
- Indoor vs Outdoor: Porcelain for exterior; ceramic for interior.
- Budget-Friendly: Ceramic wins for low-impact areas.
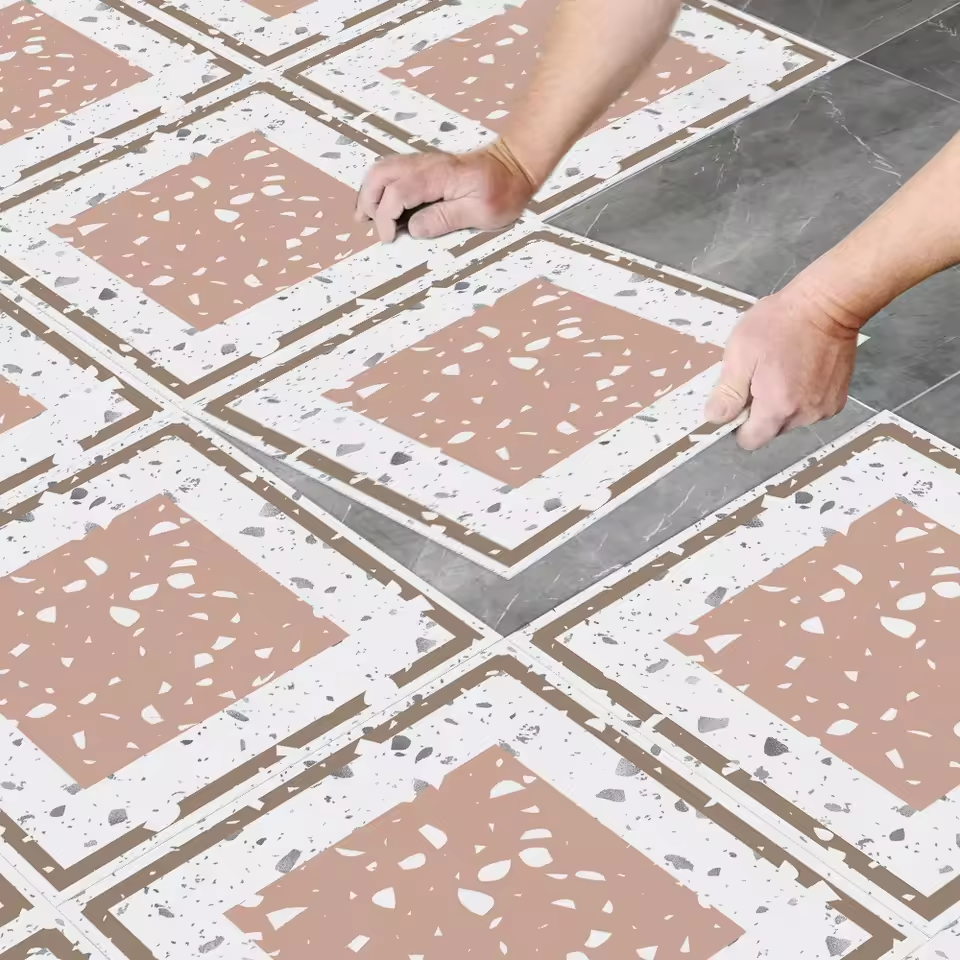
How to Install Tiles: A Step-by-Step Guide
Professional installation ensures durability and aesthetics. Here’s a detailed DIY guide:
1. Preparation
- Tools and Materials:
- Tile cutter or wet saw, notched trowel, grout float, rubber mallet, level, and spacers.
- Surface Preparation:
- Clean and level surfaces (use self-leveling compound for uneven floors).
- Mark a center line for symmetry.
2. Cutting and Layout
- Template Method:
- Use paper templates to plan around obstacles (e.g., outlets).
- Wet Saw Tips:
- Wear eye protection and score tile slowly to avoid cracks.
3. Applying Adhesive
- Tile Adhesive Types:
- Thinset mortar for most installations.
- Epoxy-based adhesives for natural stone.
- Application Technique:
- Spread adhesive with a notched trowel in a 1/4-inch V pattern.
- Press tiles firmly but gently to avoid air pockets.
4. Laying Tile
- Spacing with Spacers:
- Use plastic spacers between tiles for even grout lines.
- Edge Cuts:
- Measure remaining gaps and score tiles with a tile cutter.
5. Grouting
- Grout Types:
- Sanded grout for joints over 1/8 inch.
- Unsanded grout for narrow gaps.
- Application Tips:
- Mix grout to a peanut butter-like consistency.
- Pack grout into joints with a rubber float at a 45-degree angle.
- Wipe excess with a damp sponge within 15 minutes.
6. Sealing and Finishing
- Sealant Application:
- Apply grout sealer for moisture resistance (once grout is cured).
- Edge Trim:
- Install baseboards or wall trim to conceal uneven edges.
7. Troubleshooting
- Common Issues:
- Bubbles in Grout: Re-grout the section.
- Tile Wobble: Remove and reapply adhesive.
Tiles for Outdoor Use: Choosing the Perfect Material
Outdoor tiles must withstand weather and foot traffic. Key considerations include:
- Material Options:
- Porcelain Tiles: Frost-resistant and durable (e.g., Costco deck tiles for patios).
- Concrete Tiles: Modern and slip-resistant.
- Design Tips:
- Non-Slip Surfaces: Essential for pool decks.
- Color Selection: Neutral tones for timeless appeal.
 Maintaining Tiles to Extend Their Lifespan
Regular care prevents stains, scratches, and grout discoloration:
- Daily Cleaning:
- Use a damp mop for floors; avoid harsh chemicals.
- Deep Cleaning:
- Grout Cleaning: Apply oxygen bleach or use a grout brush.
- Sealing: Apply a grout sealer every 1–2 years.
- Troubleshooting:
- Cracks or Chips: Repair with epoxy resin for small damage.
Budget-Friendly Tile Options Without Sacrificing Quality
Affordable tiles don’t mean low quality. Here are cost-effective picks:
- Ceramic Tiles: Ideal for low-impact rooms like bedrooms.
- Concrete Tiles: Modern and durable for outdoor use.
- Recycled Glass Tiles: Eco-friendly and budget-friendly for backsplashes.
Eco-Friendly Tiles: Sustainability and Style
Eco-conscious options include:
- Recycled Materials: Tiles made from post-consumer glass or porcelain.
- Natural Stone Tiles: Sustainably sourced options like recycled marble.
- Low-VOC Adhesives: Reduce environmental impact during installation.
 Common Tile Installation Mistakes to Avoid
-
Tile installation requires precision to avoid costly errors. Here’s a detailed breakdown of pitfalls to watch for and how to correct them:
1. Improper Surface Preparation
Mistake: Skipping leveling or cleaning the base surface.
- Consequence: Tiles crack, shift, or develop uneven seams.
- Example: A bathroom floor with uneven cement leads to tiles tilting after installation.
Solution:
- Step 1: Use a self-leveling compound for uneven floors.
- Step 2: Clean surfaces with a degreaser to ensure adhesive bonds properly.
2. Incorrect Tile Spacing
Mistake: Forgetting to use spacers between tile.
- Consequence: Grout lines are uneven or tile overlap.
- Example: A kitchen backsplash with porcelain tile appears “crowded” due to narrow grout gaps.
Solution:
- Use Plastic Spacers: Available in 1/8”, 3/16”, or 1/4” widths.
- Remove Spacers Early: Take them out before grout hardens (wait 10–15 minutes).
3. Overloading Adhesive
Mistake: Applying too much adhesive or spreading it unevenly.
- Consequence: Tiles sink unevenly or adhesive oozes into grout lines.
- Example: A DIYer uses a thick trowel for 12×12” tile, causing air bubbles under the surface.
Solution:
- Trowel Size Guide:
- Small tile (6×6”): 1/8” notch trowel.
- Large tile (24×24”): 1/4” V-notch trowel.
- Thinset Technique: Spread adhesive in a “V” pattern for even coverage.
4. Ignoring Expansion Joints
Mistake: Failing to leave gaps at walls or floors.
- Consequence: Tile crack due to thermal expansion.
- Example: A bathroom floor without expansion joints develops hairline cracks in winter.
Solution:
- Expansion Joint Guidelines:
- Leave 1/4” gaps near walls (filled with caulk).
- Use flexible adhesives for large installations.
5. Improper Grout Selection
Mistake: Using the wrong grout type (e.g., sanded vs. unsanded).
- Consequence: Grout crumbles or stains easily.
- Example: A shower wall with narrow joints uses sanded grout, causing debris in hard-to-clean corners.
Solution:
- Grout Type Chart:
- Sanded Grout: For joints over 1/8 inch.
- Unsanded Grout: For narrow joints or natural stone.
- Color Matching: Choose grout shade slightly darker than tile to hide stains.
6. Over-Tightening Wall Tiles
Mistake: Pressing wall tiles too hard against walls.
- Consequence: Tile crack due to uneven pressure.
- Example: A backsplash installation in a kitchen results in ceramic tile with edge chips.
Solution:
- Gentle Application: Tap tiles lightly with a rubber mallet.
- Vertical Alignment: Use a plumb bob to ensure vertical symmetry.
7. Skipping Tile Backer Boards
Mistake: Installing directly on drywall without a backer board.
- Consequence: Tile loosen over time due to moisture damage.
- Example: A bathroom floor on untreated drywall causes tile detachment after a leak.
Solution:
- Use Backer Boards: HardieBacker or cement boards for wet areas.
- Adhesive Layers: Apply adhesive to both the board and tile.
8. Neglecting Tile Expansion
Mistake: Installing tiles too tightly without allowance for thermal expansion.
- Consequence: Tiles crack when heated or cooled.
- Example: A fireplace surround with marble tiles develops gaps after winter.
Solution:
- Expansion Gaps: Leave 1/4” space around walls or furniture.
- Use Flexible Sealants: Silicone or latex-based adhesives.
9. Inadequate Tile Cutting
Mistake: Haphazard cuts with a manual tile cutter.
- Consequence: Uneven edges or tile breakage.
- Example: A DIYer tries to cut a glass tile without scoring properly, resulting in jagged edges.
Solution:
- Tools for Precision:
- Wet Saw: For curved cuts or thick tiles.
- Tile Nipper: For small adjustments.
- Practice Cuts: Test on scrap tiles before cutting final pieces.