
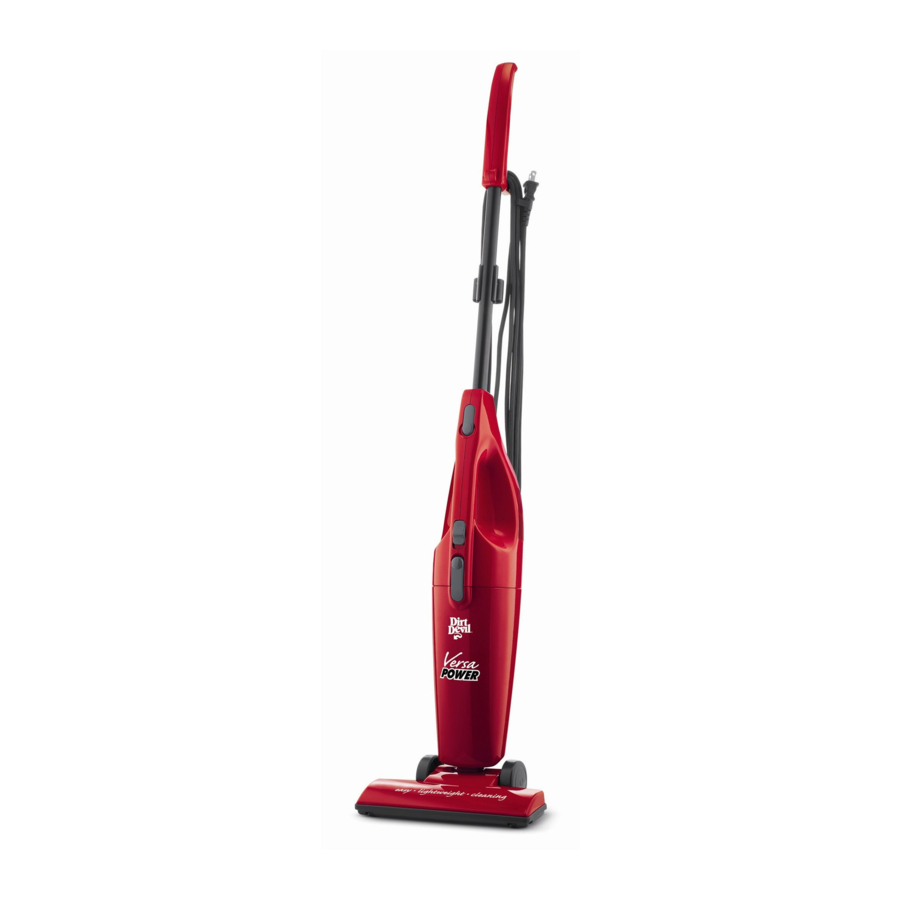
Preparing to Disassemble Your Dirt Devil Vacuum
How to take apart a dirt devil vacuum cleaner? Before you begin the process of disassembling your Dirt Devil vacuum cleaner, it’s crucial to prepare. Proper preparation ensures a smooth disassembly process and helps you avoid any unnecessary damage to your vacuum or injuries to yourself. Here are the steps you should follow:
- Unplug the Vacuum: Safety comes first. Always unplug your Dirt Devil vacuum cleaner from the electrical outlet to prevent any risk of electric shock.
- Clear a Workspace: Find a clean, flat surface in a well-lit area to work on. A large table or a stretch of floor will do. Make sure there’s enough space to lay out parts as you take them apart.
- Gather the Manual: If possible, have the user manual for your model of Dirt Devil vacuum cleaner at hand. It usually contains essential information about the parts and assembly.
- Empty the Vacuum: Make sure to empty the dirt container or replace the vacuum bag if necessary. Doing this will reduce the mess and make the vacuum lighter and easier to handle.
- Get Organized: Prepare small containers or zip lock bags to keep screws and small parts organized. This way, you won’t lose anything and reassembly will be easier.
By following these steps, you’ll set yourself up for a successful disassembly of your Dirt Devil vacuum cleaner. It’s all about being safe, organized, and methodical in your approach.
Tools Needed for Taking Apart Your Vacuum
When it’s time to take apart your Dirt Devil vacuum cleaner, having the right tools will make the job easier and quicker. Here is a list of essential tools that you should gather:
- Screwdrivers: A set of screwdrivers, both flat-head and Phillips, in various sizes will help you handle different screws.
- Pliers: Needle-nose pliers can be useful for removing small clamps or wires.
- A Wrench: Some models may require a wrench to loosen bolts or nuts.
- Cleaning Brushes: Soft brushes can clean dust from internal parts without causing damage.
- Towel or Cloth: Lay out parts on a towel to prevent them from rolling away and to keep the workspace clean.
- Plastic Bags or Containers: Use these to organize screws and small parts so they don’t get lost.
Gather these tools before you start to ensure you have what you need at each step. It saves time and helps you stay organized. Remember to use the tools carefully to avoid damaging the parts of your Dirt Devil vacuum cleaner.
Safety Tips Before You Start
Before diving into the task of disassembling your Dirt Devil vacuum, safety cannot be overlooked. Here are key safety tips to bear in mind:
- Wear Protective Gear: Put on safety glasses to protect your eyes from dust and debris. If you’re dealing with sharp objects, wearing gloves can prevent cuts.
- Check for Damaged Parts: Inspect your vacuum for any damaged parts to avoid potential hazards while taking it apart.
- Review the Manual: Familiarize yourself with the vacuum’s manual, paying special attention to safety warnings.
- Keep a First Aid Kit Nearby: In case of minor injuries, having a first aid kit within reach is always prudent.
- Avoid Loose Clothing: Wear fitting clothes to prevent anything from getting caught in the vacuum’s parts.
- Be Mindful of Wires and Cords: Handle electrical components with care to prevent shocks.
- Ventilation: Make sure your workspace is well-ventilated to avoid inhaling dust.
By following these safety precautions, you can take apart your Dirt Devil vacuum cleaner with confidence and reduce the risk of accidents.
Step-by-Step Disassembly Process
Disassembling your Dirt Devil vacuum cleaner involves a series of careful steps. Follow this process to ensure you take apart your vacuum efficiently and safely.
- Remove External Parts First: Start by taking off any detachable accessories. This includes the hose, extensions, and any tools. Set them aside.
- Access the Main Body: Unscrew the main casing using your screwdrivers. Carefully remove the cover to expose the internal components.
- Detach the Brush Roll: Locate the brush roll. Gently slide it out of its housing. Clip any tangled hairs or debris before removal.
- Unhook the Belt: If your vacuum has a belt, carefully unhook it from the motor. Check the belt for wear and tear.
- Remove the Filter: Find the filter compartment. Take out the filter. If it’s washable, clean it as instructed in the manual.
- Clean Internal Parts: With the vacuum opened, use your cleaning brushes to dust off the interior parts. A gentle touch is key to avoid damage.
- Organize the Parts: As you remove each part, place them on your cloth. Use plastic bags or containers to hold small parts and screws.
By following these steps for how to take apart a Dirt Devil vacuum cleaner, you ensure a smooth and systematic disassembly. Stay organized and refer to the user manual when needed for guidance on specific parts.
Cleaning and Maintenance During Disassembly
While disassembling your Dirt Devil vacuum cleaner, it’s the perfect time to perform some cleaning and maintenance. This helps keep your vacuum running smoothly. Here are some steps to follow:
- Wipe Down Surfaces: As you dismantle your vacuum, use a damp cloth to wipe down each part. This prevents dust buildup.
- Check for Wear: Look for signs of wear on all parts. Check hoses, belts, and filters especially.
- Clean the Brush Roll: Remove trapped hair and debris from the brush roll. Use scissors for cutting anything wrapped tightly.
- Inspect the Belt: Examine the belt for cracks or stretching. Replace it if needed.
- Rinse Washable Filters: If your model has washable filters, rinse them under water. Follow the manual for drying instructions.
- Clear Air Passages: Use a can of compressed air to blow out dust from tight spaces and air passages.
- Lubricate Moving Parts: Apply a small amount of lubricant to any bearings or wheels. This reduces friction and extends life.
- Tighten Loose Screws: As you reassemble, make sure all screws are tight. Loose screws can cause parts to malfunction.
By taking these steps during the disassembly of your Dirt Devil vacuum cleaner, you not only clean your vacuum but also maintain its parts for better function and longevity. Regular maintenance can prevent problems down the line and ensure peak performance.
Troubleshooting Common Disassembly Issues
Even with a careful approach to disassembling your Dirt Devil vacuum cleaner, you may run into issues. Here are some common problems and their solutions:
- Screws Won’t Budge: Screws can get tight over time. Use a penetrating oil to loosen them without stripping the heads.
- Parts Seem Stuck: At times, components may seem fused together. Gently wiggle them to separate without forcing and causing damage.
- Lost Screws or Parts: It’s easy to lose small items. Always check your workspace thoroughly and use containers to keep parts safe.
- Belt Is Difficult to Remove: If the belt won’t come off easily, carefully cut it with scissors. Remember to replace it with the correct size.
- Dirt Container Won’t Open: Dust can clog the release mechanism. Clean around it and try opening it again with gentle pressure.
- Filter is Stuck: Over time, filters may become lodged in their space. Slowly work it free to avoid tearing.
- Brush Roll Won’t Come Out: Hair and debris can jam the roll. Cut away any entanglements before gently sliding it out.
By tackling these issues with patience and the right techniques, you can successfully take apart your Dirt Devil vacuum cleaner. Keep your user manual close for reference. If problems persist, consider consulting a professional to prevent further damage to your vacuum.
Reassembling Your Dirt Devil Vacuum After Cleaning
When it’s time to put your Dirt Devil vacuum back together after a thorough cleaning, careful reassembly is just as crucial as the disassembly process. Proper reassembly ensures that your vacuum operates effectively and safely. Here’s a straightforward step-by-step guide to reassemble your Dirt Devil vacuum cleaner:
- Start with the Filter: If you cleaned or replaced the filter, put it back first. Ensure it fits snugly in its compartment.
- Reattach the Belt: If you removed the belt, loop it back over the motor shaft. Then stretch it to the brush roll.
- Slide in the Brush Roll: Insert the brush roll into its housing. Make sure it spins freely without obstructions.
- Secure Internal Components: Replace any internal parts you removed. Follow the manual to ensure they’re positioned correctly.
- Close the Main Body: Align the main casing and secure it with screws. Tighten them firmly but avoid over-tightening.
- Attach External Parts: Reattach hoses, extensions, and tools. Confirm that all attachments click into place.
- Check for Loose Screws: Go over the vacuum one more time to check for any loose screws. Tighten them as needed.
- Final Inspection: Give your vacuum a once-over. Confirm that all parts are secure and the vacuum is assembled correctly.
By following these steps on how to take apart a Dirt Devil vacuum cleaner and then properly reassemble it, you’ll have your appliance back in working order in no time. Regular maintenance and careful handling are the keys to prolonging the life of your vacuum cleaner. Keep your user manual handy throughout the process for reference to specific model details. On completing the reassembly, plug in your vacuum and test it to ensure everything is working as it should. With these steps, you can enjoy a clean and efficient Dirt Devil vacuum ready for use.