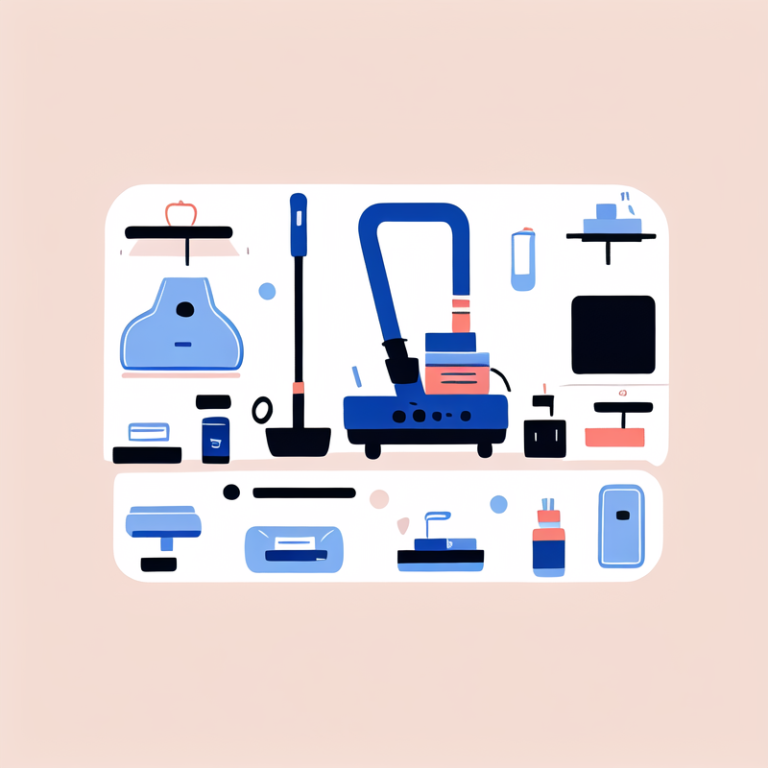
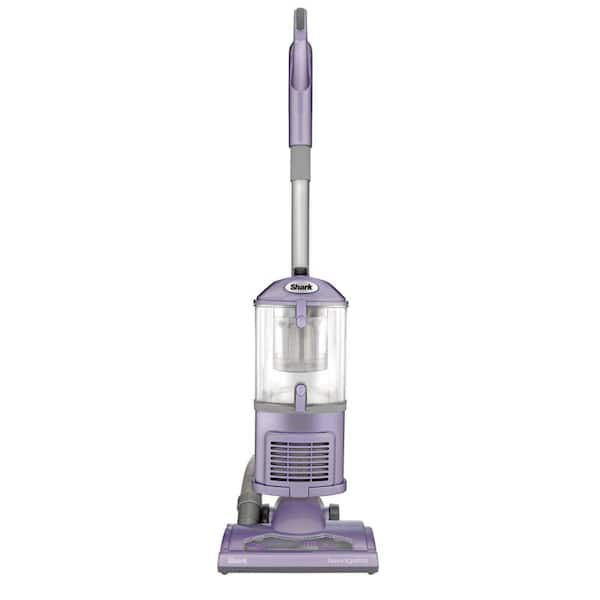
Unboxing Your Shark Vacuum Cleaner
How to use shark vacuum cleaner? After bringing home your new Shark vacuum cleaner, the first step is to unbox it carefully. Set aside a clean area to lay out all the parts and packaging materials. It’s crucial to proceed with caution to avoid losing any small components or damaging the vacuum cleaner itself.
Checking the Package Contents
Once you’ve opened the box, ensure all parts listed in the user manual are present. Common contents include the main vacuum unit, hose, wand, power cord, and various attachments. Also, look for the user manual and warranty card. If anything is missing or damaged, contact the retailer or Shark’s customer service promptly. Organize everything, so it’s ready for the next step: assembling your Shark vacuum cleaner. Remember, correct unboxing and checking of your Shark vacuum cleaner ensures a smooth setup, so you can start cleaning without delay.
Assembling Your Shark Vacuum Cleaner
With all the parts laid out, it’s time to put your Shark vacuum cleaner together. Assembling your vacuum is a straightforward process, but attention to detail is key for optimal performance.
Attaching the Components
Begin by connecting the main hose to the vacuum unit. Push until you hear a click, indicating a secure connection. Next, slide the wand onto the hose end. Most Shark vacuum models have a locking mechanism that snaps into place. Follow by attaching the floor nozzle by aligning it with the wand and clicking it securely. If your model comes with a motorized brush, ensure it’s firmly attached to the nozzle.
Check the user manual to see if your model has specific instructions for the attachments. Use the diagrams as a reference to understand the correct alignment and positioning of each part.
Securing the Connections
After all components are attached, double-check each connection. Ensure every part is firmly in place and locked securely. Loose fittings can lead to loss of suction or even damage the vacuum, so take your time during this step.
Tug gently on each piece to confirm it won’t detach easily. Review the setup one last time, comparing it to the illustrations in the user manual. If you encounter any issues, refer back to the manual’s troubleshooting section or contact Shark customer service.
Completing these assembly steps will prepare your Shark vacuum for the cleaning tasks ahead. Ensure every part is properly attached and secured, and you’re ready to move to the next phase: understanding your Shark vacuum’s features.

Understanding Your Shark Vacuum’s Features
Before you start cleaning, getting familiar with the features of your Shark vacuum cleaner is crucial. Knowing what each function does will help you clean more efficiently and effectively.
Selecting the Appropriate Setting for Your Cleaning Needs
Your Shark vacuum is equipped with various settings tailored to different surfaces and types of dirt. Here’s how you can choose the right setting:
- For Hard Floors: Use the bare floor setting. This prevents scratching and ensures gentle suction.
- For Carpets: Switch to the carpet setting. This increases suction, allowing for deeper cleaning.
- For Upholstery: Attach the upholstery tool and use a lower suction setting to avoid damage.
- For Curtains: Use a gentle suction mode along with the appropriate attachment to prevent tearing.
- For Pets: If you have pets, use the pet hair attachment to specifically target and remove pet hair and dander.
Consult your user manual for detailed instructions on how to use shark vacuum cleaner settings for various cleaning tasks. Matching the correct setting with your cleaning needs will not only provide better results but also protect your floors and furnishings from damage.
Operating Your Shark Vacuum Cleaner
Knowing how to operate your Shark vacuum cleaner will streamline your cleaning routine.
Starting the Vacuum
To start your Shark vacuum cleaner, follow these simple steps:
- Plug in the vacuum to a power outlet.
- Press the power button or switch found on the vacuum’s body or handle.
- Wait for the indicator lights to signal it’s ready, if applicable.
Once the vacuum is on, you’re set to begin cleaning. Ensure the vacuum is in the upright position before turning it on to avoid any unexpected movements.
Adjusting the Suction Power
Your Shark vacuum cleaner allows you to adjust the suction power according to the cleaning task at hand. Here’s how to manage it:
- Locate the suction control button or dial on the vacuum.
- Turn or slide it to increase or decrease the suction power.
- For delicate surfaces, use lower suction settings.
- For tougher messes or carpets, increase the suction.
Adjusting the suction ensures that you use the vacuum efficiently. It prevents damage to sensitive fabrics and enhances cleaning on more resilient surfaces.
Maintenance and Cleaning
Proper maintenance and regular cleaning are key to keeping your Shark vacuum cleaner at peak performance. Paying attention to these aspects not only extends the lifespan of your unit but also ensures that it always cleans efficiently. Let’s delve into the essential cleaning and maintenance tasks you should perform regularly.
Regularly Emptying the Dust Cup
Keep an eye on the dust cup. Empty it before it reaches full capacity. Here’s a simple way to do this:
- Detach the dust cup from the vacuum.
- Hold it over a trash bin and press the release button.
- Tap gently to get all the dirt out.
- Place it back and make sure it clicks into position.
Doing this after each use helps maintain strong suction and prevents overflow which can lead to clogs.
Cleaning the Filters
Shark vacuum cleaners come with filters that trap fine dust particles. To clean the filters, follow these steps:
- Remove the filters according to the manual’s instructions.
- Rinse them under running water until the water runs clear.
- Let them air-dry completely before reinstalling.
Remember, these should be cleaned every three months or more often if you vacuum frequently.
Checking for Blockages
A blockage can reduce suction power and effectiveness. To check for and clear blockages:
- Turn off and unplug the vacuum.
- Inspect the hose, wand, and floor nozzle for obstructions.
- Use a long, slim object to remove any debris you find.
Regular checks can prevent unexpected disruptions while cleaning. By keeping these maintenance tips in mind and applying them to your cleaning routine, your Shark vacuum cleaner will continue to perform effectively, ensuring a clean home environment.
Troubleshooting Common Issues
Even with proper use and maintenance, you might face some issues with your Shark vacuum cleaner. Troubleshooting common problems can save you time and avoid the need for professional help. Let’s look at how to solve the most frequent problems users encounter.
Dealing with Loss of Suction
A loss of suction can happen for several reasons. Here’s what you can do:
- Check the Dust Cup: Empty it if it’s full.
- Examine Filters: Clean them if they’re dirty. Consider replacing them if washing doesn’t help.
- Look for Blockages: Inspect the hose, wand, and nozzles. Remove any obstructions you find.
- Secure All Connections: Make sure all parts are locked in tightly.
If none of these steps restore suction, call Shark customer service for further guidance.
Resolving Brush Roll Problems
The brush roll is essential for deep cleaning carpets. If it isn’t working:
- Inspect for Hair or Debris: Cut away tangled hair and clear out debris.
- Check the Belt: If the brush roll isn’t spinning, the belt might be broken. Replace it if needed.
- Reset the Vacuum: Some models have a reset button for the brush roll. Press it if your vacuum has one.
Following these steps should fix most brush roll issues. For persistent problems, refer to the user manual or contact customer support.

Shark Vacuum Cleaner Accessories
Shark vacuum cleaners come with a variety of accessories to enhance your cleaning experience.
Using Accessories for Specialized Cleaning Tasks
To tackle a wide range of cleaning challenges, your Shark vacuum includes several specialized tools.
- Crevice Tool: Reach into tight spaces, corners, and along edges.
- Upholstery Tool: Great for furniture and drapes; removes dust and allergens.
- Dusting Brush: For gently cleaning shelves, blinds, and delicate surfaces.
- Pet Tool: Designed to grab pet hair from all surfaces.
These accessories are easy to attach and use. Simply clip them onto the hose or wand, and you’re ready to go. Each one is designed for a specific task, so always pick the one best suited to the job. Regularly switch tools to ensure you’re always cleaning as efficiently as possible. Remember to consult your user manual for guidance on how to use Shark vacuum cleaner attachments effectively. Proper use of these accessories can significantly enhance the cleaning power of your Shark vacuum.
Storing Your Shark Vacuum Cleaner
After all the cleaning is done, storing your Shark vacuum cleaner correctly will ensure its durability and readiness for the next use.
Tips for Proper Storage
Follow these simple storage tips:
- Find a cool, dry place for your vacuum to avoid exposure to moisture or heat.
- Coil the power cord loosely to prevent damage or tangling.
- Keep the vacuum upright to save space and protect its structure.
- Ensure all attachments are removed and stored neatly in a designated spot.
- Cover the vacuum with a cloth to protect it from dust if you plan not to use it for a long time.
By implementing these easy tips, you safeguard your Shark vacuum cleaner and keep it in top condition.
Maintaining Battery Life for Cordless Models
For those with cordless Shark vacuum models, maintaining the battery life is key. Here’s how you can do it:
- Charge the battery completely after each use to keep it at peak performance.
- Avoid leaving the battery on the charger once it’s fully charged.
- Store the vacuum and battery in a place that doesn’t get too cold or hot.
- If you won’t use the vacuum for a while, charge the battery to 50% before storage.
- Check and charge the battery every six months to keep it from depleting.
By caring for the battery, you ensure your cordless Shark vacuum is always ready for action.