Instrument microphones play a vital role in capturing the sound of musical instruments, whether in a studio, on stage, or during practice sessions. The right microphone can enhance the quality of sound and make a significant difference in the recording and live performance experience. However, achieving the best results requires understanding how to use these microphones effectively. This article discusses the best practices for using your instrument microphone, covering selection, placement, technique, and maintenance.
Selecting the Right Microphone for Your Instrument
Understanding Microphone Types
Choosing the right microphone is paramount to capturing the best sound from your instrument. Different types of microphones serve various purposes and work better with specific instruments. The most common types include dynamic, condenser, and ribbon microphones.
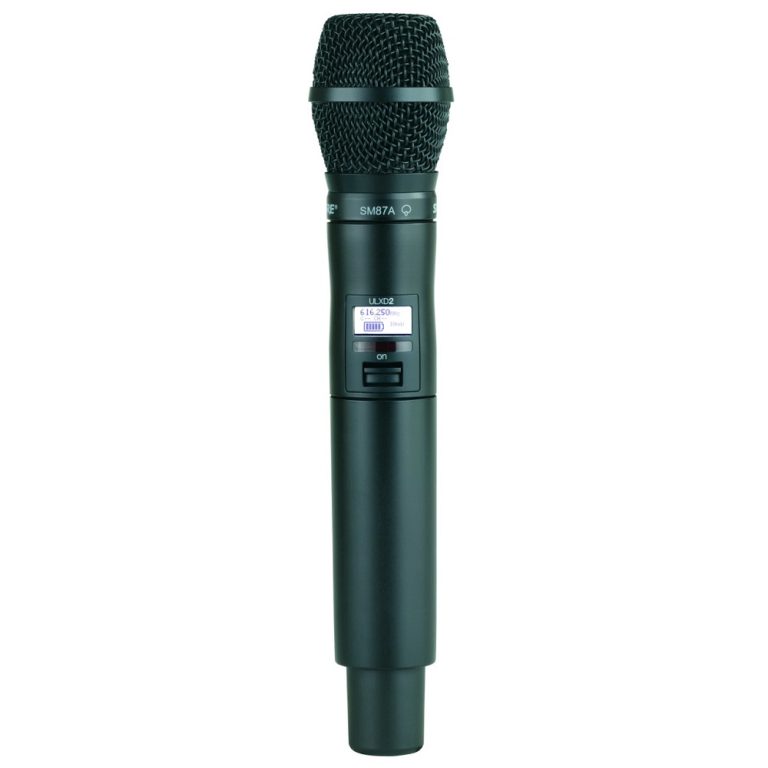
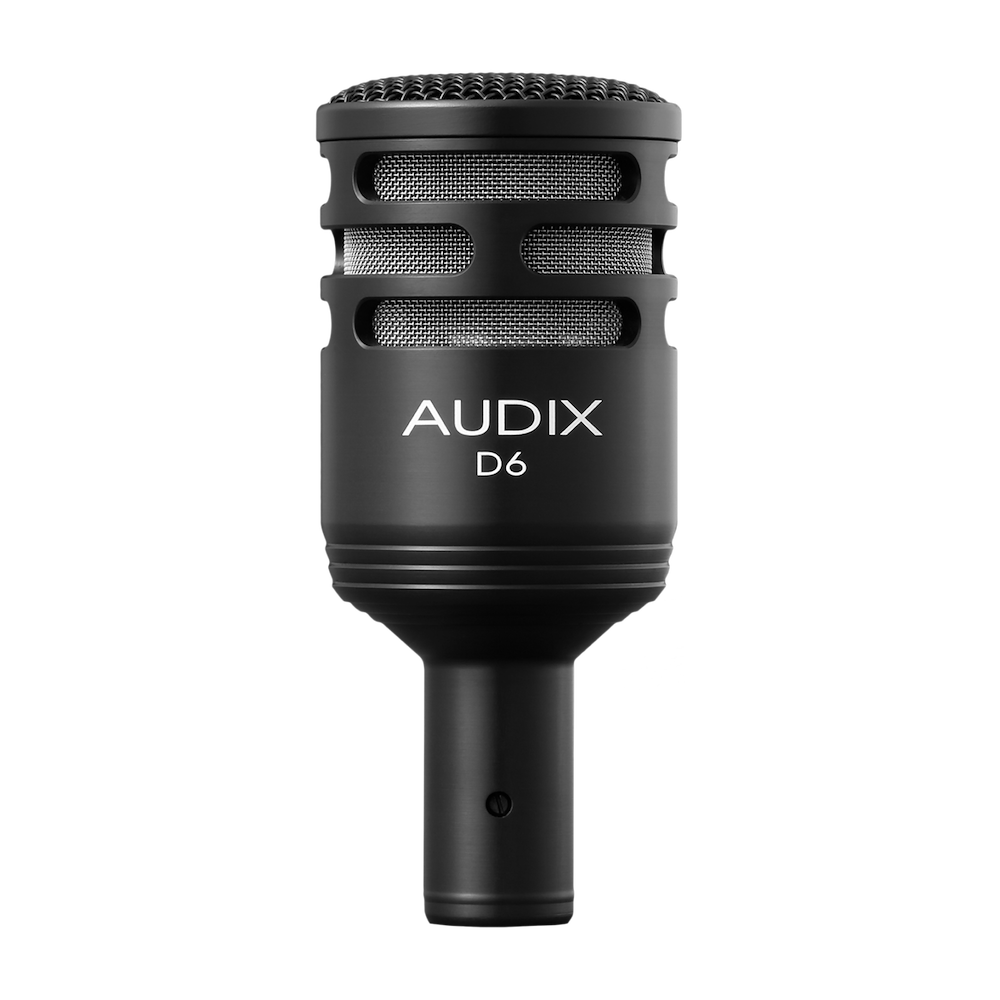
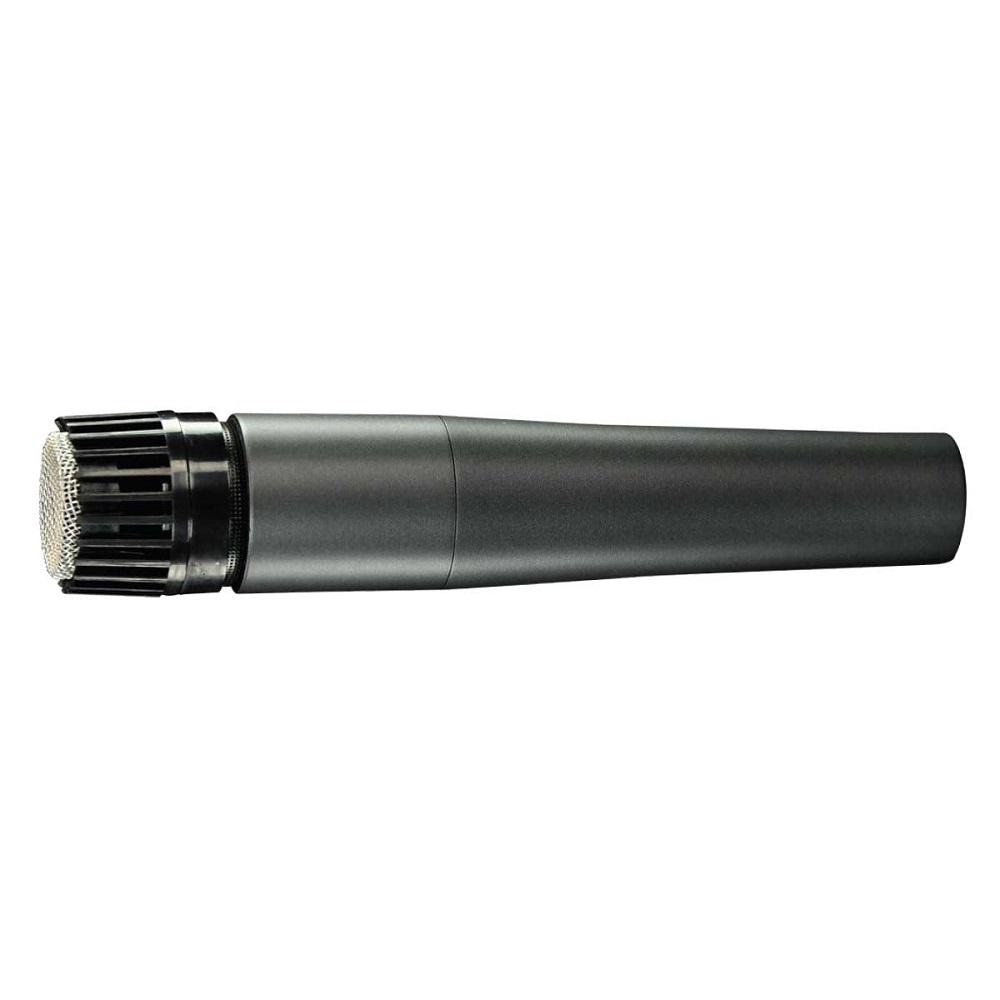
- Dynamic Microphones: These are durable and excellent for high sound pressure levels, making them ideal for loud instruments like drums and guitars. They are less sensitive than condenser microphones, which makes them perfect for live performances.
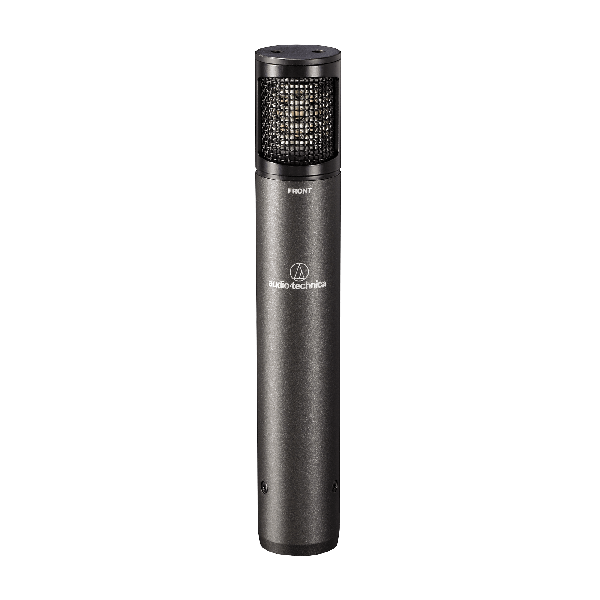
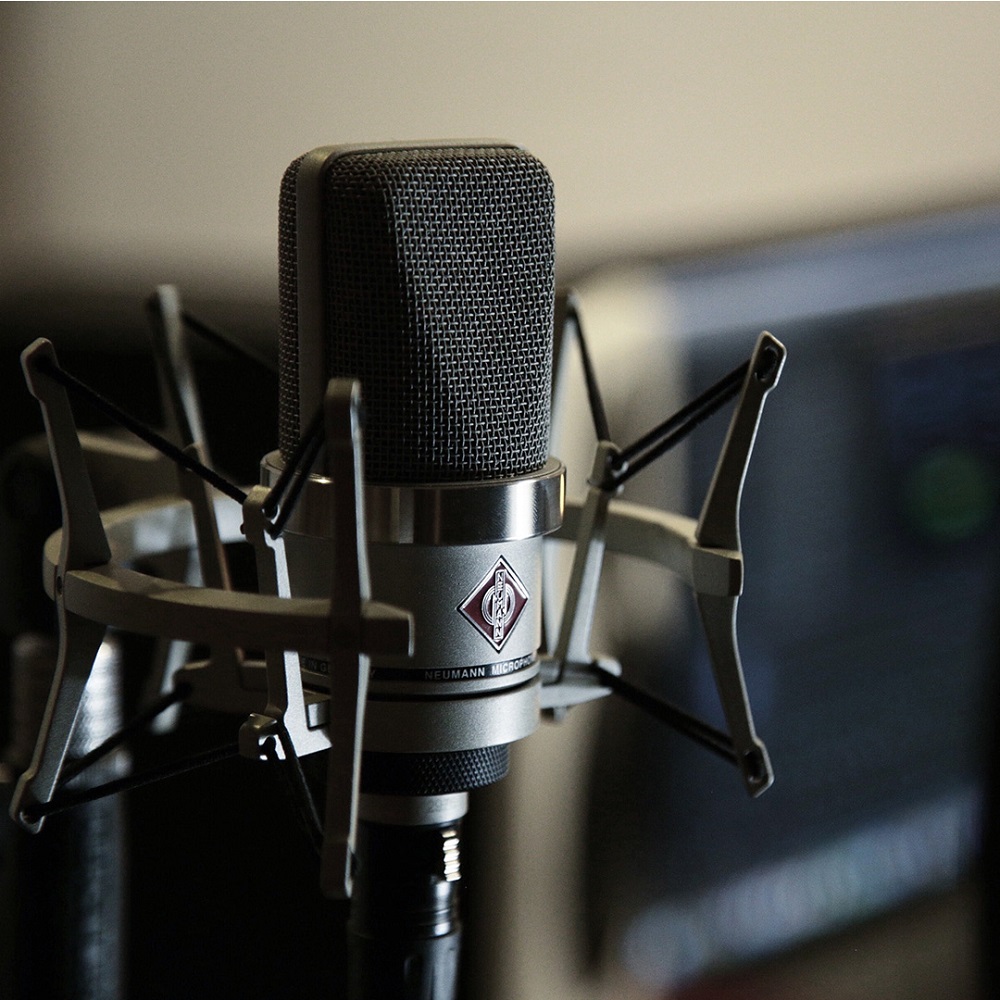
- Condenser Microphones: These are sensitive and capable of capturing a wide frequency range. They are often used for studio recordings, especially for acoustic instruments, strings, and vocals. Their sensitivity allows them to pick up nuances in sound that other types may miss.
- Ribbon Microphones: Known for their warm sound, ribbon microphones are often used for brass instruments and strings. They are delicate and require careful handling but provide a unique sonic quality.
Understanding the differences between these microphone types helps you select the most suitable one for your specific instrument and recording scenario. Each microphone type offers unique advantages and challenges, and the choice affects the overall sound quality.
Matching the Microphone to the Instrument
Once you’ve identified the type of microphone, consider how it fits with your instrument. For instance, a condenser mic is often best for a grand piano or strings, while a dynamic mic can work well with electric guitars. Additionally, the specific sound characteristics of the instrument should influence your choice.
Before making your selection, it’s beneficial to test different microphones with your instrument. Many music stores offer demo setups that allow you to compare sound quality in real-time. Taking the time to explore various options can lead to choosing the mic that best captures your instrument’s tone and character.
Microphone Placement Techniques
Understanding the Importance of Placement
Microphone placement is critical in achieving the best audio quality. The way a mic is positioned relative to the instrument significantly influences the sound that is captured. Factors such as distance, angle, and position all play essential roles.
For instance, placing a microphone too close may result in a boomy sound, emphasizing low frequencies and potentially causing distortion. Conversely, placing it too far may result in a weaker signal, capturing too much ambient noise. The goal should be to achieve a balanced and clear sound.
Common Placement Techniques for Different Instruments
Different instruments require specific placement techniques to capture their unique characteristics:
- Acoustic Guitar: For acoustic guitars, placing a condenser microphone about 12 inches away from the sound hole captures a warm and balanced tone. Alternatively, positioning it near the 12th fret can provide clarity and definition.
- Drums: For drums, use dynamic microphones to mic individual pieces (e.g., snare, kick, hi-hat) and overhead condenser mics for overall sound. Placing overhead mics above the drummer captures the ambiance and resonance of the entire kit.
- Piano: For grand pianos, try placing two microphones: one close to the hammers for a bright sound and one further away for ambient room sound. This combination creates a fuller and richer audio profile.
Understanding the nuances of microphone placement helps ensure that you obtain the best sound possible from your instrument. Adjusting the placement based on the instrument type is crucial for optimal results.
Adjusting Levels and Controls
Finding the Right Gain Level
After positioning your microphone, it is essential to adjust the gain level on your audio interface or mixer. Gain controls the strength of the audio signal sent from the microphone to the recording device. Finding the right level ensures that the audio is neither too soft nor too loud, which could result in distortion.
Begin by playing your instrument at the loudest expected level while observing the input meter on your equipment. The peak level should ideally be around -12 dB to -6 dB to allow headroom without clipping. Taking the time to set the gain properly can significantly improve overall sound quality during recording sessions.
Utilizing EQ and Filtering
In addition to adjusting gain, using equalization (EQ) and filtering can enhance the sound quality. Most audio interfaces and mixing consoles come with built-in EQ settings. Use these controls to shape the sound by boosting or cutting specific frequencies.
For instance, if you notice excessive low-frequency rumble in your recordings, applying a high-pass filter can clean up the sound. Conversely, if an instrument lacks presence, gently boosting the mid-range frequencies can enhance clarity. Understanding how to adjust levels and use EQ effectively allows you to achieve a polished and professional sound.
Microphone Technique and Performance
Proper Performance Technique
The way you play your instrument can significantly influence the sound captured by the microphone. For example, playing more aggressively may produce different tonal qualities than a softer touch. Be aware of your playing dynamics, as they can affect how the microphone captures the sound.
When performing with a microphone, remember that vocalists and instrumentalists alike should aim for consistency. Consistent dynamics allow for better mixing and post-processing. Additionally, consider using techniques such as varying your playing position or using different strumming patterns to impact the sound.
Consistent Distance and Angle
Maintaining a consistent distance and angle is vital for a uniform sound. Movement can alter how the microphone picks up sound, leading to inconsistencies. Develop a habit of playing at the same distance from the microphone throughout your performance.
When mic’ing instruments, adjusting the angle can also yield different results. Experimenting with angles allows you to capture bright sounds or emphasize resonance. Minor adjustments in positioning often lead to significant changes in sound quality.
Monitoring and Mixing the Sound
Real-Time Monitoring
Monitoring your sound in real-time is crucial when using an instrument microphone. This practice can be done through headphones connected to your audio interface or mixer. Real-time monitoring allows you to capture the nuances of your performance while adjusting levels.
During a recording session, take the time to listen carefully. Focus on the clarity, dynamics, and overall balance of your instrument. If any issues arise, such as distortion or imbalance, you can adjust settings immediately rather than discovering problems during playback.
Mixing Techniques
Once recordings are complete, the mixing process begins. Mixing allows you to refine the sound captured by your microphone further. Utilize EQ, reverb, and compression to enhance the recorded audio. Each method serves a distinct purpose; EQ shapes tone, reverb adds depth, and compression balances dynamics.
Mixing can be a creative process that brings out the best in your recordings. Experimenting with these techniques allows you to discover your desired sound. Familiarizing yourself with various mixing tools helps ensure a professional-sounding final product.
Maintaining Your Microphone
Proper Handling Techniques
Maintaining your instrument microphone is essential for preserving its functionality and lifespan. Proper handling techniques can prevent accidental damage. Always hold the microphone by the body rather than the head when moving it. This practice helps avoid putting unnecessary strain on the internal components.
Additionally, avoid exposing microphones to extreme temperatures or humidity. Protect them from dust and dirt by using a cover when not in use. Keeping your microphone clean and dry ensures that it remains in optimal working condition, even after extended use.
Routine Testing and Calibration
Regularly testing and calibrating your microphone can reveal issues often unnoticed during performances. Check for any inconsistencies in sound quality and ensure that all connections are secure. Running tests with different instruments helps determine if the microphone performs as expected.
If you notice any changes in sound or performance, consider seeking professional servicing. An experienced technician can diagnose issues and conduct repairs or calibrations. Investing the time in maintenance ultimately pays off when capturing high-quality sound.
Elevate Your Sound with Best Practices
In conclusion, mastering the use of your instrument microphone involves understanding the right practices and techniques. From selecting the appropriate microphone to proper placement, adjusting levels, and maintaining the equipment, every detail matters. Taking these steps ensures that you capture high-quality sound, whether in a studio or during live performances.
By following the best practices outlined in this guide, musicians can enhance their recording and performance experiences. Continuous learning and evolution in techniques are essential for achieving success in this area. Ultimately, with the right knowledge and practices, you can elevate your sound and make every performance a resounding success. Enjoy the journey of exploring the world of instrumentation and sound capturing, and let your creativity shine through!
