Microphones are essential tools in various fields such as music production, podcasting, broadcasting, and general audio recording. Among the many brands available, Behringer has earned a reputation for offering high-quality microphones at affordable prices. This guide will provide beginners with practical tips and tricks for using Behringer microphone effectively.
Understanding Your Behringer Microphone
Types of Behringer Microphones
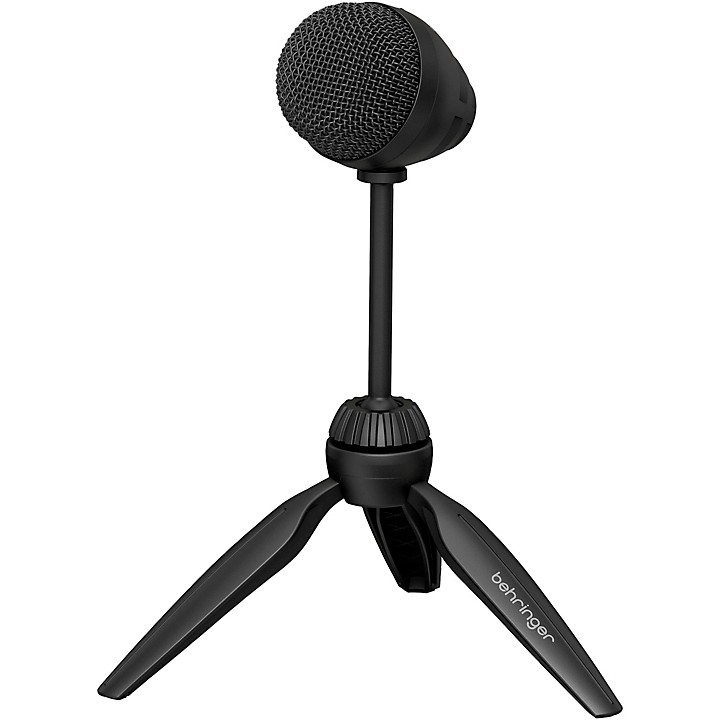
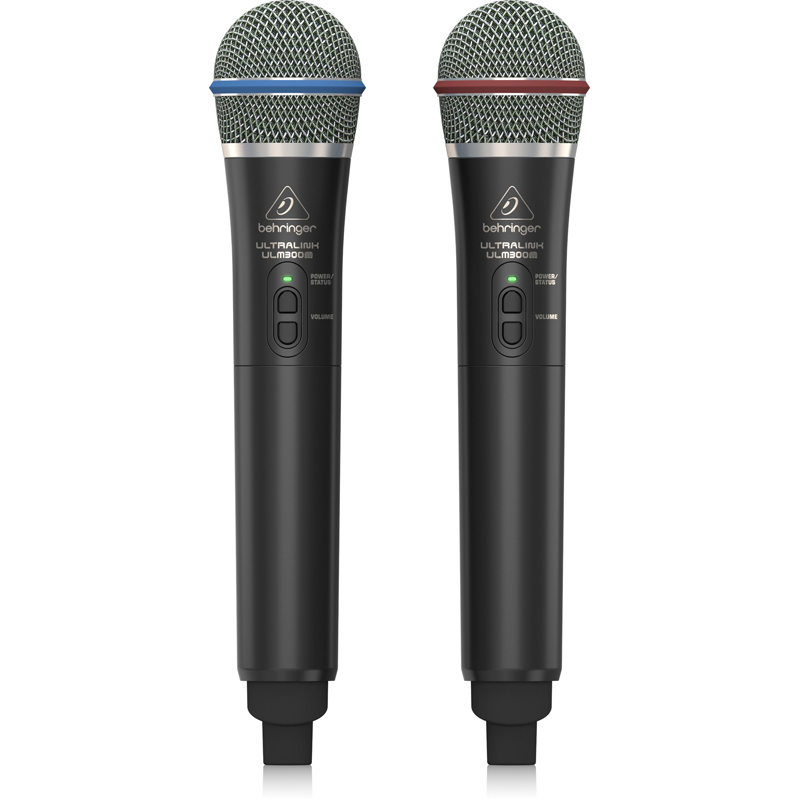
Behringer offers a range of microphones suited for different applications. Some of the most common types include dynamic microphones, condenser microphones, and ribbon microphones. Each type has its unique characteristics, which makes them suitable for various recording situations.
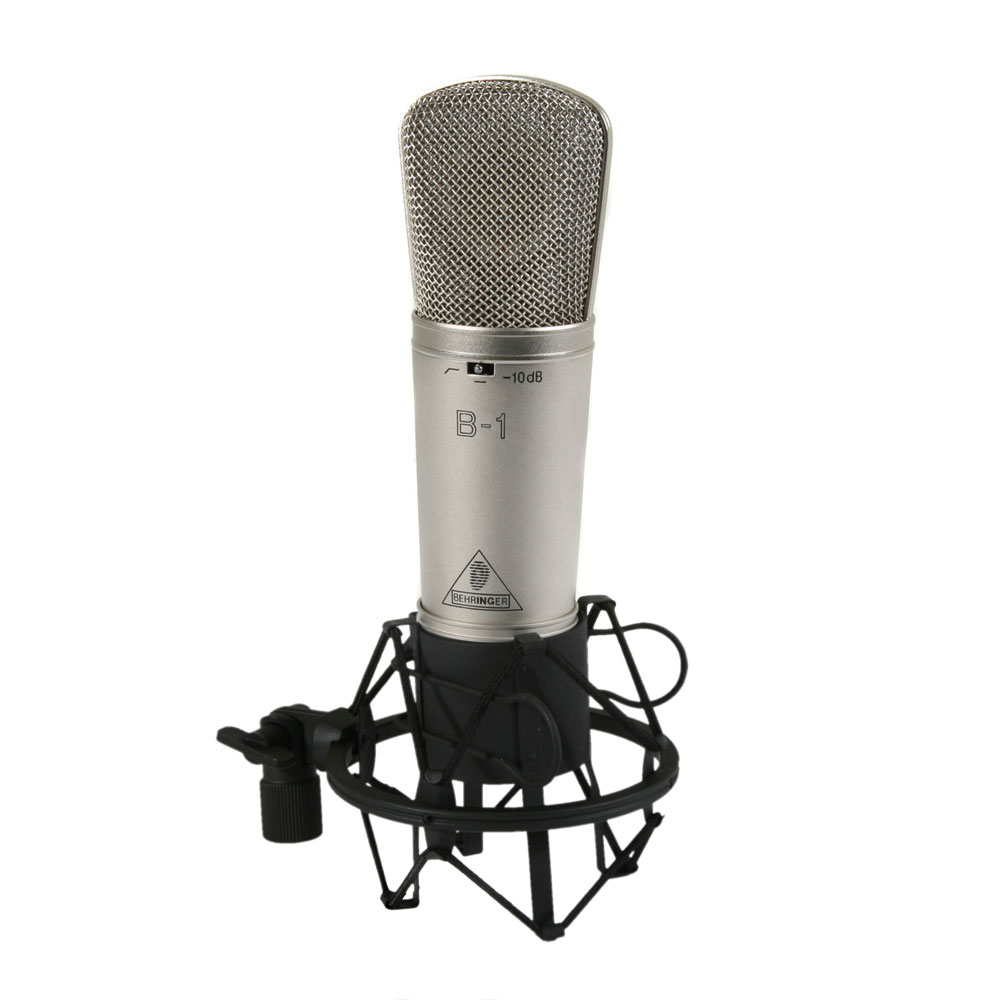
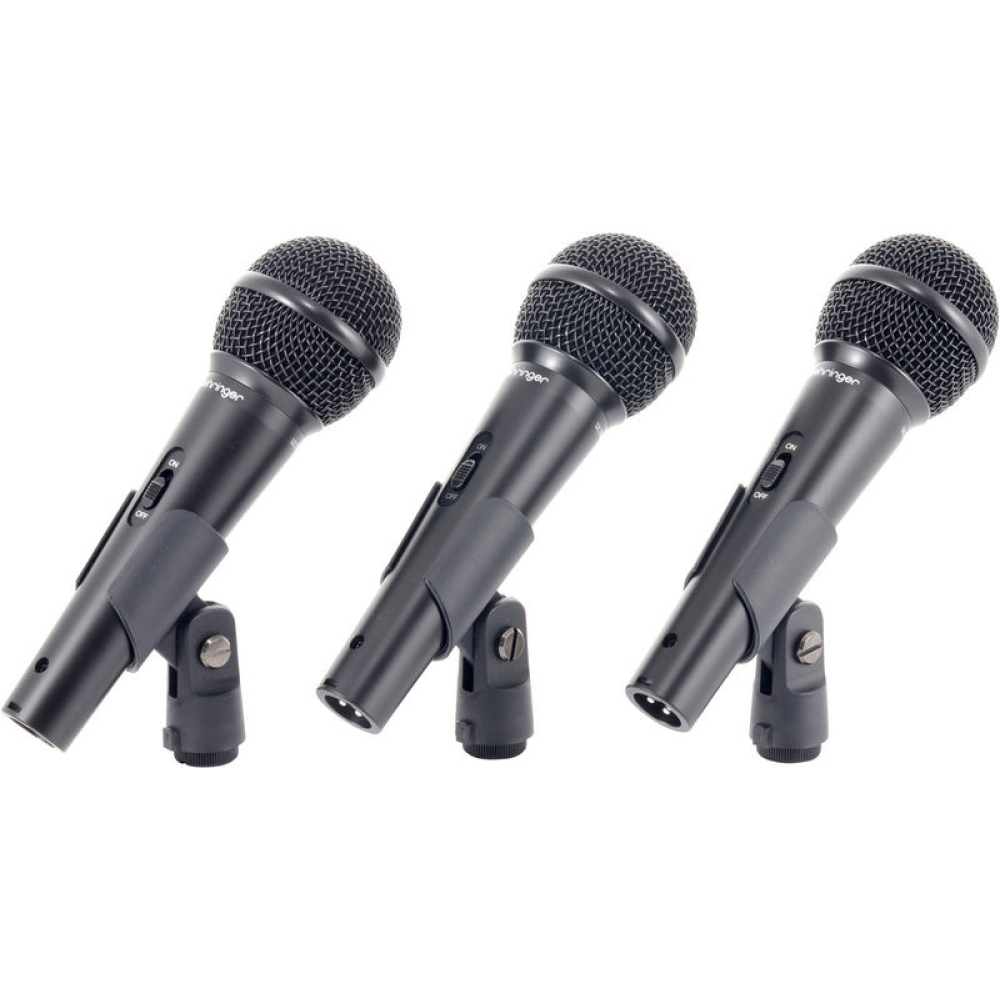
Dynamic microphones, like the Behringer XM8500, are robust and versatile. They excel in live sound environments and are perfect for capturing vocals and instruments. On the other hand, condenser microphones, such as the Behringer B1, are sensitive and ideal for studio recording. They excel in capturing subtle details in vocals and acoustic instruments. Understanding these differences is crucial in choosing the right microphone for your needs.
Key Features to Look For
When using a Behringer microphone, it’s essential to familiarize yourself with its key features. Many Behringer microphones come equipped with a frequency response range. This range indicates the microphone’s sensitivity to various frequencies. For instance, a microphone with a frequency response of 20 Hz to 20 kHz can capture both low and high sounds effectively.
Additionally, consider the microphone’s pick-up pattern. This pattern determines how the microphone receives sound. Common types include cardioid, omnidirectional, and bidirectional patterns. A cardioid microphone picks up sound from the front while rejecting noise from the sides and rear. This feature is beneficial in live performances and recording sessions where background noise can be an issue.
Setting Up Your Behringer Microphone
Gathering Necessary Equipment
Before you start using your Behringer microphone, ensure you have the necessary equipment ready. Apart from the microphone itself, you will need a few other tools. These include a microphone stand, an audio interface, or a mixer, and headphones for monitoring sound. If you’re using a condenser microphone, you will also need phantom power, typically provided through an audio interface or mixer.
Choosing the right audio interface for your microphone is vital. Look for an interface that offers high-quality preamps. Preamps boost the microphone signal to a usable level while minimizing noise. Additionally, ensure that the audio interface has the necessary inputs to accommodate your microphone.
Connecting Your Microphone
Once you have all the equipment, you can connect the microphone. Start by attaching the microphone to the stand. Most Behringer microphones come with a standard mounting clip that fits on various stands. Ensure that the microphone is securely positioned to prevent it from falling.
Next, connect the microphone to your audio interface using an XLR cable. XLR cables are standard in the industry and provide a secure and high-quality connection. If you are using a condenser microphone, make sure that phantom power is enabled on your audio interface. This feature provides the voltage required for the microphone to function effectively.
Adjusting Levels and Settings
Setting Gain Levels
Once everything is connected, the next step is to adjust the gain levels on your audio interface or mixer. Gain refers to the amplification of the microphone signal. Setting the gain correctly is crucial for achieving optimal sound quality. If the gain is too high, it can cause distortion; if it’s too low, your audio recordings may sound weak.
To set your gain levels, start by speaking or singing into the microphone at the volume you will be using during recordings. Gradually increase the gain until the audio levels peak just below 0 dB on your interface’s meter. This approach helps ensure you capture a clear and distortion-free sound.
Monitoring Your Sound
Using headphones while recording can significantly improve the quality of your audio. By monitoring your sound, you can pick up any issues such as background noise or distortion in real time. Many audio interfaces come with a headphone output, allowing you to listen to your recordings as you make them.
Ensure that your headphones are comfortable and provide good isolation. You want to minimize external sounds while focusing on your recording. If possible, use closed-back headphones, which help block out ambient noise.
Capturing Audio Effectively
Positioning the Microphone
Microphone placement is crucial to achieving the best sound quality. The distance and angle between the microphone and the sound source can significantly affect the recording. Experimenting with positioning can help you find the optimal setup for your recording situation.
For vocal recordings, positioning the microphone about 6 to 12 inches away from the mouth is a good starting point. A pop filter can be used to reduce plosive sounds (like “p” and “b” sounds) while maintaining clarity. If recording instruments, try different distances to capture various tonal qualities. For instance, moving the microphone closer to an acoustic guitar can yield a fuller sound.
Utilizing Acoustic Treatment
Acoustic treatment plays an essential role in the quality of your recordings. The environment in which you record can introduce unwanted reflections and background noise. To improve your sound, consider treating your recording space with foam panels, bass traps, or absorbent materials.
If you are recording at home, try to minimize echoes and background noise. Record in a quiet room and block out any sound sources where possible. Close curtains, use rugs, and move away from windows to create a more controlled environment. Even simple adjustments can lead to significant improvements in audio quality.
Recording Techniques
Exploring Different Techniques
While using your Behringer microphone, explore various recording techniques to find what works best for you. Techniques such as close-miking and ambient-miking can yield different results. Close-miking involves placing the microphone very close to the sound source, which captures detailed sound and reduces ambient noise. This technique is often used in vocal recordings and for capturing specific instruments.
Ambient-miking, on the other hand, involves positioning the microphone further away from the sound source. This technique captures both the sound and the ambiance of the environment. Ambient-miking is often preferred for recording live performances or acoustic spaces, adding depth to the sound.
Layering and Effects
Another technique to consider is layering recordings. By recording multiple takes of the same vocal or instrumental part, you can create a richer sound. To achieve this, slightly vary your performance or use different microphone placements. Layering can add fullness and depth, making your recordings more engaging.
Additionally, don’t shy away from using effects to enhance your recordings. Software-based tools allow you to add reverb, compression, or equalization to your audio tracks. Experimenting with these effects can help shape your sound and add a professional touch to your recordings.
Editing and Mixing Your Recordings
Importing Into Software
After recording, the next step is editing your audio. Import the recordings into digital audio workstation (DAW) software. Popular options like Audacity, GarageBand, or Adobe Audition offer powerful editing capabilities. Choose software that meets your needs and comfort level.
Once your tracks are in the software, organize them for clarity. Label each track according to its content, such as “Vocals” or “Guitar.” This practice helps make the editing process smoother, especially when working with multiple tracks.
Basic Editing Techniques
When editing, start by trimming unnecessary silence at the beginning and end of each track. This will help clean up your audio. You may also want to adjust the timing of certain sections if you notice any inconsistencies. Many DAWs come with built-in tools for aligning or quantizing tracks.
After basic edits, you can adjust individual track levels. This is important for achieving a balanced mix. Use the mixer section of your DAW to raise or lower each track’s volume until they blend harmoniously. Pay attention to dynamics, ensuring that no one track overwhelms another.
Finalizing and Exporting Your Project
Adding Final Touches
Before exporting your final project, take some time to add any last touches. Listen to the entire mix carefully, checking for any areas that need further adjustments. You may want to add effects such as compression to make your mix sound more polished. Reverb can also create a sense of space and depth.
For more advanced users, consider using automation to dynamically adjust levels throughout the track. Automation allows you to create fades, swells, and other nuanced changes that enhance the overall listening experience.
Exporting Your Recording
Once you are satisfied with your final mix, it’s time to export your project. Most DAWs allow you to choose various formats, such as MP3, WAV, or FLAC. Each format has different qualities and file sizes, so select one that suits your needs. WAV files provide lossless quality, making them ideal for professional submissions, while MP3s are more portable for general sharing.
After exporting, listen to the final product on different devices, such as headphones, speakers, or even your phone. This will help ensure that your mix translates well across various playback systems.
In conclusion, using a Behringer microphone effectively involves understanding its features, setting it up correctly, and applying proper techniques throughout the recording process. By following this beginner’s guide, you can enhance your skills in audio capture. Whether you are recording vocals, instruments, or podcasts, mastering these tips and tricks will lead to better-sounding audio. Enjoy your journey into the world of recording, and don’t hesitate to experiment and explore your creativity!
