Dyson vacuum cleaners are renowned for their innovative designs, powerful suction, and effective cleaning capabilities. However, to keep your Dyson vacuum in optimal working condition, regular cleaning and maintenance are essential. Neglecting to clean your vacuum can lead to decreased performance and, at times, can even result in malfunctions. This article provides essential tips on how to clean Dyson vacuum cleaner effectively, ensuring they operate smoothly and efficiently.
Understanding Your Dyson Vacuum Cleaner
Different Models and Features
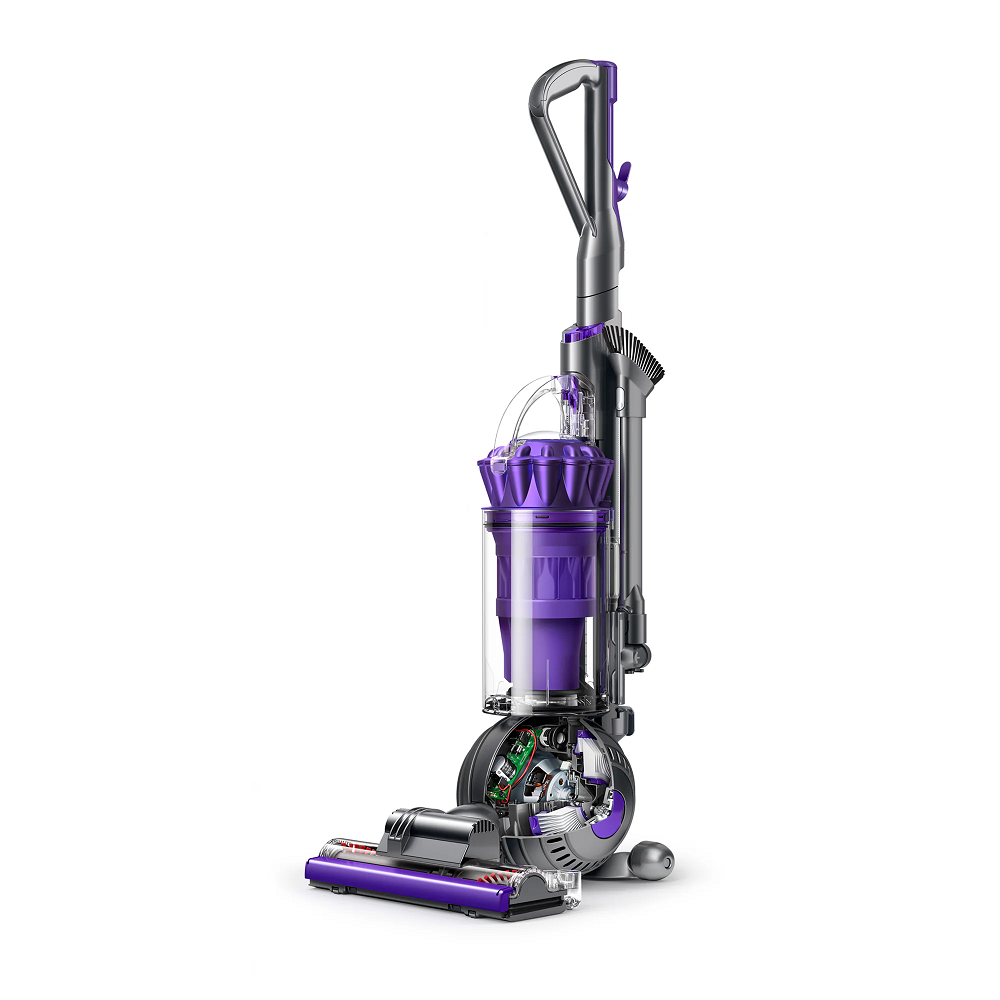
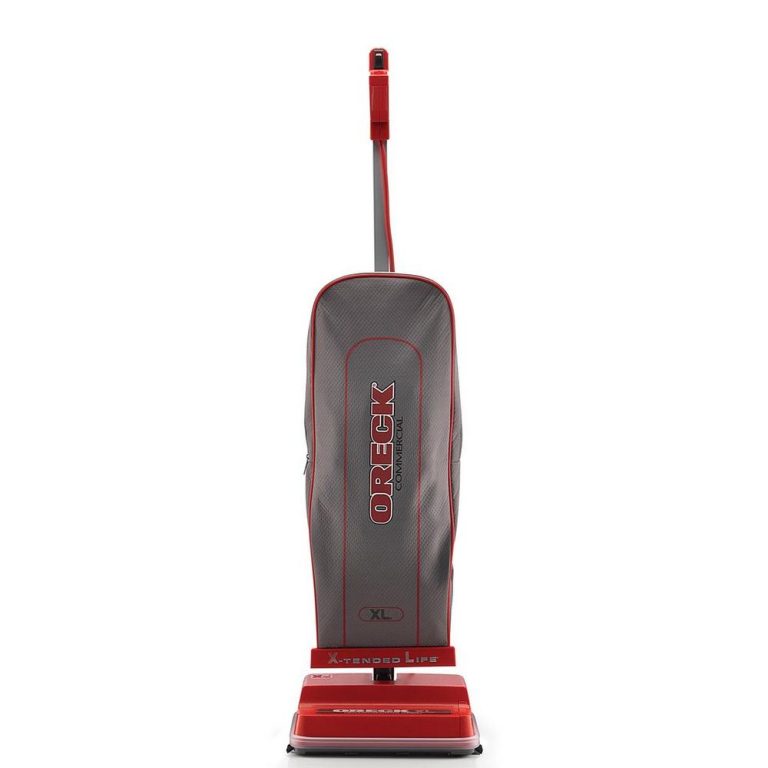
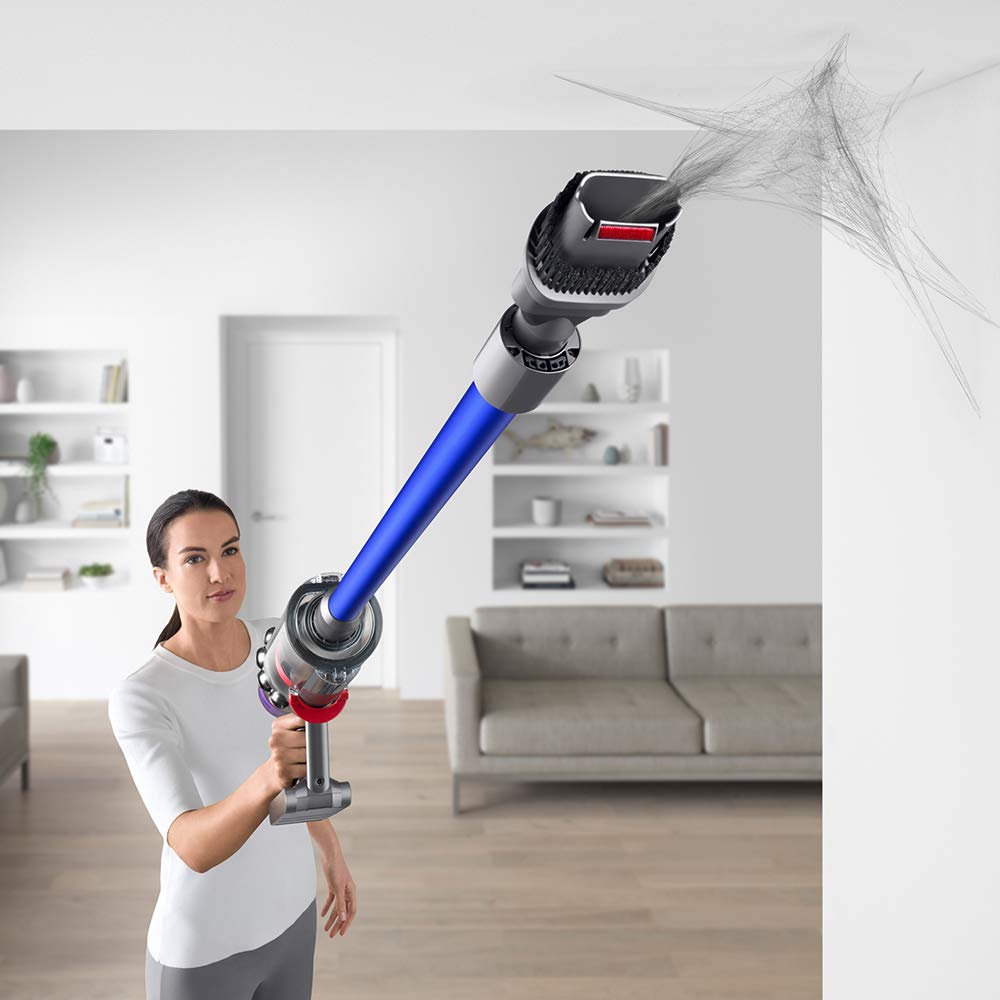
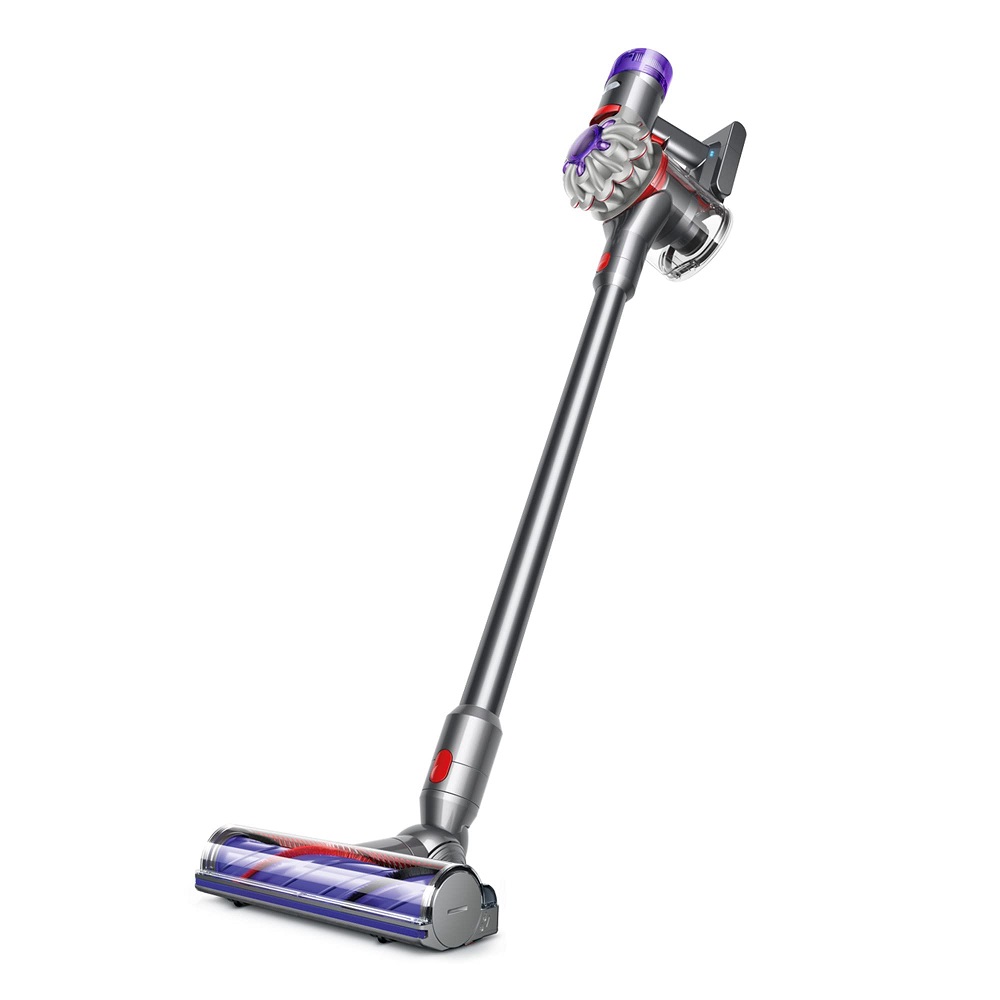
Dyson vacuum cleaner come in various models, each with unique features and designs. Some models are cordless, while others have traditional corded systems. Additionally, Dyson offers different types of vacuums, including upright, canister, and handheld versions. Understanding your specific model is vital for effective cleaning and maintenance.
Checking the user manual can provide useful insights into the particular features of your Dyson vacuum. This manual will typically outline all essential components and their maintenance requirements. Familiarizing yourself with your vacuum’s design will make the cleaning process much more manageable.
Common Components Needing Maintenance
In general, the main components of a Dyson vacuum cleaner that require regular cleaning include the dust bin, filters, brush bar, and hoses. Each of these parts plays a crucial role in the vacuum’s overall performance. By maintaining these components, you can ensure that your vacuum operates efficiently and remains effective at capturing dirt and debris.
Recognizing what needs cleaning will save you time and effort in the long run. Therefore, make a checklist of the components listed in your user manual to help you keep track of your cleaning schedule.
Cleaning the Dust Bin
Importance of Emptying the Dust Bin
The dust bin, or dirt container, collects debris and dust during use. If not emptied regularly, it can become full and restrict airflow, leading to reduced suction power. This lack of performance can greatly affect how well your vacuum cleans surfaces.
To maintain optimal suction, it’s essential to empty the dust bin after each use, especially if you have a pet or frequently vacuum large amounts of debris. A clean dust bin ensures better airflow, enhancing overall performance.
How to Properly Clean the Dust Bin
Cleaning the dust bin is a straightforward process. Most Dyson models have a release mechanism that allows you to detach the bin quickly. Take the bin to your trash can and press the button to empty it. Since the dust can be fine and might cause allergies, you should do this step carefully.
Once emptied, wash the dust bin with warm, soapy water. Rinse it thoroughly and allow it to dry completely before reattaching it to the vacuum. It’s crucial not to put the dust bin in a dishwasher, as this could damage the components. Regular cleaning of the dust bin can significantly enhance your vacuum’s performance and longevity.
Maintaining the Filters
Understanding the Role of Filters
Dyson vacuum cleaners typically feature both pre-motor and post-motor filters. These filters capture dust, allergens, and other particles, preventing them from escaping back into the air. Over time, these filters can become clogged and, therefore, require regular cleaning or replacement.
Maintaining the filters is essential for ensuring good air quality in your home. A clean filter leads to better airflow and suction, making your vacuum more efficient. Some models feature washable filters that can be cleaned and reused, while others might require replacement every few months.
Steps to Clean or Replace Filters
To clean the filters, first, consult your user manual for specific instructions regarding your model. Typically, filters can be removed by locating the filter compartment on the vacuum. Once removed, rinse the filter under warm water until the water runs clear. This process helps remove any accumulated dirt and allergens.
After rinsing, allow the filter to air dry for at least 24 hours. Ensure the filter is completely dry before reattaching it to prevent damage to the vacuum. If your model has a non-washable filter, replace it according to the manufacturer’s recommendations. Regular cleaning or replacement of your vacuum’s filters will ensure optimal performance and air quality in your home.
Cleaning the Brush Bar
Recognizing Build-Up on the Brush Bar
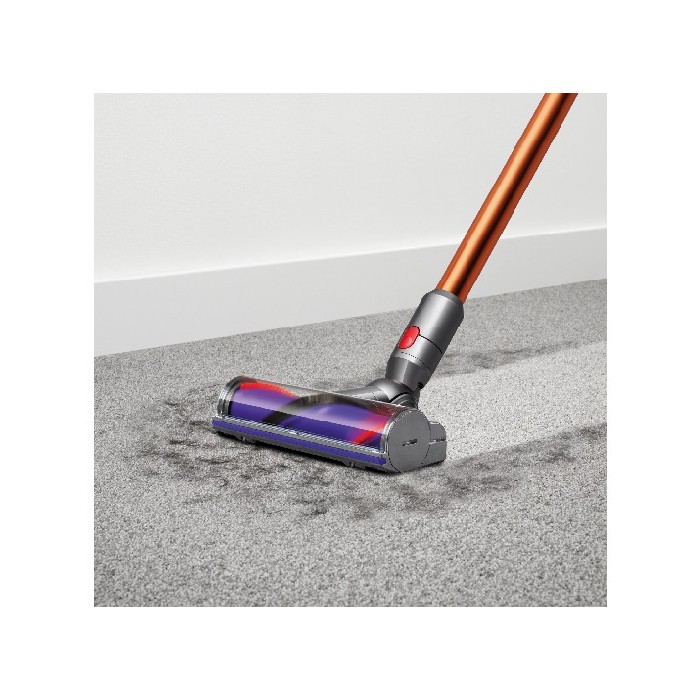
The brush bar is an essential component of your Dyson vacuum, designed to agitate carpet fibers and loosen dirt for faster cleaning. However, hair, fibers, and other debris can accumulate on the brush bar over time. If left unchecked, this build-up can hinder the brush’s ability to function properly, leading to reduced suction and cleaning efficiency.
Regular inspection and cleaning of the brush bar are necessary to maintain its functionality. Being proactive about this maintenance step can greatly enhance your vacuum’s overall performance, especially if you have pets or long hair.
How to Clean the Brush Bar
To clean the brush bar, first, turn off and unplug your vacuum to ensure safety. Locate the brush bar cover, often found on the underside of the vacuum. Depending on your model, you may need a screwdriver to remove the cover.
Once the cover is removed, carefully lift out the brush bar. Inspect it for hair, debris, or tangled fibers. Using scissors, cautiously cut away any trapped hair or threads. Once cleared, wipe the brush bar with a damp cloth to remove dust and debris.
After cleaning, reinsert the brush bar and secure the cover. Make sure everything is properly fastened before using the vacuum again. Regular care of the brush bar optimizes its cleaning ability and prolongs its useful life.
Cleaning the Hoses and Attachments
Importance of Clean Hoses
Maintaining clean hoses is vital for the effectiveness of your Dyson vacuum. The hoses transport air and debris from the brush bar to the dust bin. If they become clogged or dirty, suction can decrease. Cleaning the hoses ensures optimal performance and airflow, which directly affects cleaning efficiency.
Regularly checking the hoses for blockages or damage is essential, especially if you use attachments frequently. Common blockages can occur from hair, dust, or even small objects accidentally sucked into the vacuum.
How to Clean the Hoses
Cleaning the hoses is a straightforward task. Start by detaching each hose from the vacuum. Then, visually inspect the hoses for any visible clogs. If you identify a blockage, use a long, flexible brush or a straightened coat hanger to gently dislodge it. Be cautious not to poke too hard, as this could damage the hose.
Next, wipe the insides of the hoses with a damp cloth to remove any dust or debris. Allow the hoses to air dry completely before reattaching them to the vacuum. Cleaning the hoses regularly ensures that your vacuum can maintain powerful suction and effectively pick up dirt and debris.
Exterior Care and Maintenance
Keeping the Vacuum Clean
While the internal components play a significant role in how your vacuum performs, exterior care is equally important. Keeping the exterior of your Dyson vacuum clean not only enhances its appearance but also prevents dust and dirt from interfering with mechanical parts. Regularly wiping down the exterior with a damp cloth can help maintain its condition.
Ensure that the vacuum’s wheels and base are free from dirt and debris, as buildup in these areas can impact mobility. Periodically check for any signs of damage, such as cracks or loose parts that may require professional repair or replacement.
Storing Your Vacuum Properly
Additionally, proper storage of your Dyson vacuum cleaner can prolong its lifespan. After using the vacuum, store it in a cool, dry place away from direct sunlight. Avoid placing heavy objects on top of your vacuum, as this might damage its structure or parts.
If your vacuum model has a wall-mounted charging station, utilize it for convenient storage and charging. This not only keeps your vacuum organized but also offers easy access for daily cleaning needs.
Creating a Regular Cleaning Schedule
Importance of a Cleaning Routine
Establishing a regular cleaning routine for your Dyson vacuum ensures that it remains in top working condition. Just like any other household appliance, your vacuum requires consistent attention to maintain its performance. By creating a schedule, you ensure key components receive the care they need.
A cleaning routine helps prevent neglect that can lead to performance issues over time. By dedicating a small amount of time regularly, you can keep your vacuum functioning efficiently.
Developing Your Maintenance Schedule
To create an effective cleaning schedule, consider the frequency of your vacuuming. If you have pets or a high-traffic home environment, more frequent cleaning of components, such as the dust bin and filters, may be necessary. Aim to empty the dust bin after every use, while planning to clean filters and brush bars monthly.
Record your maintenance tasks in a calendar or a digital reminder system. This way, you won’t forget when it’s time to perform essential maintenance. Establishing a regular cleaning regimen will help maximize the longevity of your Dyson vacuum cleaner and maintain its peak performance.
In conclusion, keeping your Dyson vacuum cleaner in great condition requires a commitment to regular maintenance. By understanding the importance of each component and implementing effective cleaning strategies, you will ensure your vacuum performs at its best. Regular cleaning of the dust bin, filters, brush bar, hoses, and exterior will enhance your vacuum’s performance and lifespan.
Creating a maintenance schedule also guarantees that no component is overlooked. By following these essential tips, you will be able to enjoy the full benefits of your Dyson vacuum cleaner, ensuring it remains a reliable household appliance for years to come.
