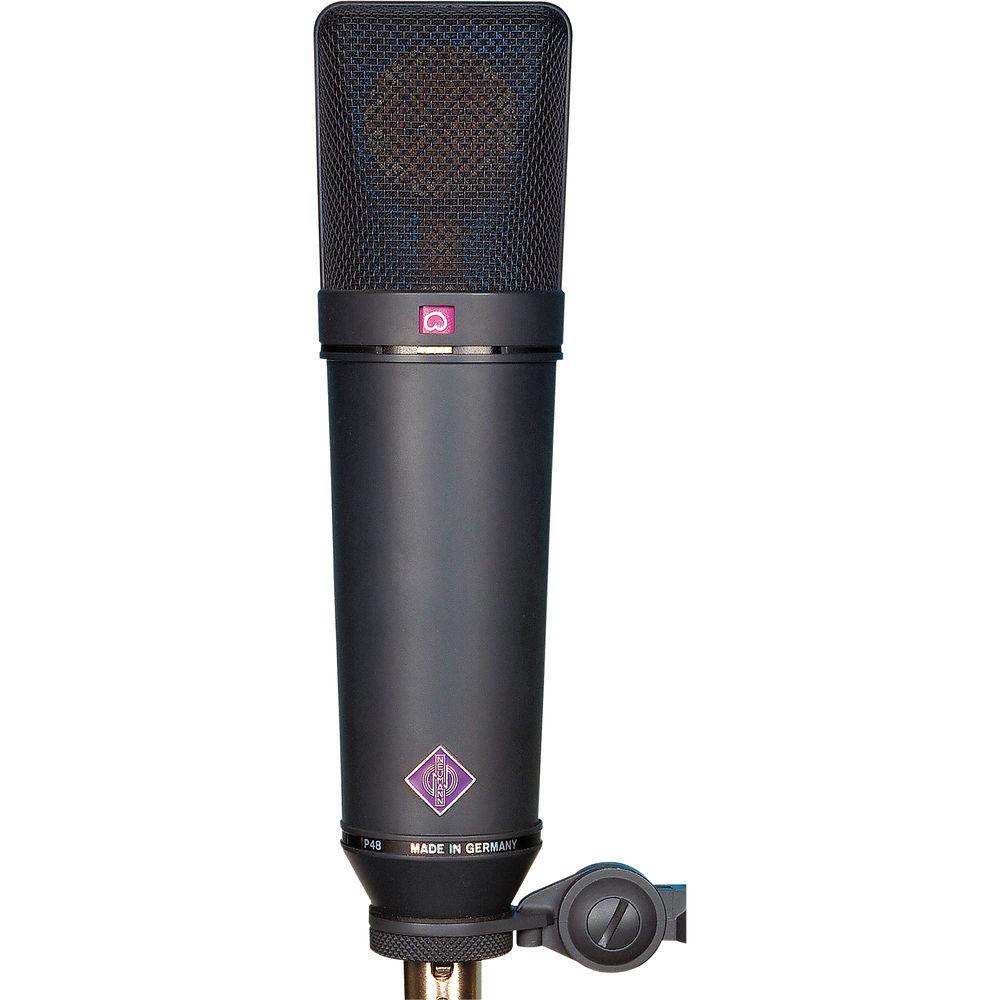
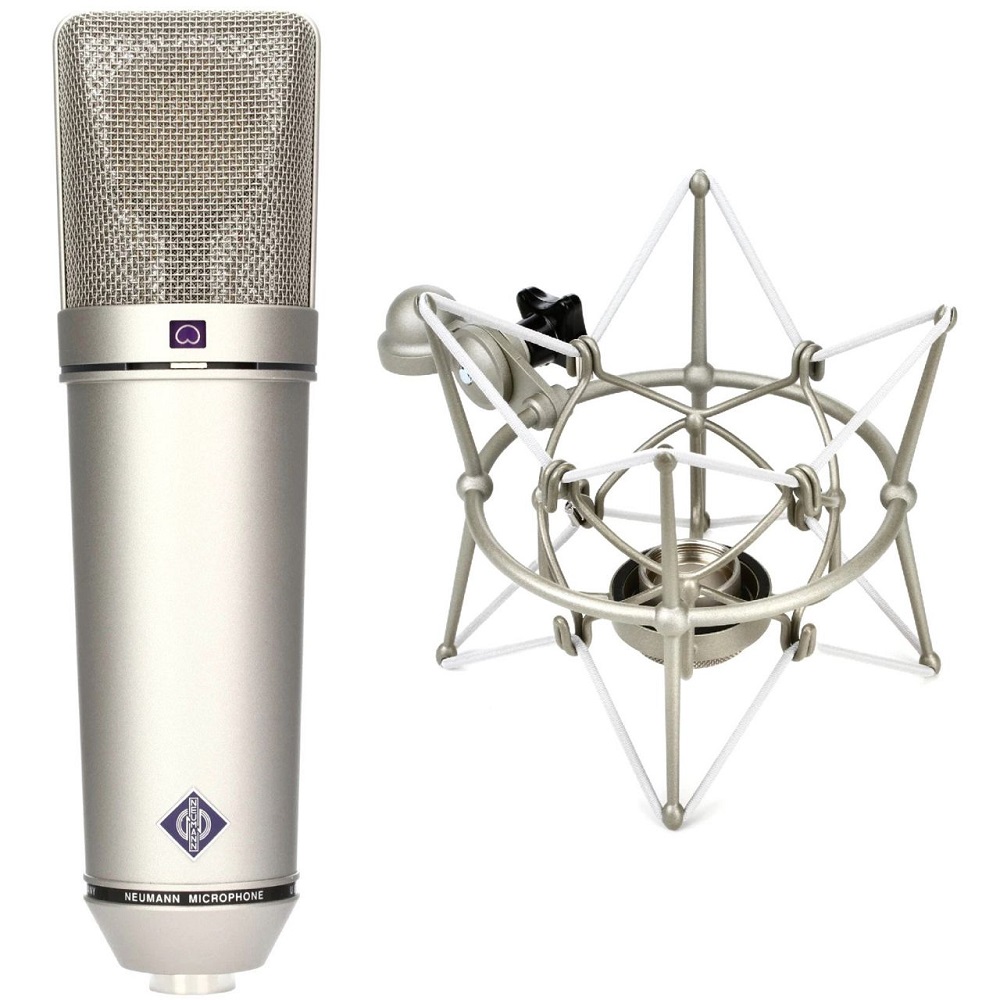
The U87 microphone is widely regarded as one of the best studio microphones available. Renowned for its warm sound and versatility, the U87 has been a staple in the music and broadcasting industries for decades. Achieving the best sound with this iconic microphone, however, requires attention to detail and understanding of both the microphone’s characteristics and the recording environment. In this article, we will explore vital tips for getting the most out of your U87 microphone, allowing you to capture the highest-quality audio for your recordings.
Understanding the U87 Microphone
Key Features of the U87
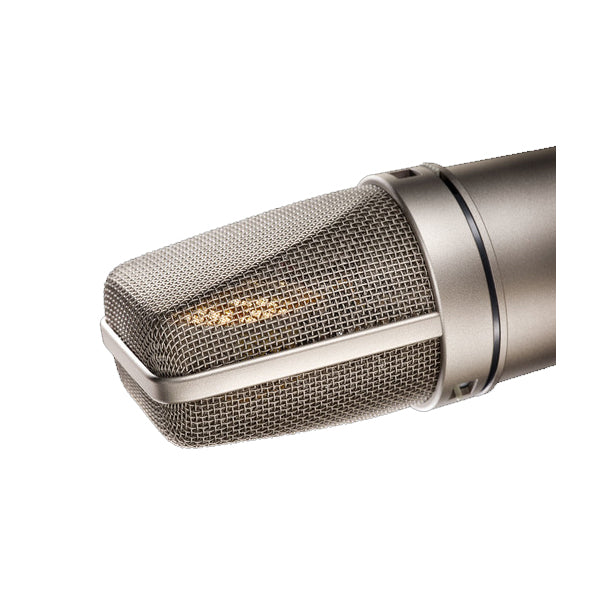
The U87 is a large-diaphragm condenser microphone that offers several features that contribute to its exceptional sound quality. It has a frequency response range of 20 Hz to 20 kHz, making it effective for capturing a wide array of sound sources, from vocals to instruments. The U87 also comes with three polar patterns: omnidirectional, cardioid, and figure-eight. This flexibility allows users to choose the best polar pattern for their recording needs.
Each polar pattern serves various applications. The cardioid pattern is ideal for isolating the sound source while minimizing background noise. The omnidirectional pattern captures sound equally from all directions, which is useful for recording ensembles or ambient sounds. The figure-eight pattern is excellent for capturing sound from the front and back, making it suitable for stereo techniques. Understanding these features enables users to adapt the U87 to their specific recording situations.
Proper Handling and Care
Taking care of your U87 microphone is crucial for maintaining its sound quality over time. The U87 is a sensitive piece of equipment, and mishandling can lead to performance issues. Always use a pop filter when recording vocals to reduce plosive sounds that can distort recordings. Additionally, avoid exposing the microphone to extreme temperatures and humidity, as this can impact its internal components.
When transporting the U87, use a padded case to protect it from bumps and shocks. Make sure to store it properly in a dust-free environment when not in use. Proper handling and care of your U87 ensure that it remains in optimal condition, delivering outstanding sound quality for years to come.
Selecting the Right Recording Environment
Acoustics Matter
The recording environment plays a significant role in the sound captured by the U87 microphone. Poor acoustics can lead to unwanted noise, reverb, and reflections that compromise the quality of your recordings. Ideally, choose a room with minimal hard surfaces and plenty of soft furnishings. Carpets, curtains, and acoustic panels can help absorb sound and reduce unwanted reflections.
If possible, use a dedicated recording space designed for audio production. Such rooms often feature soundproofing and acoustic treatment to optimize the listening environment. Taking the time to assess and improve your recording space will significantly enhance the sound quality of your U87 recordings.
Reducing Background Noise
Quiet your recording environment as much as possible, minimizing background noise. Turn off fans, air conditioning, and other appliances that may create unwanted sounds. Avoid recording near busy streets or areas with heavy foot traffic.
Consider using soundproofing materials or noise-absorbing panels if background noise remains an issue. Sound traps and bass absorbers can be strategically placed in corners to improve sound quality. By creating a quieter environment, you ensure that the microphone captures the desired sound source clearly.
Proper Microphone Placement
Finding the Sweet Spot
Finding the right placement for your U87 microphone is essential for achieving the best sound. The position will vary depending on the sound source. For vocals, start by placing the microphone at a distance of 6 to 12 inches from the vocalist’s mouth. Adjust as needed based on vocal style and intensity. Softer vocals may need to be closer to the mic, while louder performances might require more distance.
For instrument recordings, such as acoustic guitar or piano, positioning the microphone to capture the instrument’s natural resonance is key. Experiment with angles and distances until you find the sweet spot that captures the depth and character of the sound.
Considering the Polar Pattern
Use the appropriate polar pattern for the sound source when positioning the U87. For vocals, the cardioid pattern is often preferred because it isolates the singer while reducing room noise. Ensure that the microphone’s front side is directed toward the vocalist.
If you are recording an ensemble or multiple sources, consider switching to the omnidirectional pattern. This setting allows the microphone to capture sound equally from all directions. Adjust the distance between the microphone and the sources accordingly to maintain tonal balance.
Using Preamp and Gain Settings
Choosing the Right Preamplifier
The microphone itself is just one part of the recording chain. The preamp’s quality can significantly affect the final sound. Choose a high-quality preamp that complements the U87. Some preamps are designed to highlight specific tonal qualities, adding warmth or clarity based on preference.
Ensure that the preamp is compatible with the microphone’s output and characteristics. Tube preamps can provide a warm, rich sound, while solid-state preamps generally offer cleaner and more transparent audio. Testing different preamps will help you discover what best suits your tonal goals.
Setting Gain Levels
Proper gain staging is crucial when working with the U87. Begin by setting the preamp gain to an appropriate level. Aim for a level that maintains clarity without distortion. Typically, the signal should peak around -6 dB to -12 dB. This setting provides headroom for dynamic performances, preventing clipping during louder sections.
Use monitoring tools, such as LED level indicators, to gauge the input levels during recording. Fine-tune the gain levels based on the performance dynamics without compromising the audio quality. Proper gain settings ensure that you capture a clear and vibrant sound.
Utilizing Accessories for Enhanced Quality
Pop Filters and Windscreens
Using accessories like pop filters and windscreens can significantly improve the sound quality when recording vocals. A pop filter helps reduce plosive sounds, such as “p” and “b” sounds, which can cause unwanted distortion in recordings. Position the pop filter a few inches in front of the microphone, ensuring it does not impede the sound capture.
Windscreens serve a similar purpose, particularly in outdoor environments. They protect the microphone from wind interference, making them ideal for field recordings or live situations. Having both accessories on hand allows for more versatility when using the U87 in different settings.
Microphone Stands and Shock Mounts
Invest in a sturdy microphone stand to maintain proper placement during recording. A stable stand prevents unwanted movements or vibrations that can negatively affect the sound quality. Flexible boom arms allow for more precise positioning and angle adjustments, giving you control over the microphone’s placement.
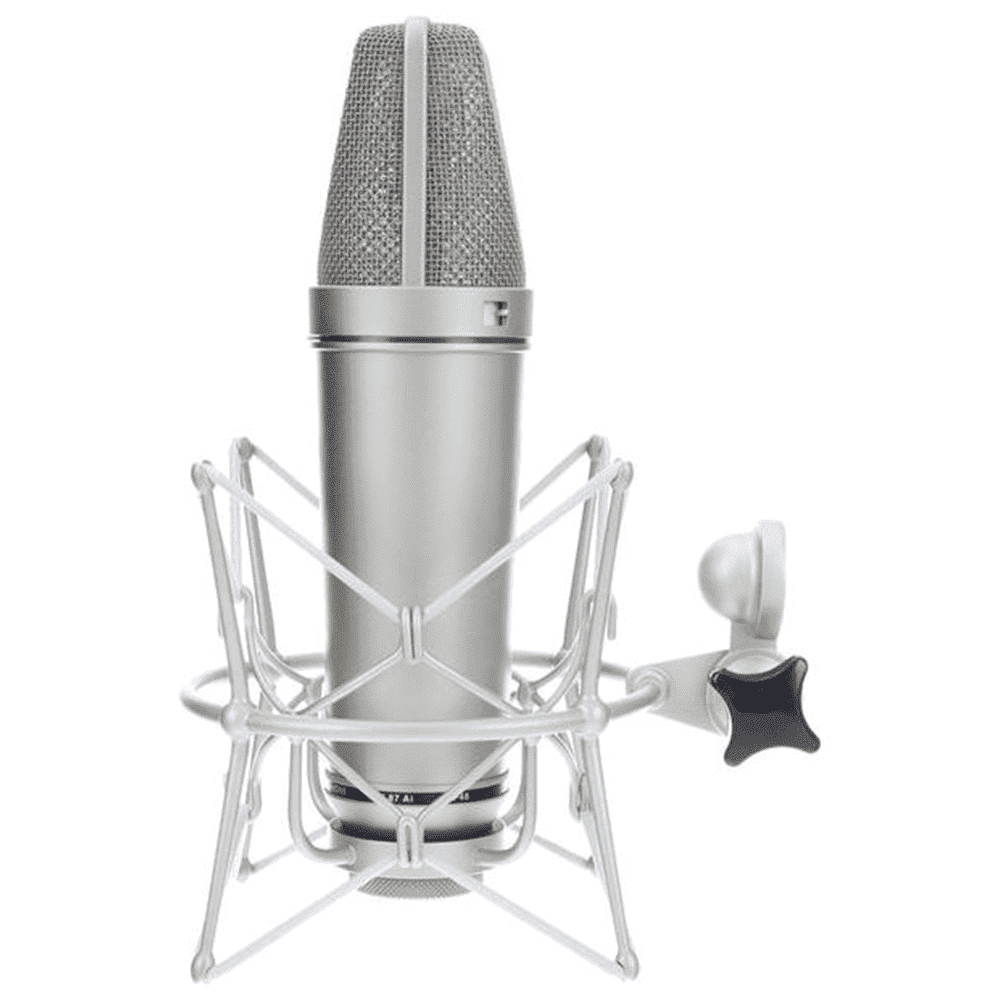
Using a shock mount is also a wise decision, as it reduces vibrations and handling noise. The U87 is sensitive to such disturbances, and the shock mount can isolate the microphone from unwanted mechanical sounds. With a solid setup, the U87 will capture the best possible sound.
Experimenting with EQ and Effects
Finding the Right EQ Settings
After recording, equalization (EQ) can enhance the final sound of the U87 recordings. EQ allows you to adjust specific frequency ranges, emphasizing desirable qualities or attenuating undesirable ones. Start by analyzing the frequency spectrum of your recording while playing it back through studio monitors or quality headphones.
Common adjustments include boosting the high frequencies for clarity and cutting low frequencies to reduce muddiness. Be cautious with extreme cuts or boosts, as these can lead to unnatural sound profiles. Experimenting with subtle EQ adjustments will help you tailor the sound to your preferences.
Adding Effects
In some cases, adding effects can further enhance the quality of recordings. Reverb can create a sense of space, while compression can smooth out dynamic fluctuations in the audio. Use these effects judiciously to maintain the essence of the original sound.
When using reverb or other time-based effects, be mindful of the level and type of reverb used. A small amount of room reverb can add warmth, while excessive reverb may muddy the recording. Approaching these effects with a subtle hand usually yields the best results.
Regular Maintenance and Care of Your U87
Routine Cleaning
Maintaining your U87 microphone is essential for longevity and sound quality. Regular cleaning helps prevent dust and debris build-up, which can affect audio performance. Gently wipe the microphone grille with a soft, dry cloth after each use to keep it clean. Avoid using harsh chemicals or liquids, as these can damage the microphone finish.
Additionally, ensure that any accessories, such as pop filters and windscreens, are regularly cleaned or replaced as needed. This routine care will help maintain the integrity of your recordings and extend the lifespan of your equipment.
Periodic Inspections
Inspecting your U87 for noticeable wear or damage is also crucial. Check the cables, connectors, and body for any signs of deterioration. If you notice any issues, consider reaching out to a professional for repairs. Taking these steps can prevent more significant problems down the line and ensure your microphone operates optimally.
Investing time in maintenance and care will pay off in the long run. With proper attention, your U87 will continue to deliver exceptional sound quality for many years.
Unlocking the Potential of the U87
The U87 microphone is a legendary tool that can elevate your recording quality to new heights. By understanding its features, optimizing your recording environment, experimenting with placement, and using accessories wisely, you can achieve stunning results.
From vocal recordings to instrumental captures, the U87 delivers remarkable audio fidelity. Whether you are an aspiring musician, a seasoned audio professional, or someone looking to capture stunning sound, following these tips will help you unlock the full potential of your U87 microphone. With these best practices, you will create recordings that truly stand out.
