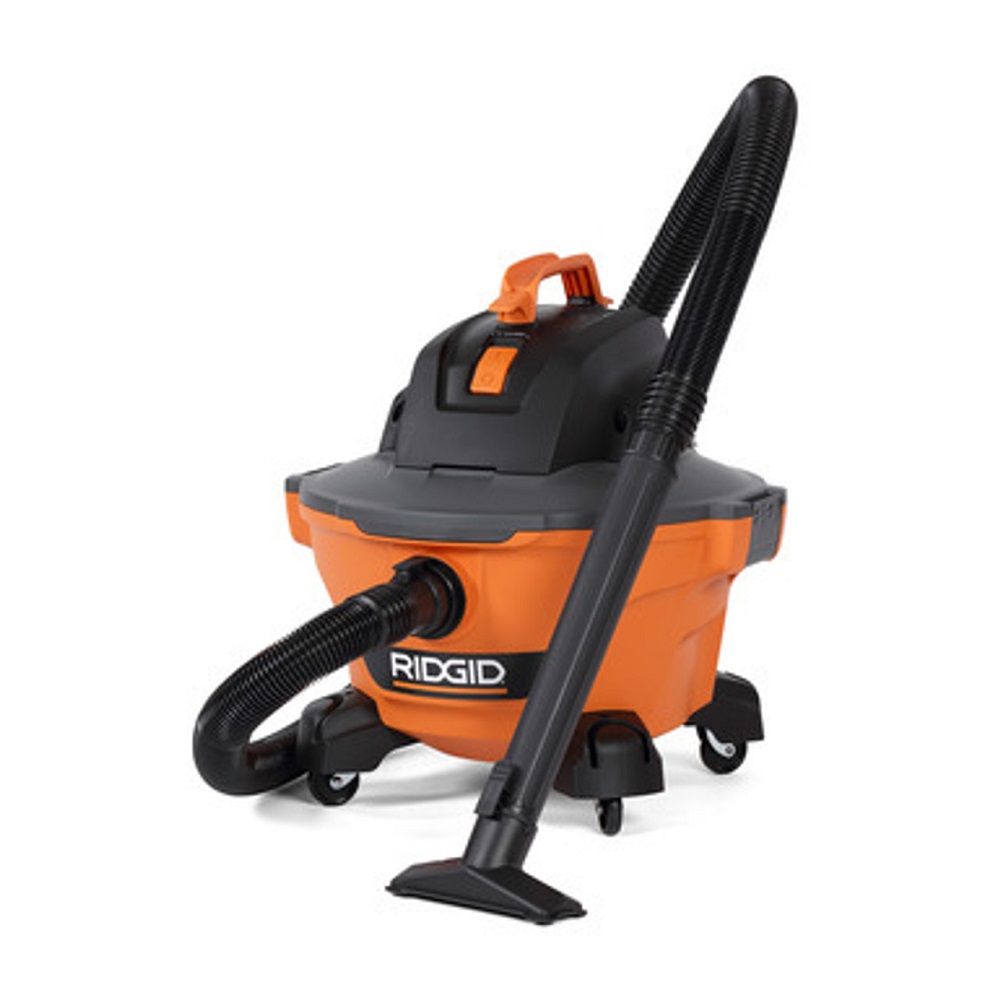
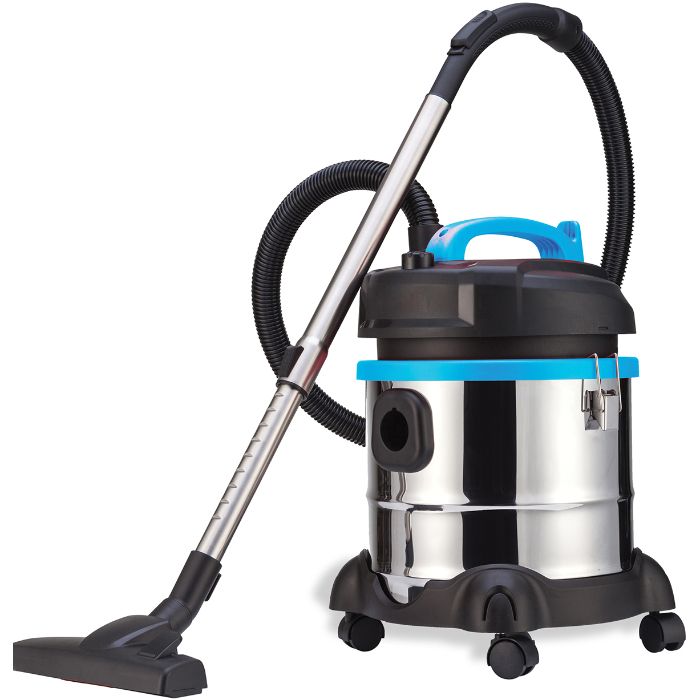
Vacuum cleaners are essential household appliances that help keep our homes clean and tidy. However, many people often neglect their vacuum cleaners, assuming that these machines do not require maintenance. In reality, cleaning and maintaining your vacuum cleaner is crucial for its performance and longevity. Regular upkeep can improve suction power and extend the lifespan of the device. This article provides a comprehensive guide on how to clean your vacuum cleaner, along with useful maintenance tips to ensure it operates effectively for years to come.
Understanding the Importance of Vacuum Cleaner Maintenance
Maintaining your vacuum cleaner is not just about keeping it looking clean. It also involves ensuring that it works at peak performance. Dust, dirt, hair, and debris can accumulate in various components of the vacuum. This buildup can lead to clogs, reduced suction power, and even damage to the motor over time.
Benefits of Regular Maintenance
- Enhanced Performance: A clean vacuum cleaner operates more efficiently. Regular maintenance keeps the suction power strong, allowing for effective cleaning of carpets, floors, and upholstery.
- Extended Lifespan: Just like any machine, regular care can extend the lifespan of your vacuum cleaner. By addressing potential issues early on, you can prevent costly repairs or replacements.
- Improved Air Quality: Vacuum cleaners with clogged filters or full dust bins can release dust and allergens back into the air. Regularly cleaning your vacuum ensures that it traps allergens effectively, improving your indoor air quality.
Recognizing the importance of vacuum cleaner maintenance is the first step toward achieving a cleaner home environment.
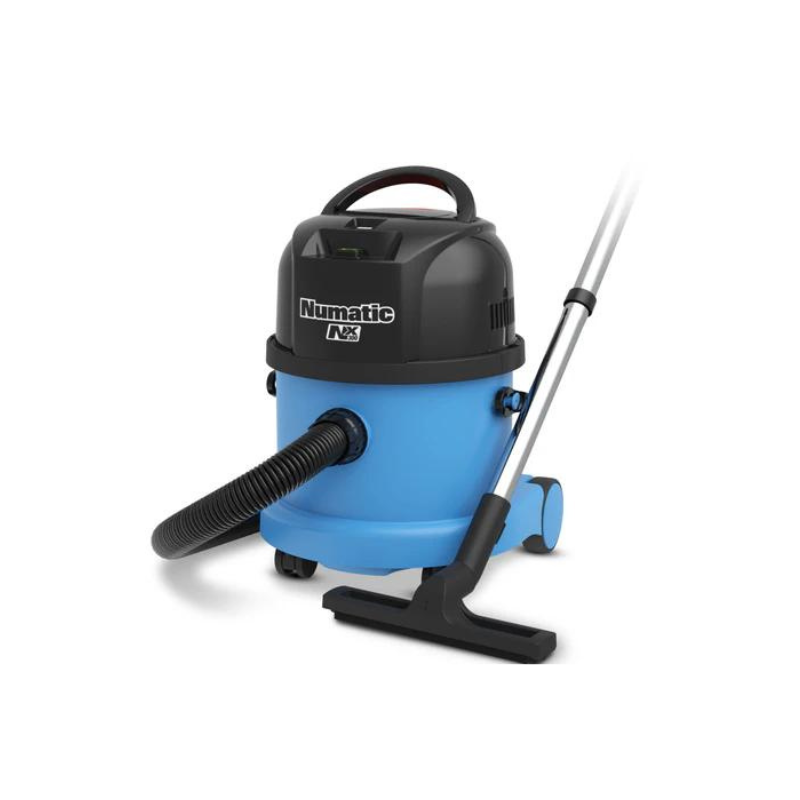
Routine Maintenance Practices
Incorporating routine maintenance practices into your cleaning schedule can significantly enhance your vacuum cleaner’s performance. Here are several key maintenance steps to follow regularly.
Cleaning the Dust Canister or Bag
Many vacuum cleaners feature a dust canister or bag that collects dirt and debris. It’s essential to clean or replace it regularly.
- Emptying the Dust Canister: If your vacuum has a dust canister, empty it after every use or when it reaches the fill line. A full canister can lead to decreased suction and reduced performance.
- Replacing Bags: For vacuum cleaners that use bags, check the bag regularly. Replace it when it’s about two-thirds full. Waiting too long to replace a bag can reduce performance and lead to odors.
Cleaning Filters
Most vacuum cleaners come with filters that trap dust, allergens, and other particles. Over time, these filters can become clogged and need cleaning.
- Removing Filters: Check your vacuum cleaner’s manual to locate the filters and how to remove them. Most models have a pre-motor filter and a post-motor filter.
- Cleaning Methods: Depending on the filter type, you may be able to wash it with water. Soak it gently without using any detergents. Allow the filter to dry completely before reinstalling it.
- Replacing Filters: If your vacuum’s manual recommends replacing filters periodically, be sure to follow this guideline. Generally, replacing the filter every 6 to 12 months is a good practice.
Regularly cleaning the dust canister or bag and maintaining filters will keep your vacuum running smoothly.
Inspecting and Cleaning the Brush Roll
The brush roll is a vital component of many vacuum cleaners. It helps agitate dirt and debris, allowing for effective cleaning. However, hair and fibers can quickly wrap around it, leading to significant performance issues.
Checking for Clogs
- Remove the Brush Roll: Most vacuum cleaners allow for easy removal of the brush roll. Refer to your manual for instructions on how to do this.
- Inspect for Debris: Once removed, check for hair, string, or other debris wrapped around the brush. Using scissors, carefully cut away any entangled material. Be cautious not to damage the brush roll.
Cleaning the Brush Roll
- Wipe It Down: Use a damp cloth to wipe down the bristles. This will help remove any settled dust and dirt.
- Reinstall the Brush Roll: After cleaning, reattach the brush roll to the vacuum cleaner. Ensure it is securely fastened before using the appliance again.
Regular inspection and cleaning of the brush roll contribute significantly to the vacuum cleaner’s overall effectiveness.
Maintaining Hoses and Attachments
Hoses and attachments are critical for reaching various surfaces and narrow spaces. Over time, they can become clogged or dirty, affecting their performance.
Inspecting Hoses
- Check for Clogs: Inspect the hoses for any visible obstructions. If you notice a loss of suction power, a clog may be present.
- Clear Clogs: To clear clogs, you can use a long, flexible tool like a plumbing snake or a straightened wire coat hanger. Gently push out the debris without damaging the hose.
Cleaning Attachments
- Remove and Clean: Detach any brushes or nozzles from the vacuum cleaner. Wash them in warm, soapy water, and allow them to dry thoroughly before reattaching.
- Wipe Down Surfaces: While the attachments are drying, use a damp cloth to wipe down the vacuum cleaner’s body and handles. This prevents dirt accumulation and keeps your appliance looking fresh.
Taking the time to maintain hoses and attachments can significantly impact how effectively you clean your home.
Deep Cleaning Your Vacuum Cleaner
In addition to routine maintenance, deep cleaning your vacuum cleaner every few months is important. This process ensures all parts of the vacuum are functioning properly and prevents buildup.
Disassembling the Vacuum Cleaner
- Follow Manual Instructions: Begin by consulting the user manual for guidance on how to safely disassemble the vacuum cleaner.
- Remove Key Components: Take out the dust canister or bag, filters, and brush roll. Set aside the components for cleaning.
Cleaning the Interior
- Wipe the Interior: Use a damp cloth to clean the vacuum’s interior. Remove any accumulated dust, dirt, or debris. Pay attention to corners and crevices where dirt may accumulate.
- Check for Damage: While you have the vacuum disassembled, check for any signs of damage. Look for cracks, loose components, or broken parts. Replace any damaged items promptly to maintain the vacuum’s performance.
After deep cleaning, thoroughly reassemble the vacuum according to the manual instructions.
Storing Your Vacuum Cleaner Properly
Proper storage can enhance the longevity of your vacuum cleaner. Taking a few minutes to store it correctly can prevent damage and keep it ready for use.
Finding the Right Location
- Clean and Dry Area: Store your vacuum in a clean, dry area to prevent moisture buildup. Avoid placing it in damp basements or unventilated spaces.
- Elevated Position: If possible, store it on an elevated shelf. This protects it from dirt and pets tampering with it.
Maintenance Accessories
Consider keeping essential maintenance items with your vacuum cleaner. Store replacement bags, filters, and cleaning tools close by. This ensures you have everything at hand when it’s time for maintenance.
Conclusion
Cleaning and maintaining your vacuum cleaner is vital to its performance and longevity. By understanding the importance of regular maintenance, performing routine tasks, and taking the time for deep cleaning, you can keep your vacuum functioning effectively for years.
Inspecting key components like the dust canister, filters, brush roll, hoses, and attachments ensures optimal cleaning performance. Proper storage can also contribute to the device’s longevity. By investing time in maintenance, you will enhance your vacuum’s efficiency, improve indoor air quality, and enjoy a cleaner home environment. With these tips, you can unlock the full potential of your vacuum cleaner and ensure it serves you well for many cleaning sessions to come.
