Keeping your home clean is essential, and a vacuum cleaner plays a crucial role in that task. Over time, however, even the best vacuum cleaners can become clogged or less effective due to dust, hair, and dirt buildup. Regular maintenance and cleaning of your vacuum cleaner are vital for ensuring it operates at its best and lasts longer. This article provides a comprehensive guide on how to clean your vacuum cleaner for optimal performance, covering essential steps and tips to keep your vacuum functioning efficiently.
Gather Your Cleaning Supplies
Essential Tools for the Job
Before starting the cleaning process, it’s important to gather all the necessary tools and supplies. This will make the task easier and faster. Here’s a list of items you’ll need:
- Screwdrivers: Depending on your vacuum model, you may need a Phillips or flathead screwdriver to remove panels.
- Soft brush or cloth: Use a microfiber cloth or a soft bristle brush to wipe down surfaces without scratching them.
- Vacuum cleaner bags or filters: If your vacuum uses bags or has replaceable filters, it’s important to have extras on hand.
- Scissors: Scissors can help you remove hair and string tangled in brushes or belts.
- Mild detergent: For cleaning plastic and rubber parts, a mild detergent mixed with warm water can be very effective.
Having everything you need within reach will streamline the cleaning process and help you avoid interruptions. Taking the time to prepare ensures you can focus entirely on the cleaning task.
Safety First
Always ensure your vacuum cleaner is turned off and unplugged before beginning any cleaning. This precaution prevents accidental starts while you are working on it, minimizing the risk of injury. Additionally, remember to wear gloves if you’re handling dirt or debris that may be germy or unpleasant.
Empty the Dust Bin or Change the Bag
Regular Maintenance
Whether your vacuum cleaner uses a dust bin or disposable bags, emptying it regularly is crucial for optimal performance. A full dust bin or clogged bag can reduce suction power significantly, making your vacuum less effective.
If your vacuum has a dust bin, remove it according to the manufacturer’s instructions. Then, dump out the contents into a trash bag, preferably outside to avoid scattering dust in your home. It’s a good idea to tap the bin gently against the trash can to dislodge any particles stuck inside. After emptying, inspect the bin for any damage or wear that may impact performance.
Changing the Vacuum Bag
For vacuums that use bags, be sure to replace the bag when it’s about two-thirds full or if you notice reduced suction. A bag that is too full can lead to similar issues as a dusty bin. Follow the manufacturer’s guidance for replacing bags to ensure a proper fit, and handle new bags carefully to avoid spills.
Clean or Replace the Filters
Importance of Clean Filters
Your vacuum cleaner’s filters trap dust and allergens, helping to maintain air quality in your home. Over time, these filters can become clogged, reducing airflow and impairing suction. Regularly checking and cleaning or replacing filters is an essential maintenance step.
Many vacuum cleaners have a washable filter. If yours does, remove it according to the manufacturer’s instructions. Rinse it under warm water until the water runs clear, then allow it to dry completely before reinserting it. Avoid using any harsh chemicals or detergents, as these can damage the filter material.
Recognizing When to Replace Filters
If your vacuum uses a replaceable filter, be aware of the manufacturer’s recommendations for replacement frequency. Even if a filter looks clean, it may still need to be replaced after a certain amount of time. Investing in high-quality filters can improve performance and keep your vacuum operating at peak efficiency.
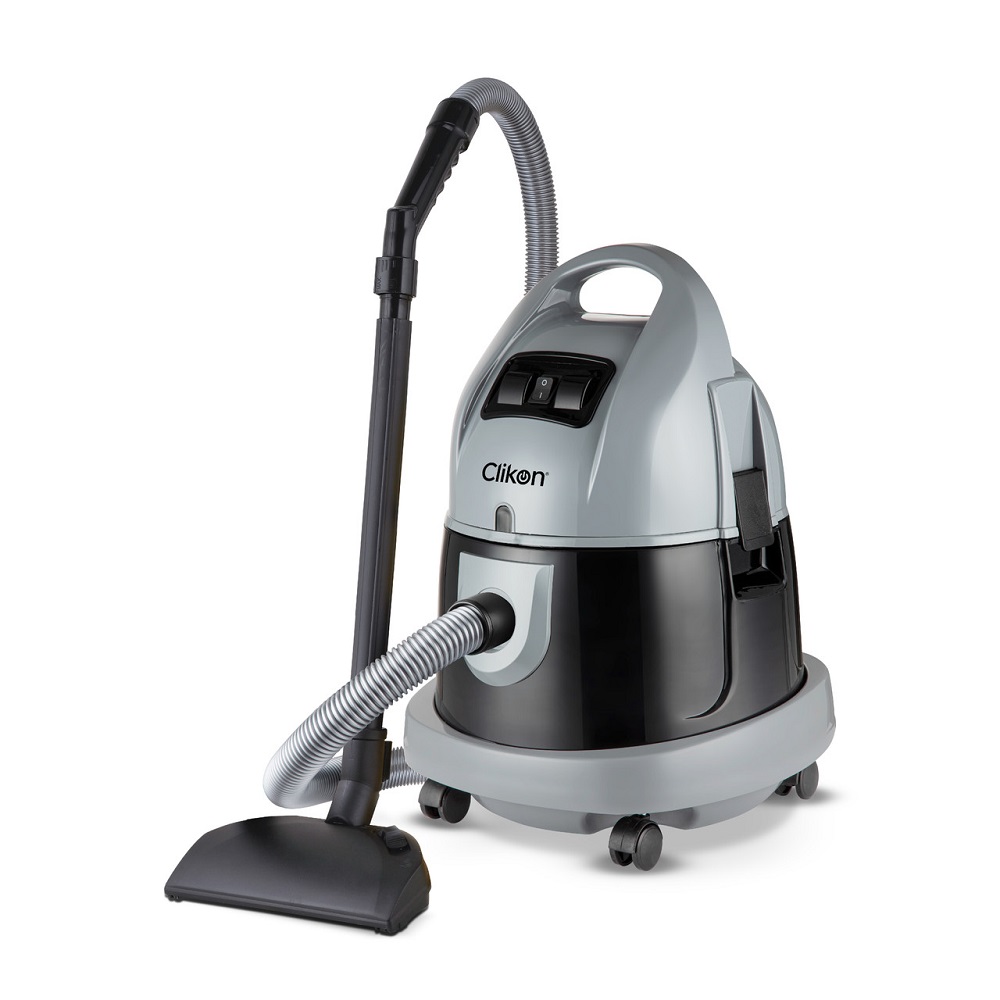
Inspect the Brushes and Belts
Cleaning the Brush Roll
The brush roll is one of the most important components of your clean vacuum cleaner. It works to agitate dirt and debris, making it easier for suction to pick everything up. Hair, strings, and other debris can become tangled around the brush roll, reducing its effectiveness.
To clean the brush roll, first, remove any hair or debris using scissors or your fingers. Most vacuum cleaners have a mechanism that allows you to easily take the brush roll out for cleaning. Once it’s removed, wipe it down with a damp cloth and check for any signs of damage or wear. If the bristles seem worn or flattened, you may need to replace the brush roll entirely.
Checking the Belts
Belts drive the brush roll, so ensuring they are in good condition is essential for optimal vacuum performance. Check the belt for any signs of wear, cracks, or fraying. A damaged belt can cause the brush roll to stop turning, effectively rendering your vacuum useless on carpets or rugs. Most vacuum cleaners allow for easy belt replacement, so check the manual for guidance on reassembling the vacuum after replacing the belt.
Clean the Hoses and Attachments
Inspecting the Hoses
Hoses play a crucial role in directing suction and airflow. Over time, they can become clogged with dirt, hair, and debris, leading to reduced performance. To address this issue, remove the hose from your vacuum and inspect it for blockages. A flashlight can help you see into the hose more clearly.
Cleaning the Attachments
Most vacuum cleaners come with various attachments for different cleaning tasks. These tools can accumulate dirt and dust over time, affecting both their performance and overall hygiene. Clean each attachment by removing any debris, wiping down surfaces with a damp cloth, and rinsing if necessary. Ensure everything is completely dry before reattaching them to the vacuum. Regularly cleaning these parts helps maintain your vacuum’s hygienic standards and ensures that it operates efficiently.
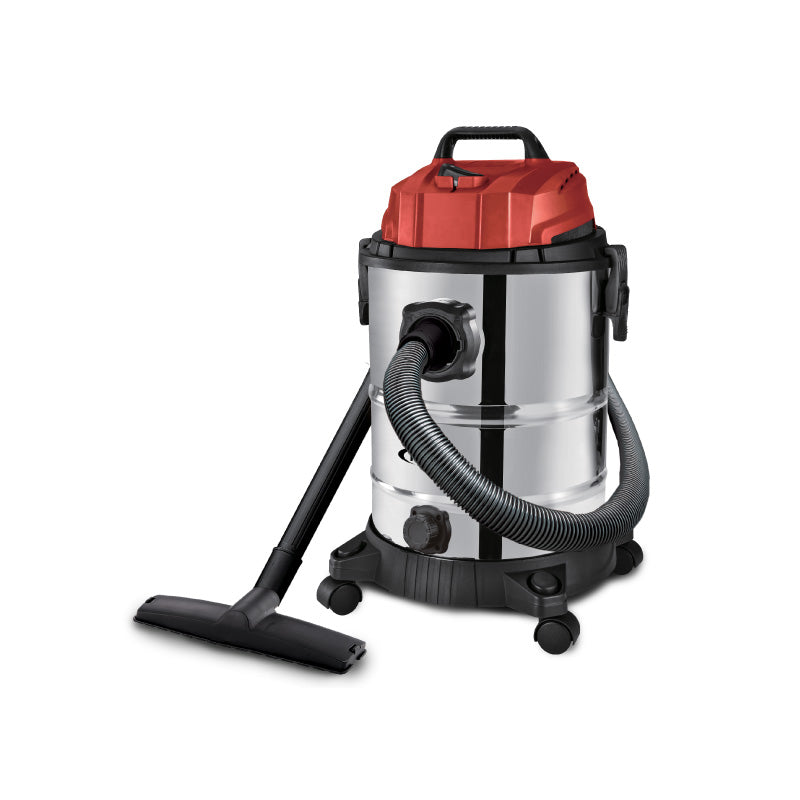
Wipe Down the Exterior
Keeping the Vacuum Clean
Once you’ve addressed the functional components, don’t forget the exterior of your vacuum. Wiping down the surface helps to keep it looking new and removes dust and dirt that can accumulate over time. Use a microfiber cloth dampened with a mild detergent to gently clean the exterior surfaces.
Checking for Damage
While cleaning the exterior of your vacuum, take a moment to inspect it for any signs of damage. Look for cracks in the body, frayed cords, or loose parts. Addressing these issues sooner rather than later can prevent further complications down the line and ensure your vacuum remains in good condition.
Final Steps and Regular Maintenance
Reassemble Your Vacuum
After cleaning all components, it’s time to reassemble your vacuum. Carefully follow the manufacturer’s instructions to ensure everything clicks back into place correctly. Pay special attention to the placement of the dust bin, filters, hose attachments, and brush rolls. Proper reassembly ensures your vacuum will work efficiently when you next need it.
Create a Cleaning Schedule
To keep your vacuum cleaner performing at its best, develop a regular maintenance schedule. Depending on how often you use it, check and clean your vacuum every few months. Create reminders to change the filters or bags regularly based on your usage pattern. Consistent maintenance helps prolong the life of your vacuum and maintains its optimal performance.
Conclusion
To clean your vacuum cleaner isn’t just about aesthetics; it’s essential for ensuring it functions effectively and lasts as long as possible. By following these steps—gathering the right tools, emptying dust bins, cleaning filters and brushes, and wiping down the exterior—you can maintain your vacuum in pristine condition. Regular maintenance will not only enhance its performance but also contribute to a healthier home environment. So roll up your sleeves and give your vacuum the care it deserves; your floors will thank you!
