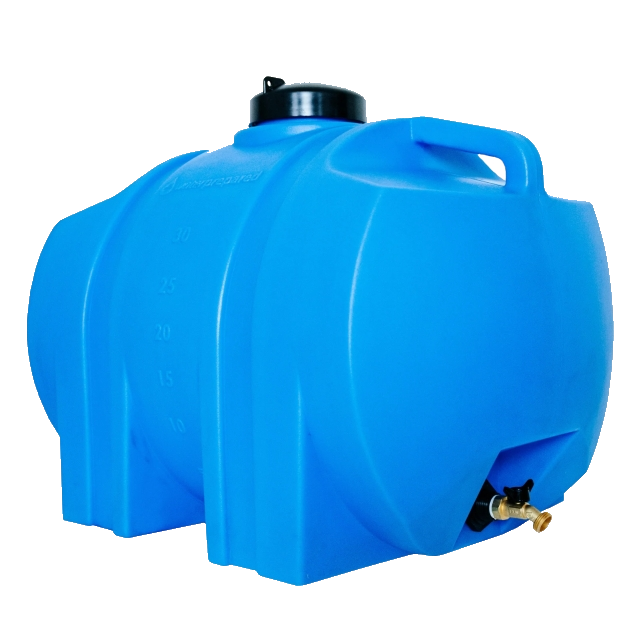
Water tank offer essential solutions for storing water, whether for irrigation, potable use, or residential needs. Proper installation and maintenance can significantly enhance their efficiency, maximize water storage, and minimize wastage. This guide will walk you through the process of installing a water tank step-by-step, alongside maintenance practices that ensure the tank remains in optimal condition.
Understanding Your Water Needs
Assessing Your Water Usage
Before selecting and installing a water tank, it’s crucial to assess your water needs. Consider factors such as the size of your household, the types of activities that require water (e.g., gardening, laundry, drinking), and how often you experience droughts or water shortages. Performing a water audit can help determine your daily consumption. Regularly monitoring your water usage informs your choice of tank size and type, allowing you to select a model that meets your specific requirements efficiently.
Choosing the Right Size
Water tanks come in various sizes, and selecting the right one is essential for maximizing efficiency. A tank too small will lead to constant stress on your water supply. Conversely, an oversized tank can waste resources and space. Calculate your average daily water consumption and consider seasonal fluctuations, especially for gardens or irrigation, to determine the appropriate tank capacity. For instance, if your household consumes 50 gallons a day, a 1,000-gallon tank would provide about 20 days’ worth of water supply, more than sufficient for most families.
Selecting the Right Type of Water Tank
Different Tank Types
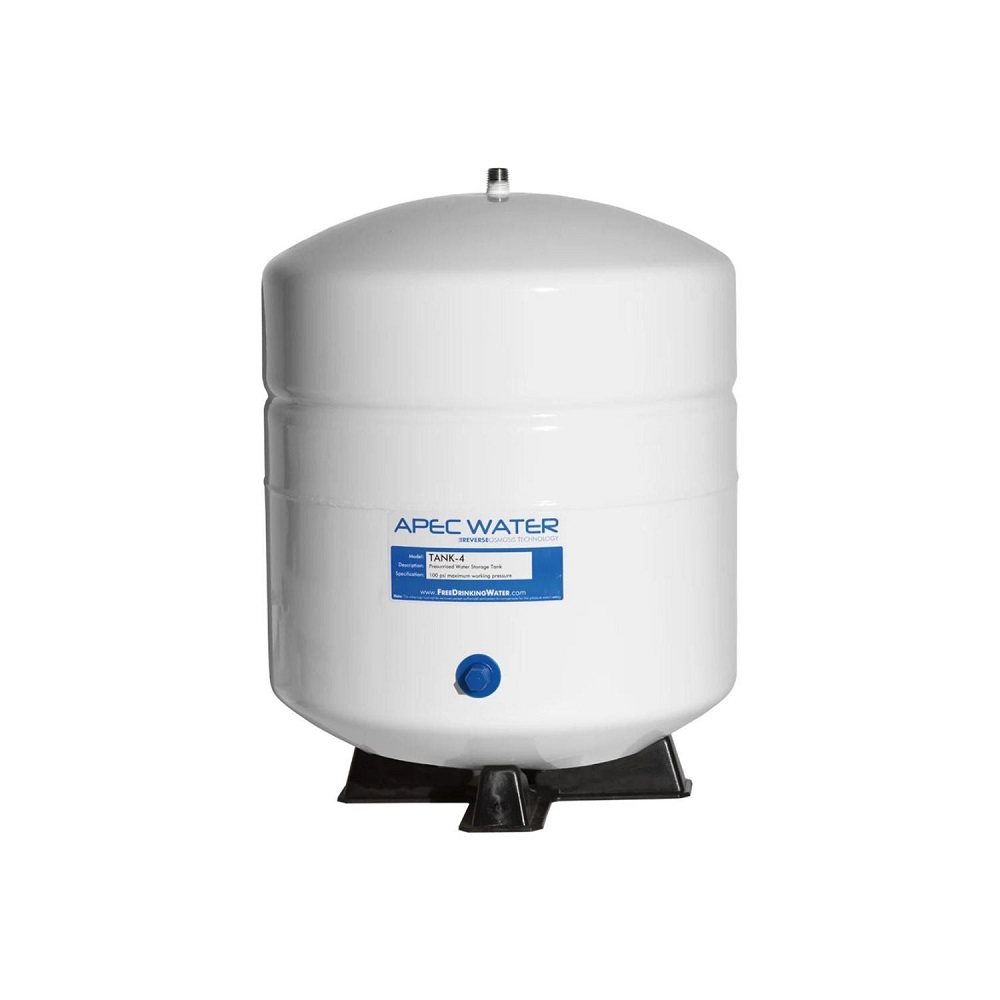
Choosing the right type of water tank is another crucial step in maximizing efficiency. Tanks primarily fall into three categories: above-ground, underground, and rainwater harvesting tanks.
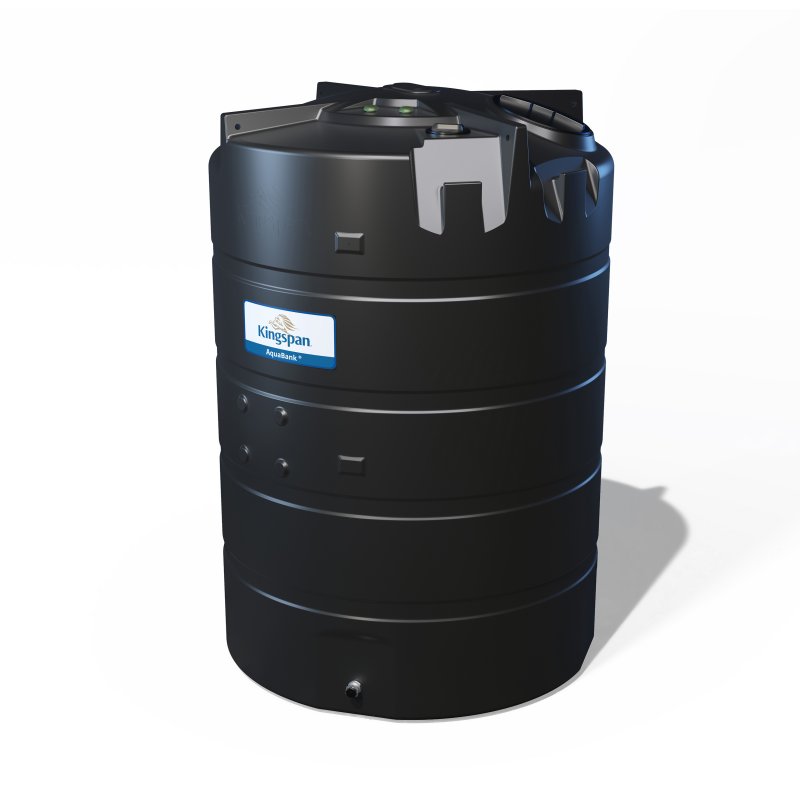
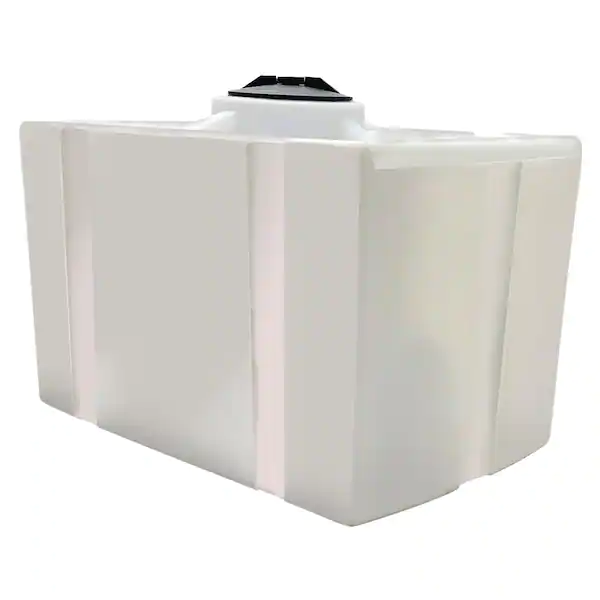
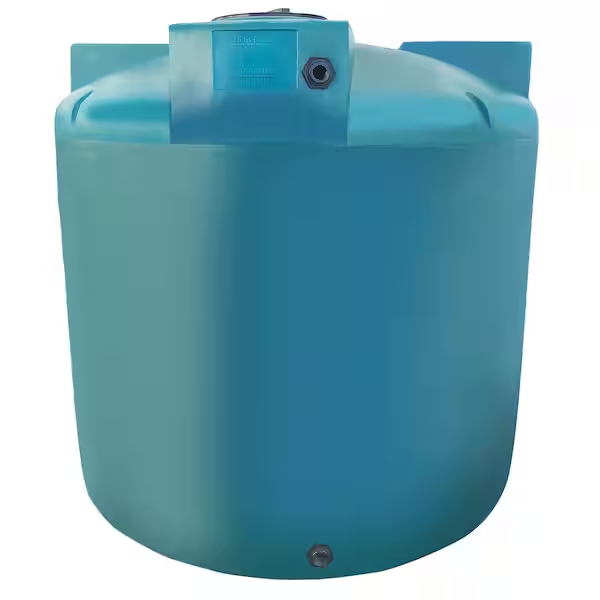
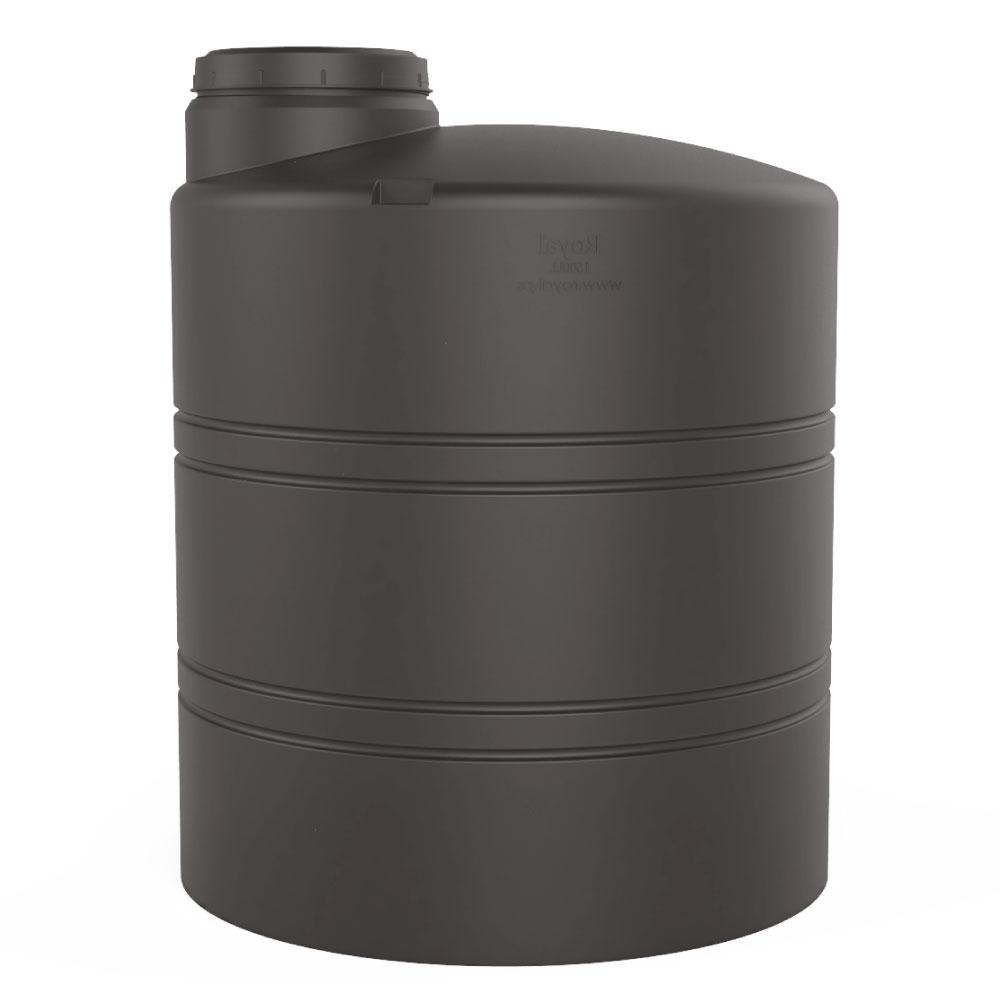
- Above-Ground Tanks: These tanks are often easy to install and ideal for residential setups. They typically come in materials like polyethylene, steel, or fiberglass. They are flexible in placement and easy to access for maintenance.
- Underground Tanks: Offered in concrete or fiberglass, these tanks provide a discreet storage option that tends to protect water temperature and quality effectively. Installation is more complex and usually requires professional assistance.
- Rainwater Harvesting Tanks: These specialized tanks collect rainwater from rooftops, which can be used for irrigation or toilet flushing. They need to be fitted with proper filtration systems to ensure water safety.
Material Considerations
The material of your water tank significantly affects its durability and efficiency. Polyethylene tanks are lightweight and resistant to corrosion, while steel tanks offer robust structural integrity. Concrete tanks are typically long-lasting but may require more maintenance. Consider environmental factors, such as climate and soil type, when selecting a material. For instance, in coastal areas with high salt levels, a stainless-steel tank might be preferable due to its resistance to corrosion.
Installation Process
Planning the Installation Site
Selecting the right location for your water tank is crucial. The site should be level, away from trees or structures that might obstruct sunlight or cause debris accumulation. It should also be easily accessible for maintenance and refilling. The area should support the weight of the filled tank, ensuring it remains stable. If installing an underground tank, mark out excavation areas clearly and ensure utility lines are buried deep enough to avoid interference.
Preparing for Installation
Before installing the tank, gather the necessary tools and equipment. Prepare a base for your tank, especially for above-ground installations. Use concrete or gravel to create a stable platform that can support the full weight of the tank. This sturdy base prevents sinking or tilting, maximizing the tank’s effectiveness. If the tank is underground, ensure proper excavation depth and dimensions to accommodate the tank and its fittings, ensuring adequate drainage around the installation site.
Connecting to Water Supply
Once the tank is in position, connect it to your existing water supply system. For rainwater harvesting systems, ensure proper guttering and downspouts funnel water into the tank with a reliable filtration system to remove debris. Always ensure watertight connections to prevent leaks. If using the tank for irrigation, you may wish to install a pump system for ease of access. Always consult installation guidelines from the manufacturer for specific connection instructions to ensure efficiency and longevity.
Maintaining Your Water Tank
Routine Inspections
Conducting regular inspections of your water tank ensures its reliability and efficiency. Check for signs of wear, rust, or leaks. For above-ground tanks, inspect the outer structure for cracks or corrosion. If you notice any issues, address them immediately to prevent larger problems. For underground tanks, look for developing pressure or unusual ground movement in the vicinity. Documenting your observations helps enforce a regular maintenance schedule and keeps track of potential concerns.
Cleaning the Tank
The interior of your tank requires attention too. Over time, sediments, algae, and other contaminants can accumulate, affecting water quality. Schedule regular cleanings based on usage; typically, large tanks require cleaning every six to twelve months. Start by draining the tank, then scrub the interior walls with a non-toxic cleaner. Rinse thoroughly before refilling to avoid chemical residues. Additionally, consider installing a sediment filter; this can help keep your tank clean and reduce maintenance efforts further down the line.
Water Quality Testing
Testing the water quality is vital, especially if you plan to use it for drinking or irrigation. Regularly evaluate for pH levels, bacteria, and other contaminants. Various testing kits are available to check water quality, or you may opt for professional testing services. Maintaining high water quality ensures that the water remains safe and usable for your household, pets, and gardens.
Enhancing Efficiency with Additional Features
Incorporating Filtration Systems
Installing a filtration system enhances the efficiency of your tank by ensuring that the water stored is clean and safe. Filtration systems help remove impurities and particles before water enters the tank, maintaining higher quality and prolonging its life. Consider options like UV filters, sediment filters, or activated charcoal filters, depending on local water quality assessments.
Installing Pumps and valves
Using pumps can enhance the movement of water from your tank to your home or garden, increasing efficiency. Depending on the tank’s purpose, install suitable pumps to ensure a sufficient and easy flow of water. Automatic shut-off valves can also save your tank from overflow, maintaining consistent efficiency and minimizing water wastage.
Utilizing Smart Technology
Investing in smart technology options, such as water level sensors and automated controls, increases the efficiency of your water tank system. These devices monitor water levels and can alert you when the tank is nearing full capacity, allowing for better management of resources. Some systems enable automation: they can control the filling process or incorporate rainwater harvesting controls, optimizing how much water is used from the tank versus other sources.
Troubleshooting Common Issues
Identifying Leaks
Leaks can significantly reduce your tank’s effectiveness. Perform routine checks for damp areas around the tank or water loss inside the tank. If you discover a leak, determine the source promptly. Tighten fittings or connections, and use sealant or waterproof tape as temporary fixes. If the leak persists, it may require professional assessment or replacement of damaged parts.
Addressing Water Contamination
Water contamination can occur due to external factors such as debris, pests, or chemical runoff. If you suspect contamination, drain the tank and thoroughly clean it. Consider adding additional filtration to prevent future issues. If contaminants persist, conduct a water quality test to determine the specific pollutants and appropriate treatment methods.
Handling Temperature Fluctuations
Temperature can affect water quality and tank performance, especially in extreme climates. If you’re in an area that experiences high heat or freezing temperatures, consider insulating your tank. Proper insulation retains water temperatures and protects against freezing or excessive heat. This approach prevents damage to the tank and maintains optimal water quality.
Leveraging Technology and Community Resources
Embracing Smart Water Management
Integrating smart technologies into your water tank system can drastically improve efficiency and convenience. Smart monitoring systems can provide real-time information regarding water levels, quality, and usage patterns. Many of these systems use mobile apps to alert you when your tank is nearing capacity or when maintenance is due. This level of oversight allows you to manage your water resources more effectively, reducing waste and ensuring you use your water storage to its fullest potential. You can find systems that automatically adjust water intake based on rainfall forecasts, ensuring your tank is always optimally filled without overflow.
Conclusion
Installing and maintaining a water tank allows for efficient and reliable water storage, crucial in many residential and agricultural settings. By understanding your water needs, evaluating types and sizes, and following a clear installation process, you can set up your tank for success. Regular maintenance, quality testing, and troubleshooting common issues ensure your water remains safe and accessible.
As water scarcity becomes an ongoing concern, implementing sustainable practices, such as rainwater harvesting, becomes increasingly important. Investing time and effort into your water tank system maximizes efficiency, promotes conservation, and helps ensure a consistent water supply. By being proactive and diligent in your approach, you can have peace of mind knowing that your water tank serves you well for years to come.
