Conducting interviews with clear and professional audio is essential for producing high-quality content. A wireless lapel microphone offers freedom of movement and excellent sound quality, making it an ideal choice for interviews. This guide provides a comprehensive, step-by-step approach to setting up and using a wireless lapel microphone, ensuring your interviews sound crisp and professional every time.
Understanding Wireless Lapel Microphones
Before diving into the setup process, it’s important to understand what a wireless lapel microphone is and why it’s beneficial for interviews.
What is a Wireless Lapel Microphone?
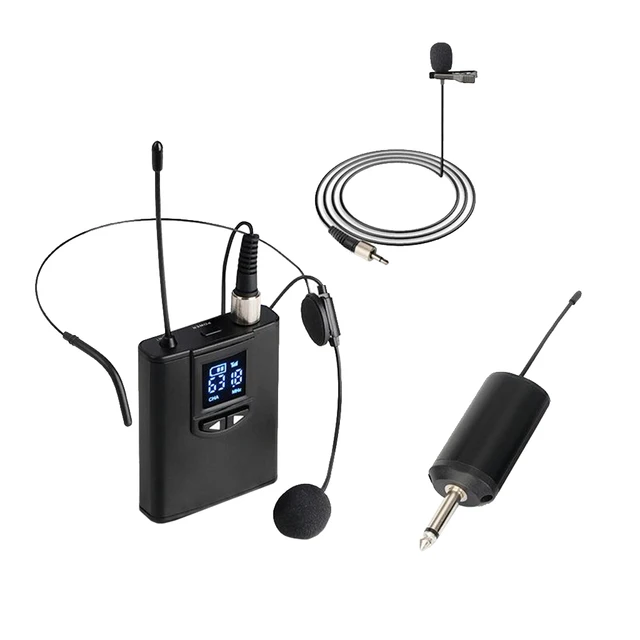
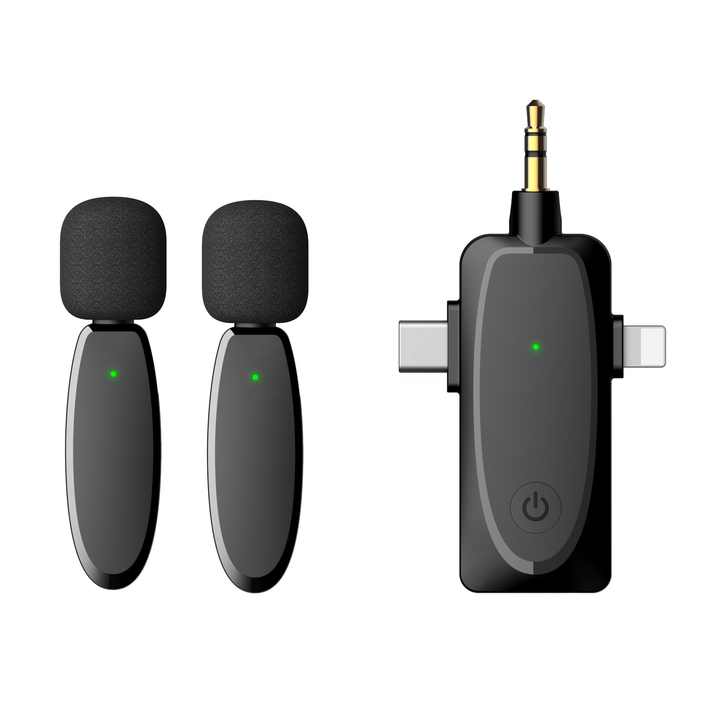
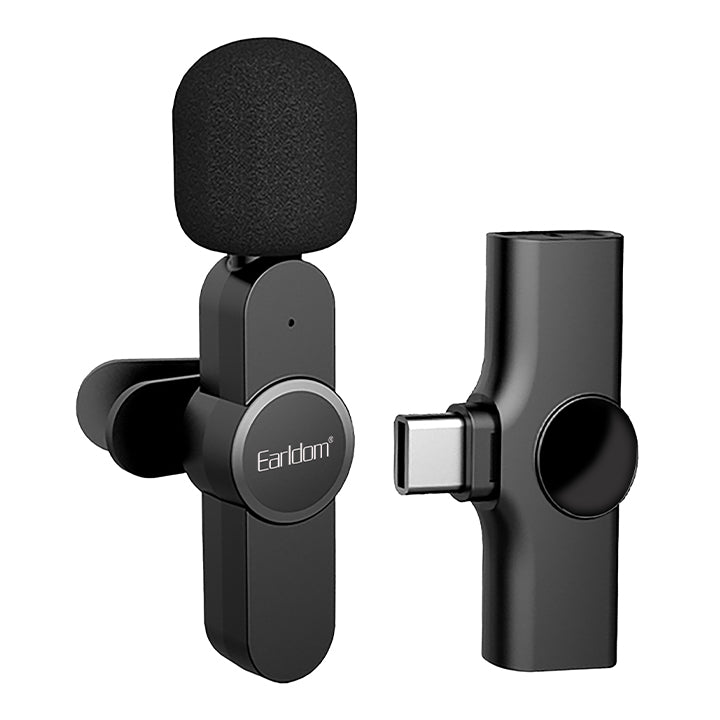
A wireless lapel microphone, also known as a lavalier mic, is a small microphone that clips onto the interviewee’s clothing. It connects wirelessly to a receiver, eliminating the need for cables and allowing for greater mobility. These microphones are designed to capture clear audio while remaining discreet and unobtrusive.
Benefits of Using a Wireless Lapel Microphone
Using a wireless lapel microphone offers several advantages. It provides consistent audio quality by staying close to the speaker’s mouth, reducing background noise and echo. The wireless setup allows the interviewee to move freely without worrying about tangled cables, enhancing the overall flow of the interview. Additionally, the discreet design ensures that the microphone remains unobtrusive, making it ideal for professional settings.
Choosing the Right Wireless Lapel Microphone
Selecting the right wireless lapel microphone is crucial for achieving optimal audio quality and reliability during interviews.
Key Features to Look For
When choosing a wireless lapel microphone, consider the following features:
- Frequency Range: Ensure the microphone operates on a frequency that minimizes interference from other wireless devices.
- Battery Life: Look for microphones with long-lasting batteries to avoid interruptions during interviews.
- Range: Check the effective range of the microphone to ensure it meets your needs, especially in larger interview spaces.
- Audio Quality: Opt for microphones with high-quality audio output, including features like noise cancellation and clear sound capture.
- Compatibility: Ensure the microphone is compatible with your recording devices, such as cameras, smartphones, or audio recorders.
Top Recommended Models
Some of the top wireless lapel microphones include:
- Rode Wireless GO: Known for its compact design and excellent audio quality, ideal for various interview settings.
- Sennheiser EW 112P G4: A professional-grade microphone with reliable performance and advanced features.
- Shure MVL: A budget-friendly option that offers solid performance for beginners and casual users.
- Sony UWP-D Series: Offers robust audio quality and strong wireless signals, suitable for professional interviews.
Setting Up Your Wireless Lapel Microphone
Proper setup is essential to ensure your wireless lapel microphone functions correctly and delivers high-quality audio.
Unboxing and Initial Setup
Start by unboxing your wireless lapel microphone and ensuring you have all necessary components:
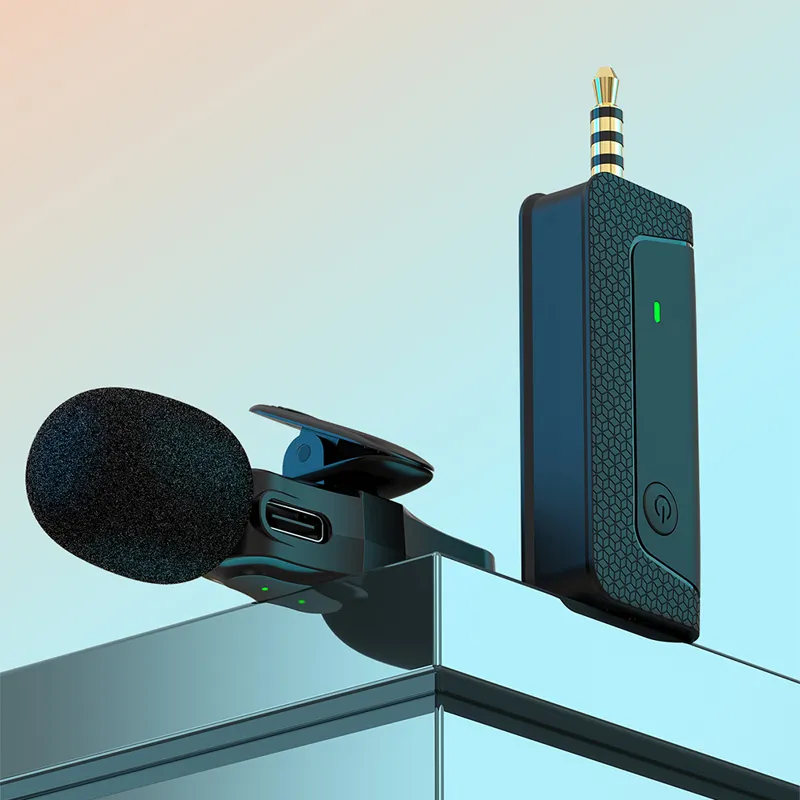
- Microphone: The lapel mic itself, usually with a small clip for attachment.
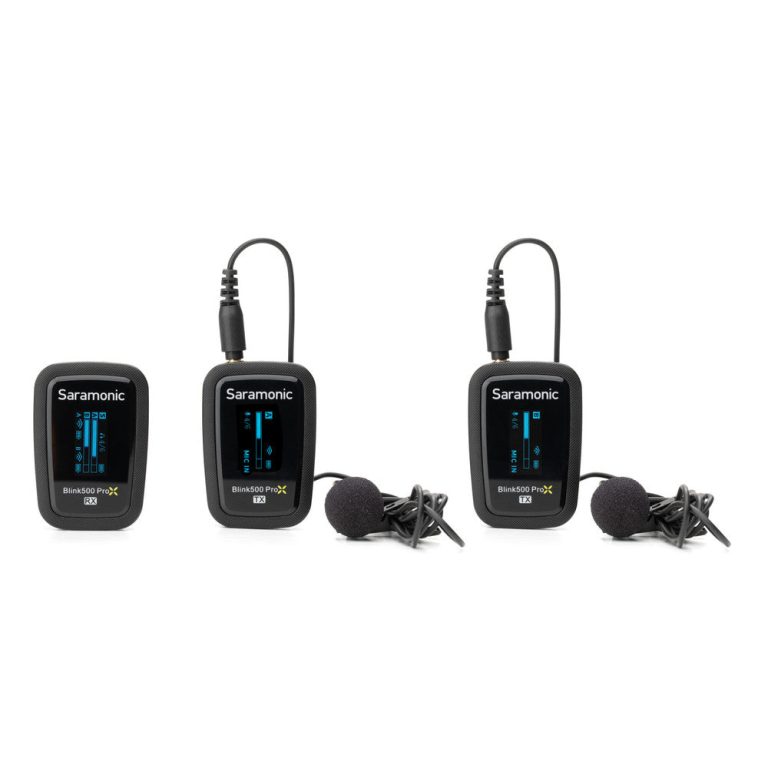
- Transmitter: The device that sends the audio signal wirelessly.
- Receiver: The device that receives the audio signal and connects to your recording equipment.
- Cables and Adapters: Necessary for connecting the receiver to your recording device.
- Batteries: Ensure batteries are installed in both the transmitter and receiver.
Connecting the Transmitter and Receiver
Follow these steps to connect the transmitter and receiver:
- Power On the Devices: Turn on both the transmitter and receiver using their respective power buttons.
- Pair the Devices: Most wireless systems automatically pair when turned on. If not, follow the manufacturer’s instructions to pair them manually.
- Check Connection Indicators: Ensure both devices indicate a successful connection, typically through LED lights or display screens.
Attaching the Lapel Microphone
Proper placement of the lapel microphone is crucial for optimal sound quality:
- Clip the Microphone: Attach the lapel mic to the interviewee’s clothing, preferably on the collar or lapel near the mouth.
- Position Correctly: Ensure the microphone is positioned about 6-8 inches below the interviewee’s mouth to avoid capturing breathing sounds and ensure clear audio.
- Secure the Cable: If the mic has a cable, tuck it neatly to prevent it from being visible and to avoid interference with movement.
Optimizing Audio Quality During Interviews
Achieving the best possible audio quality involves more than just proper setup. Here are some tips to optimize your wireless lapel microphone performance during interviews.
Adjusting Settings for Clear Sound
- Gain Control: Adjust the microphone’s gain settings to ensure the audio is neither too quiet nor too loud. Avoid clipping by keeping levels within safe limits.
- Equalization: Use equalization settings to enhance voice clarity. Boosting mid-range frequencies can help make speech more intelligible.
- Noise Reduction: Enable noise reduction features if your microphone or recording device offers them to minimize background noise.
Managing Interference and Signal Issues
- Choose a Clear Frequency: Select a frequency channel that is free from interference caused by other wireless devices in the area.
- Maintain Line of Sight: Ensure the transmitter and receiver have a clear line of sight to prevent signal dropouts.
- Monitor Signal Strength: Keep an eye on signal strength indicators to avoid interruptions. Move closer to the receiver if signal strength is weak.
Conducting a Sound Check
Before starting the interview, perform a sound check:
- Test the Audio: Have the interviewee speak naturally while you monitor the audio levels on your recording device.
- Adjust as Needed: Make necessary adjustments to gain, placement, or settings to achieve the best sound quality.
- Confirm No Interference: Ensure there are no unexpected noises or interference issues. Address any problems before beginning the interview.
Best Practices for Using a Wireless Lapel Microphone
Adhering to best practices ensures your wireless lapel microphone performs reliably and delivers high-quality audio every time.
Proper Microphone Handling
- Handle with Care: Avoid tugging or pulling on the microphone cable to prevent damage.
- Secure Placement: Ensure the mic remains securely attached throughout the interview to maintain consistent audio quality.
- Minimize Movement: Encourage the interviewee to move naturally while minimizing abrupt movements that could dislodge the microphone.
Maintaining Equipment
- Regular Cleaning: Keep the microphone and its components clean to prevent dirt and debris from affecting performance.
- Battery Maintenance: Regularly check and replace batteries to ensure the transmitter and receiver remain powered.
- Store Properly: When not in use, store the microphone, transmitter, and receiver in a protective case to prevent damage.
Ensuring Consistent Performance
- Firmware Updates: Keep the microphone’s firmware updated to benefit from the latest performance enhancements and bug fixes.
- Backup Solutions: Have a backup microphone and additional batteries on hand to address any unexpected issues during an interview.
- Training and Familiarity: Familiarize yourself with the microphone’s features and operation to troubleshoot and adjust settings quickly if needed.
Troubleshooting Common Issues
Even with careful setup, you might encounter some issues with your wireless lapel microphone. Here’s how to troubleshoot common problems.
No Sound or Poor Audio Quality
- Check Connections: Ensure the transmitter and receiver are properly connected and paired.
- Battery Levels: Verify that both devices have sufficient battery power.
- Microphone Placement: Ensure the microphone is correctly placed and not obstructed by clothing.
- Settings Adjustment: Revisit gain and equalization settings to optimize audio quality.
Signal Dropouts and Interference
- Change Channels: Switch to a different frequency channel to avoid interference from other wireless devices.
- Improve Line of Sight: Reposition the transmitter and receiver to maintain a clear line of sight.
- Reduce Distance: Decrease the distance between the transmitter and receiver to strengthen the signal.
Background Noise and Static
- Enable Noise Reduction: Activate noise reduction features on the microphone or recording device.
- Check Cables: Inspect the microphone cables for any signs of damage or loose connections.
- Shielding: Use shielded cables to minimize interference and reduce static.
Enhancing Your Interview Setup
To further improve the quality of your interviews, consider integrating additional tools and accessories with your wireless lapel microphone.
Using External Recorders
External audio recorders can capture higher quality sound compared to built-in camera microphones. Connect the receiver to a recorder for better audio fidelity and more control over the sound levels during post-production.
Integrating with Cameras and Smartphones
Ensure your wireless lapel microphone is compatible with the devices you use for recording interviews. Most wireless systems offer adapters for cameras and smartphones, allowing you to achieve professional-grade audio without compromising video quality.
Utilizing Wind Protection
When conducting outdoor interviews, use windshields or foam covers on the microphone to minimize wind noise. This simple accessory can significantly improve audio clarity in noisy environments.
Conclusion
Setting up and using a wireless lapel microphone for interviews elevates the quality of your recordings, providing clear and professional audio that enhances the overall interview experience. By understanding the features of your microphone, optimizing settings, adhering to best practices, and effectively troubleshooting common issues, you can maximize the performance of your wireless lapel mic.
Investing time in learning how to properly set up and maintain your wireless lapel microphone ensures reliable and high-quality audio for every interview. Whether you’re a journalist, podcaster, or content creator, mastering the use of a wireless lapel mic can significantly enhance your production standards and help you capture compelling, clear sound every time. Embrace the freedom and professionalism that a wireless lapel microphone offers and take your interviews to the next level.
