Setting up microphones for a stage performance is crucial for delivering clear and high-quality audio. Whether you are organizing a concert, a theater production, or a corporate event, proper stage microphone setup can make a significant difference in sound clarity and audience engagement. In this guide, we’ll discuss essential tips for achieving optimal sound quality, allowing performers to shine and audiences to enjoy every note.
Choosing the Right Microphone
Understanding Microphone Types
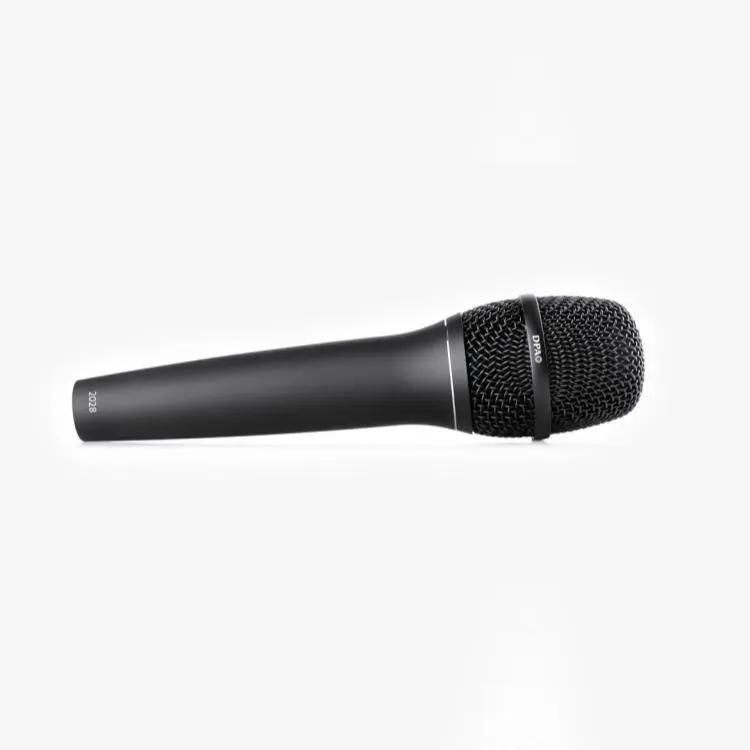
The first step in achieving optimal sound quality involves selecting the right type of stage microphone for your needs. The two most common types are dynamic and condenser stage microphones. Dynamic microphones are durable and can handle high sound pressure levels, making them ideal for loud environments, such as rock concerts. Their rugged design makes them less sensitive to background noise, ensuring a clearer focus on the sound source.
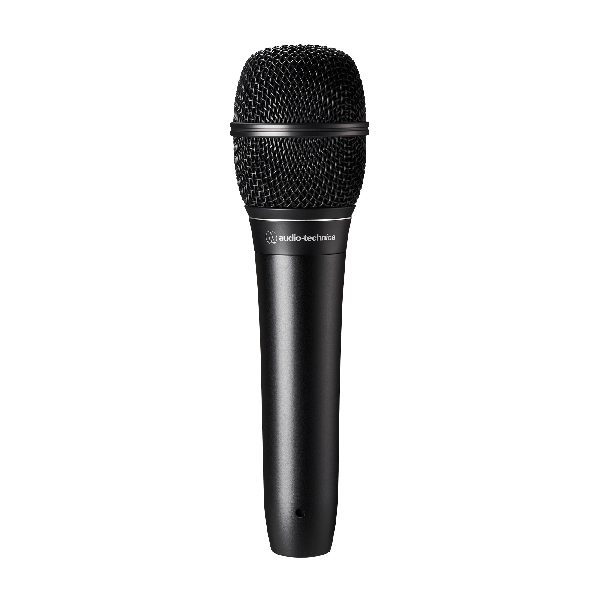
On the other hand, condenser microphones are more sensitive and provide a broader frequency response. They capture nuances and details in vocals and instruments, making them suitable for subtle acoustic performances or studio settings. Understanding the sound dynamics of your event will help you choose the appropriate microphone type.
Considering Polar Patterns
In addition to selecting the microphone type, consider the polar pattern that best fits your stage setup. Common polar patterns include cardioid, omnidirectional, and hypercardioid. Cardioid microphones capture sound primarily from the front, making them great for stage performances where minimizing background noise is essential. Omnidirectional microphones capture sound from all directions, making them suitable for group vocals or instruments. Hypercardioid microphones are even more directional than cardioids, providing focused sound capture. Understanding polar patterns helps in strategically placing microphones to optimize sound quality.
Proper Microphone Placement
Height and Angle Adjustments
Once you’ve selected the right microphone, placement becomes critical. Position the microphone at an appropriate height and angle based on the performer’s needs and the type of performance. For vocalists, placing the microphone around the mouth level and slightly angled up can help capture voice clarity while minimizing plosives. For instrumentalists, placement may vary depending on the instrument. Guitars, for example, sound best with microphones positioned at the sound hole or aimed at the neck.
Ensure that microphones are not too close to monitor speakers to avoid feedback issues. Pay attention to the height as well; avoid placing microphones too high or too low, as it can negatively affect the sound quality. Adjusting the angle slightly can also impact the tonal quality. Find the sweet spot where sound clarity maximizes and perform a quick sound check for the best arrangement.
Maintain Enough Distance from Other Sources
Another essential tip is to keep microphones at a suitable distance from other sound sources. If you have multiple performers on stage, ensure that their microphones are spaced apart adequately to prevent crosstalk. This step helps in maintaining individual sound clarity without muddiness. Additionally, ensure that microphones for instruments are not too close to vocal mics, as this can create interference.
If you’re using multiple input sources, consider employing directional microphones to further isolate sound. Factor in the layout of the stage and the performance dynamics, as space can greatly influence how sounds interact.
Utilizing Windscreens and Pop Filters
Protecting Against Wind Noise
In outdoor settings, wind can wreak havoc on audio quality. To combat this, equip microphones with windscreens, which are foam covers that reduce wind noise while allowing sound to pass. Windscreens come in various designs, so choose one that fits your microphone snugly while providing adequate protection against wind interference.
Using windscreens is not limited to outdoor events. Even in a controlled indoor environment, they can help mitigate plosive sounds when vocalists pronounce certain letters. Maintaining clean and clear audio helps the performance sound polished and professional.
Employing Pop Filters for Vocals
Pop filters are crucial tools for recording vocals, especially during live performances. These filters attach to microphones and reduce plosive sounds caused by the letters “P” and “B.” Setting up pop filters enables vocalists to perform naturally without worrying about unwanted noise. This setup not only cleans up the audio but can also boost the overall quality of the performance.
Investing in quality pop filters can contribute to a more polished sound. Ensure they are positioned close enough to the microphone to be effective, without obstructing the performer or their movement.
Testing and Sound Checks
Conducting Thorough Sound Checks
Performing a comprehensive sound check before the show is one of the most critical components of achieving optimal sound quality. Allocate sufficient time to check each microphone individually and collectively during rehearsals. Test various levels of input by having performers sing or play their instruments at different volumes.
Monitor levels through the mixing console to ensure there’s no distortion. Use headphones while checking to isolate each microphone’s audio. Soundchecks not only verify microphone placement but also assist in identifying any feedback issues that might arise during the performance.
Adjusting Levels and EQ Settings
Once sound checks are conducted, make sure to adjust levels for each microphone accordingly. Set the gain levels to avoid distortion and ensure consistency across all inputs. If a particular microphone picks up too much background noise, consider adjusting the equalizer (EQ) settings to tailor the audio mix to your preferences.
Each performance is unique, so be prepared to make minor adjustments on the fly. Having an audio technician present during live shows helps maintain optimal audio performance by responding to real-time needs.
Setting Up Monitoring Systems
Implementing Stage Monitors
For performers, stage monitors are essential tools to hear themselves and each other during a performance. These speakers allow musicians and vocalists to maintain proper pitch and energy, especially in a loud setting. You can place speakers in front of the performers on the stage, ensuring they are angled correctly to minimize sound interference.
When setting up stage monitors, pay attention to their sound production relative to the main speakers. Fine-tune their levels to ensure the performers can hear themselves clearly while avoiding excessive amplification that could lead to feedback.
Utilizing In-Ear Monitoring
Another effective approach is implementing in-ear monitors (IEMs). IEMs provide a more precise audio experience, keeping performers connected to the mix without external noise interference. This setup prevents feedback issues and allows for a personal audio experience, enabling artists to focus entirely on their performance.
Educate performers on using IEMs effectively, helping them understand their mix and making adjustments as necessary. This training ensures they can achieve an optimal performance experience while on stage.
Managing Audio Cables and Connections
Organizing Cables for Safety and Efficiency
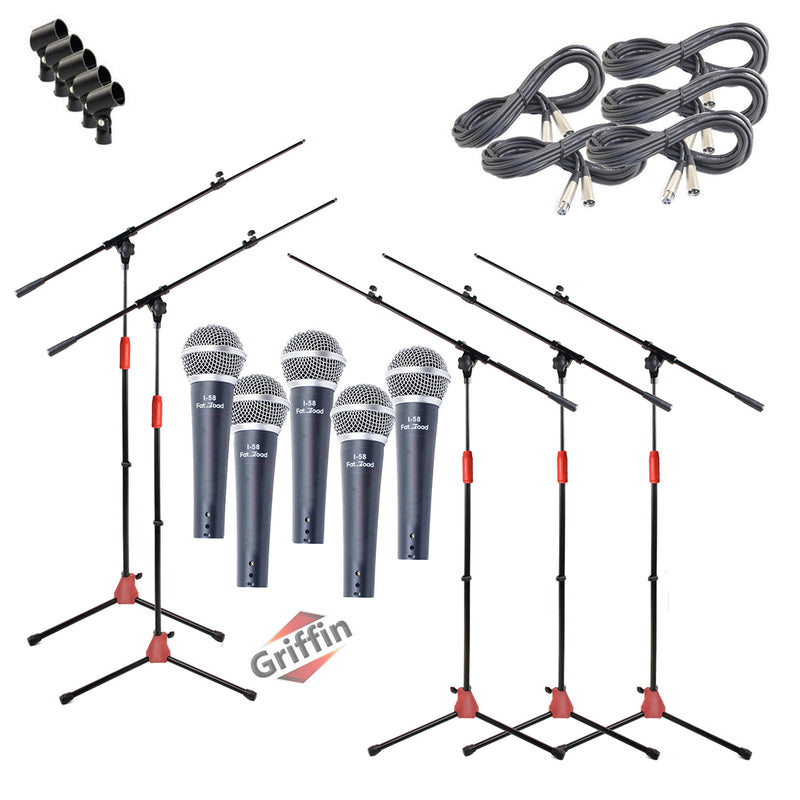
Proper cable management is essential for both safety and sound quality. Running cables neatly reduces the chances of tripping hazards and potential disconnections during a performance. Use cable ties or clips to keep cables organized and ensure they do not cross pathways where performers may walk.
Label each cable to identify specific inputs and outputs, especially in complex setups. Clear organization aids sound technicians in troubleshooting issues quickly if they arise, saving valuable time during performances.
Ensuring Stable Connections
Check all connections thoroughly before the event begins. Make sure that all XLR and quarter-inch cables are securely connected to the mixers and microphones. Loose connections can lead to audio dropouts and disruptions during performances.
Additionally, have backup cables on-site for any emergency situations. Being prepared for unexpected technical difficulties can minimize potential disruptions during live events.
Finalizing the Setup
Reviewing the Setup Before the Show
As the show approaches, take time to conduct a final review of the stage microphone setup. Walk the stage and listen to how each microphone performs from various positions. This exercise helps locate any irregularities or issues that might affect audio quality during the live performance.
Check the overall sound balance to ensure both vocals and instruments complement each other without overpowering the mix. Make adjustments as necessary to create harmonized sound that enhances the overall experience for both performers and the audience.
Gathering Feedback After the Performance
After the performance, solicit feedback from performers regarding the audio experience. Their insights can be invaluable for future setups, helping you identify strengths and areas that need improvement. Considering the opinions of those on stage promotes continuous improvement, ensuring that subsequent events achieve even higher sound quality.
By meticulously managing the stage microphone setup, you can create a seamless audio experience that enhances the overall impact of any live event. Proper planning and execution result in clear sound that resonates with the audience and elevates the performers’ experience.
Mastering the Art of Microphone Setup
Achieving optimal sound quality requires thoughtful planning, precise execution, and continuous improvement. Understanding microphone types, creating a strategic setup, and maintaining a clean audio environment are key components that contribute to incredible audio experiences.
Whether capping off a successful concert, a theatrical performance, or a corporate event, investing time and effort into mastering stage microphone setup pays off substantially. Utilize the best practices outlined in this guide and elevate the audio experience for both performers and audiences alike. Enjoy the transformative power of sound, and make every performance a memorable one!