Boom microphones have become a staple in film production, podcasting, and live streaming. Their ability to capture clear audio while staying out of frame makes them a favorite among professionals. However, getting the best sound quality from a boom microphone requires careful setup and attention to detail. This article provides essential tips on how to set up your boom microphone for optimal sound quality.
Understanding Your Boom Microphone
Types of Boom Microphones
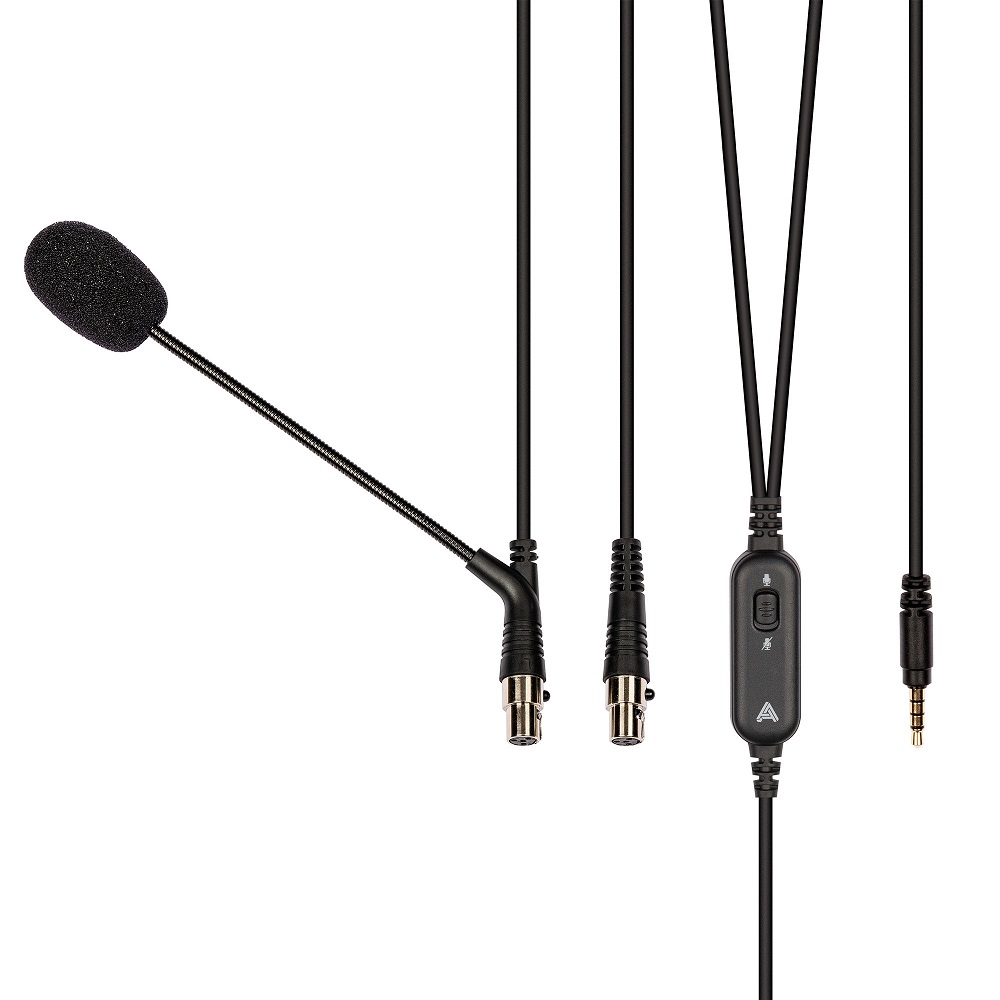
Before setting up, it is crucial to understand the type of boom microphone you are using. Common microphone types include dynamic, condenser, and shotgun microphones. Dynamic microphones are robust and ideal for loud environments. Condenser microphones, on the other hand, are more sensitive and capture a broader frequency range. Shotgun microphones are designed for directional sound capture, making them perfect for film and video work. Knowing your microphone type helps in choosing the right setup and usage.
Placement and Directionality
Different boom microphones have various directional patterns, such as cardioid, supercardioid, and omnidirectional. Cardioid microphones capture sound primarily from the front, while omnidirectional ones capture from all directions. Shotgun microphones have a narrow pickup area, focusing on sounds directly in front of them. To achieve optimal sound quality, position your boom microphone directly pointing at the sound source while minimizing background noise.
Setting Up the Boom Pole
Choosing the Right Boom Pole
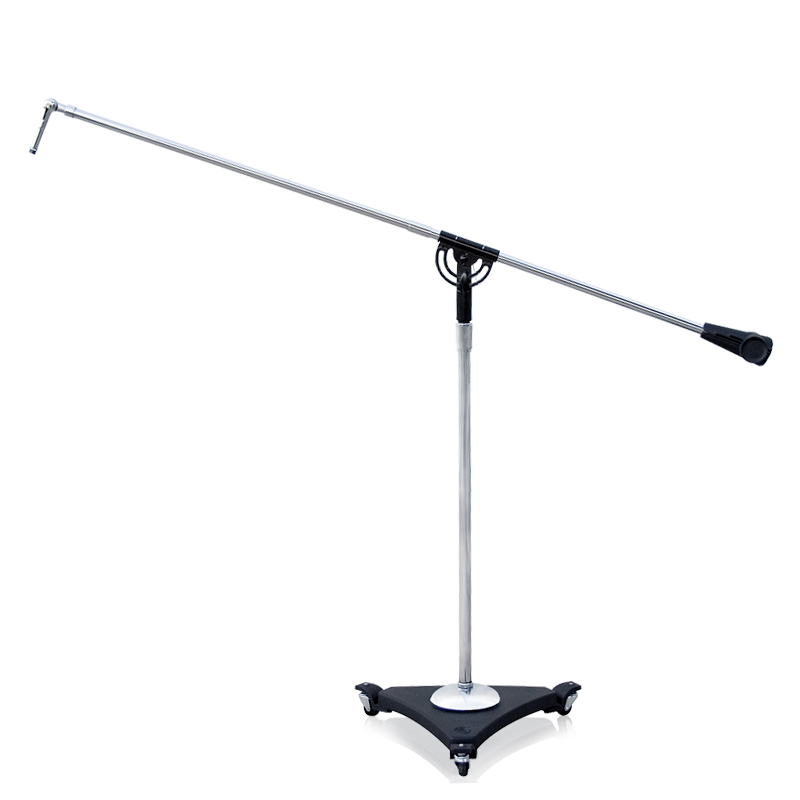
Selecting the right boom pole is essential for effective sound capture. Consider the length and weight of the pole. A longer pole allows you to place the microphone closer to the sound source while keeping it out of camera view. However, longer poles can be heavier and less manageable. A good compromise might be a pole between 3 to 10 feet long, as it provides balance and efficiency.
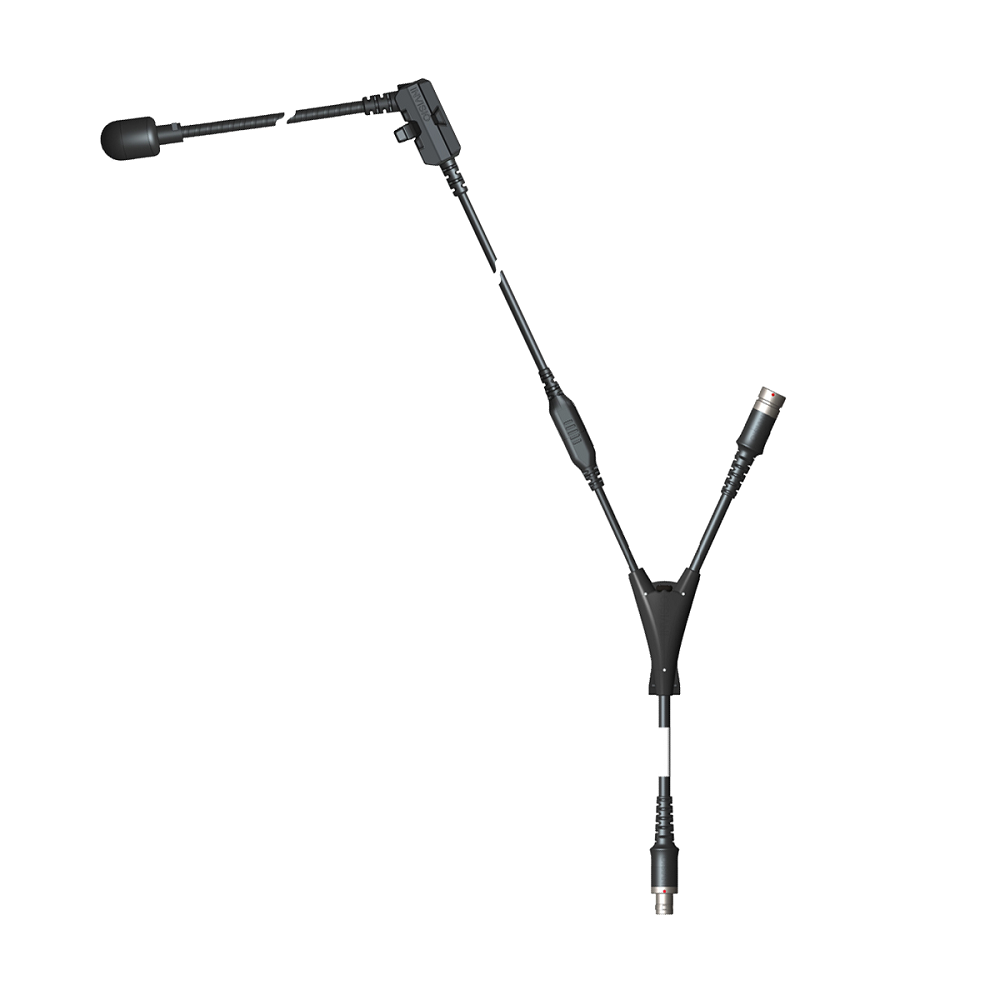
Securing the Microphone
Once you have chosen your boom pole, securely attach your microphone. Use the appropriate shock mount to minimize vibrations and noise from handling. Ensure that the shock mount fits both the microphone and the pole without any wobble. A secure fit not only protects the microphone but also improves sound quality by reducing unwanted noise.
Cable Management
Using Quality Cables
Using high-quality XLR cables can make a significant difference in sound quality. Cheap cables can introduce noise and signal loss, detracting from your audio clarity. Look for cables with good shielding and durable connectors to avoid wear and tear. Quality cables ensure that your audio signal remains clean as it travels from the microphone to the mixer or recorder.
Organizing Cables
Effective cable management is crucial when setting up your boom microphone. Use cable ties or Velcro straps to organize cables neatly along the boom pole. Preventing tangling and snagging reduces the risk of damaging the cables and ensures that you can position the boom pole easily. Additionally, organized cables help maintain a clean and professional setup, especially on busy sets or during live events.
Adjusting the Angle and Height
Finding the Ideal Angle
The angle at which you position your boom microphone can impact sound capture significantly. Aim for a slight downward angle toward the sound source. This positioning helps capture clearer audio while reducing the pickup of unwanted noises from above. Make small adjustments based on the subject’s position and movements to maintain optimal sound quality throughout your recording.
Height Considerations
Height is another critical factor to consider when setting up your boom microphone. Aim to have the microphone placed as close to the sound source as possible without coming into the frame. Generally, a height of about 1 to 3 feet above the subject works well. This height allows for optimal clarity while minimizing background noise. Adjust the boom pole’s height as needed based on your environment and the sound source’s location.
Wind Protection and External Noise
Utilizing Windscreens
When recording outdoors or in windy conditions, using a windscreen is essential. Windscreens, often made from foam or fur, reduce wind noise that can interfere with audio quality. Always check the fit of the windscreen on your microphone to ensure it does not obstruct the sound pickup. Proper wind protection can make a notable difference in sound clarity and overall quality.
Reducing Background Noise
To achieve the best sound quality, strive to minimize background noise as much as possible. Choose a quiet location for your recording session. Additionally, consider using blankets or other sound-absorbing materials in the area to help reduce echoes and unwanted sounds. If possible, conduct a sound check to listen for any background noise that might be present. Making adjustments before starting the session can save time later and improve your final audio quality.
Recording Levels and Monitoring
Setting the Appropriate Levels
Setting the correct recording levels is crucial for capturing clear audio. Aim for levels between -12 dB and -6 dB on your recording device. This range allows for peaks without distortion, keeping your audio clean. When monitoring audio levels, avoid clipping by keeping an eye on the meters. If the levels are too high, adjust the input gain accordingly. Recording too loudly can result in distortion, which is difficult to fix in post-production.
Real-Time Monitoring
Once you begin recording, monitor the audio in real-time, if possible. Using headphones connected to your recording device allows you to hear exactly what the microphone picks up. Keep an ear out for any unwanted noise or issues that may arise during the session. Real-time monitoring helps you make on-the-fly adjustments, ensuring high audio quality throughout your recording process.
Post-Setup Testing
Conducting Sound Checks
Before launching your recording session, conduct a sound check to ensure everything functions correctly. Test different speaking volumes and positions to see how the microphone responds. This proactive approach helps identify any issues before they escalate during the actual recording. Sound checks are also an opportunity to verify that the levels are appropriately set and that the sound quality meets your expectations.
Adjusting Based on Feedback
After conducting sound checks, be open to making adjustments based on what you hear. Whether changing the microphone angle, height, or even the positioning of the boom pole, remain flexible. The goal is to capture the best possible sound, so do not hesitate to make necessary changes. Gathering feedback from team members during the sound check can also offer valuable insights.
Understanding Audio Interfaces and Mixers
Choosing the Right Interface
An essential part of setting up your boom microphone is integrating it with an appropriate audio interface or mixer. The audio interface acts as a bridge between your microphone and the recording device, converting analog signals into digital formats that your computer can process. Choosing a quality audio interface can significantly impact sound quality. Look for interfaces with low latency, multiple input options, and phantom power capabilities for condenser microphones.
Utilizing Mixers for Enhanced Control
Using an audio mixer can also provide more advanced controls over your sound. Mixers allow you to adjust levels, add effects, and balance various inputs in real-time. This feature is especially valuable when working with multiple microphones or sound sources. Having a good quality mixer facilitates greater creative control during live recordings or complex productions. Ensure you familiarize yourself with the mixer’s settings, such as equalization and panning, to get the best audio results. A well-rounded setup incorporating a quality interface or mixer, combined with your boom microphone, sets the stage for capturing excellent audio that resonates with your audience.
Conclusion
Setting up your boom microphone properly is crucial for achieving optimal sound quality in any recording scenario. Understanding your microphone, choosing the right pole, managing cables, and positioning the microphone effectively all contribute to capturing clear and professional audio. Additionally, considering wind protection, reducing background noise, monitoring levels, and conducting thorough sound checks are essential parts of the setup process.
By following these tips, you can enhance your audio quality significantly, whether you are working on a film set, producing a podcast, or streaming live content. Remember that the setup phase is just as important as the recording itself; taking the time to set up correctly pays off in the quality of your final audio product. With these guidelines, you will be well-equipped to create compelling audio that captivates your audience.