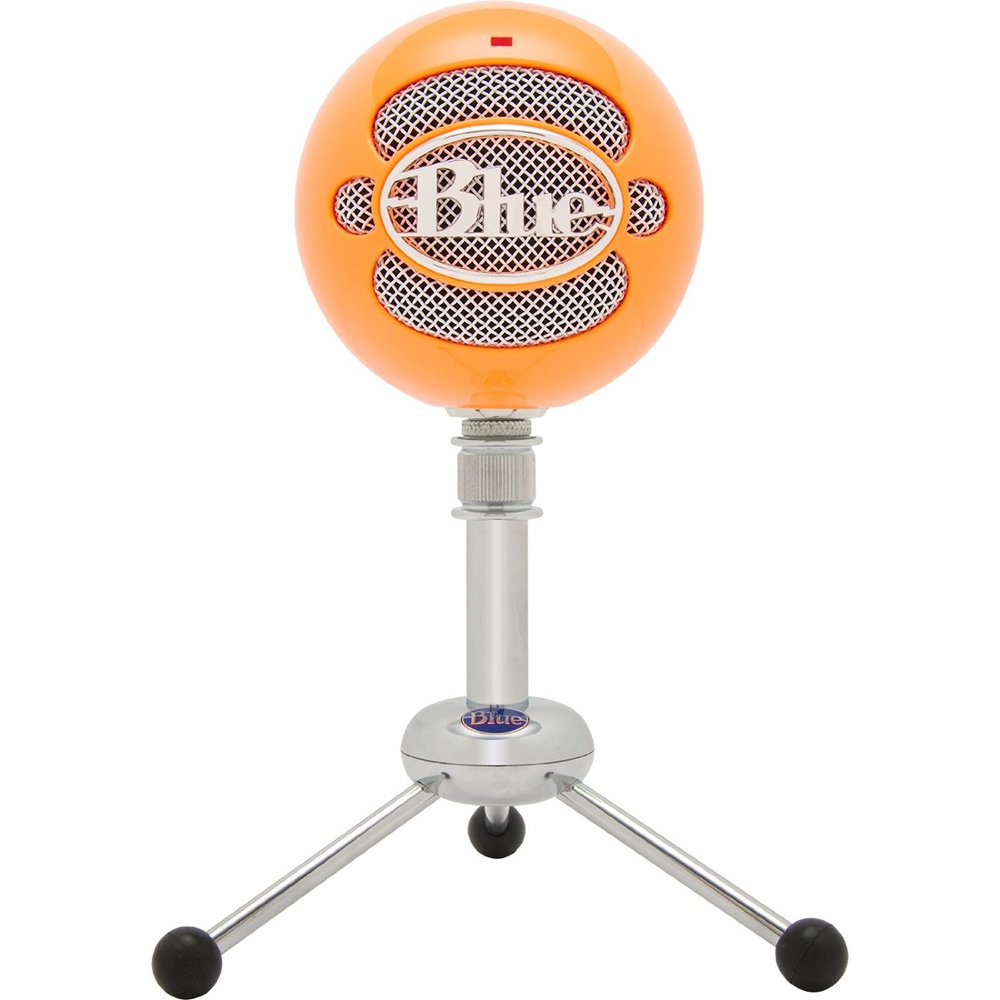
The Blue Snowball Microphone is a popular choice among podcasters, streamers, and musicians. Known for its ease of use and high-quality sound, it has become a staple for many content creators. This article aims to guide you from setup to mastering your Snowball Microphone, ensuring you get the best possible audio experience.
Initial Setup
Unboxing and Assembly
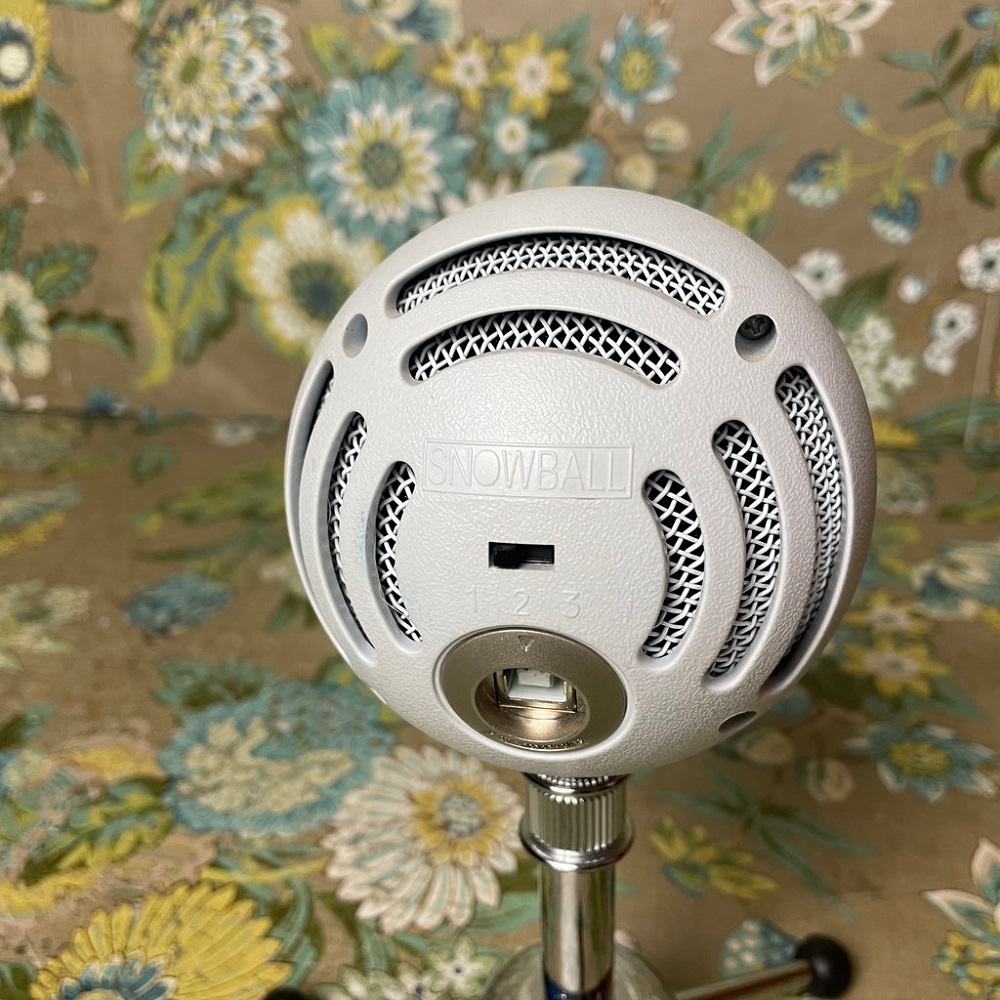
When you first unbox your Snowball Microphone, you will find the microphone itself, a tripod stand, and a USB cable. Assembly is straightforward. Begin by screwing the microphone onto the tripod stand. Ensure it is securely attached. Next, connect the USB cable to the microphone and then to your computer. The microphone is now physically set up and ready for use.
No additional software is required, which makes the setup process even simpler. The microphone should be recognized automatically by most operating systems, including Windows and macOS. Position the microphone at a slight angle towards your mouth, usually about 6-12 inches away for optimal sound quality.
Configuring Your Computer
After connecting the microphone, you need to configure your computer settings. On Windows, go to the Control Panel, select “Sound,” and set the Snowball Microphone as the default recording device. On macOS, go to “System Preferences,” select “Sound,” and choose the Snowball Microphone under the “Input” tab.
Adjust the input levels to ensure the microphone captures your voice clearly without any distortion. You can test your microphone by speaking into it and watching the input levels in your system settings. Aim for levels between -12dB and -6dB for the best balance of loudness and clarity.
Understanding Polar Patterns
Cardioid Mode
The Blue Snowball Microphone offers multiple polar patterns, and one of the most commonly used is the cardioid mode. This mode captures sound from the front of the microphone and minimizes noise from the sides and back. It is ideal for recording vocals, streaming, and podcasting where you need to focus on a single sound source.
Cardioid mode is also effective for isolating your voice from background noise. This makes it useful in less-than-ideal recording environments. Whether you’re recording in a noisy room or a home studio, cardioid mode can help maintain the clarity of your audio.
Omnidirectional Mode
The omnidirectional mode captures sound equally from all around the microphone. This mode is useful for recording group discussions, live music, or ambient sounds. It captures a more natural and spacious sound compared to the focused capture of the cardioid mode.
Omnidirectional mode is excellent for situations where you want to capture the entire room’s acoustics. It can be particularly useful for conference calls or interviews with multiple people, as it ensures that everyone’s voice is captured clearly without needing multiple microphones.
Recording Techniques
Proper Positioning
The placement of your Snowball Microphone can significantly impact the quality of the recording. For vocals, position the microphone at a 45-degree angle and about 6-12 inches away from your mouth. This minimizes plosive sounds and captures a warm, natural tone.
Experiment with different distances and angles to find what works best for your voice. Using a pop filter can also help reduce harsh “p” and “b” sounds. Pop filters act as a barrier for plosive sounds, preventing them from distorting your recording. Additionally, a shock mount can reduce vibrations and handling noise.
Adjusting Gain Levels
Adjusting the gain levels is crucial for achieving high-quality recordings. Too much gain can result in distortion, while too little can make your recordings too quiet. Start with the gain level around 50% and adjust based on your recording environment and voice loudness.
Use your recording software to monitor the levels and make real-time adjustments. Aim to keep your levels in the green zone, peaking around -6dB to -3dB, to ensure clear and balanced audio. When recording, always perform a soundcheck and listen back to ensure the levels are optimal.
Enhancing Audio Quality
Using Software Tools
Several software tools can enhance the quality of your recordings. Software like Audacity, GarageBand, and Adobe Audition offer features such as noise reduction, equalization, and compression. These tools can help refine your audio and give it a professional touch.
Noise reduction can remove background noise, while equalization can adjust the frequencies to make your voice sound richer. Compression helps balance the audio levels, ensuring that quieter sounds are heard while preventing louder sounds from peaking. Experiment with these tools to find the best settings for your specific needs.
Acoustic Treatment
The environment in which you record plays a crucial role in audio quality. Recording in a room with lots of hard surfaces can cause unwanted echoes and reverberations. To minimize these, consider using acoustic panels, foam, or even soft furnishings like carpets and curtains.
Acoustic treatment can significantly improve the clarity and warmth of your recordings. Placing panels strategically around your recording space can reduce reflections and absorb excess sound. Creating a controlled environment enables your Snowball Microphone to capture the best possible audio.
Troubleshooting Common Issues
Dealing with Background Noise
Background noise can be a significant issue in home recordings. To minimize this, record in a quieter room and use the cardioid mode to focus on your voice. Closing windows and doors can also help reduce external noise.
If background noise persists, use noise reduction software to clean up your recordings. Tools like Audacity offer noise reduction features that can remove hums, hisses, and other background noise effectively. Noise gates can also be used to cut out sounds below a specific threshold, ensuring a cleaner recording.
Handling Distortion
Distortion occurs when your audio levels are too high. If you notice distortion, lower the gain on your Snowball Microphone or adjust the input level in your recording software. Ensure you are not too close to the microphone.
Monitoring your recordings through headphones can help you catch distortion early. If you notice clipping or harsh sounds, make immediate adjustments. Consistent monitoring ensures that your final recording remains clear and free from distortion.
Advanced Techniques
Multi-Track Recording
Multi-track recording involves recording different audio sources separately and then combining them during the editing process. This technique is useful for musicians or podcasters with multiple speakers. Software like Audacity and GarageBand support multi-track recording.
Using multi-track recording allows for greater control over each audio source during editing. Each track can be individually adjusted for volume, panning, and effects. This flexibility enhances the overall quality and cohesion of your final recording, making it sound more professional.
Using Effects
Effects like reverb, delay, and equalization can enhance your recordings. Reverb adds a sense of space, while delay can create interesting vocal effects. Equalization can help balance the frequencies in your recordings, making them sound richer and more polished.
Applying effects should be done carefully to avoid over-processing your audio. Start with subtle changes and listen to how they impact your recording. Effects can add depth and character to your audio, but overuse can make it sound artificial.
Maximizing Longevity
Proper Maintenance
To ensure your Snowball Microphone lasts, proper maintenance is essential. Keep the microphone clean and free from dust. Use a soft cloth to wipe it down regularly and store it in a safe place when not in use.
Avoid dropping or subjecting the microphone to shocks. Handling it with care prevents internal damage. When not recording, ensure the USB cable is unplugged to avoid unnecessary wear and tear on the connectors. Proper maintenance extends the life of your microphone, ensuring consistent performance over time.
Firmware and Software Updates
Check for firmware updates for your Snowball Microphone. Manufacturers occasionally release updates to improve performance and compatibility. Also, keep your recording software up to date to ensure you have the latest features and bug fixes.
Regular updates can enhance your recording experience and prevent compatibility issues with new operating systems. Keeping everything up to date ensures your setup runs smoothly and can take advantage of new technological advancements.
Conclusion
The Snowball Microphone Advantage
The Blue Snowball Microphone offers an excellent balance of quality and ease of use. With proper setup, positioning, and understanding of its features, you can achieve professional-quality recordings. Its versatility makes it suitable for various recording needs, from podcasts to music.
Taking Your Recordings to the Next Level
Mastering your Snowball Microphone involves a combination of good techniques, appropriate software tools, and a suitable recording environment. By following this guide, you can enhance your recordings, troubleshoot common issues, and ensure your microphone lasts for years. With the right approach, your Snowball Microphone can be a powerful tool for producing high-quality audio content.