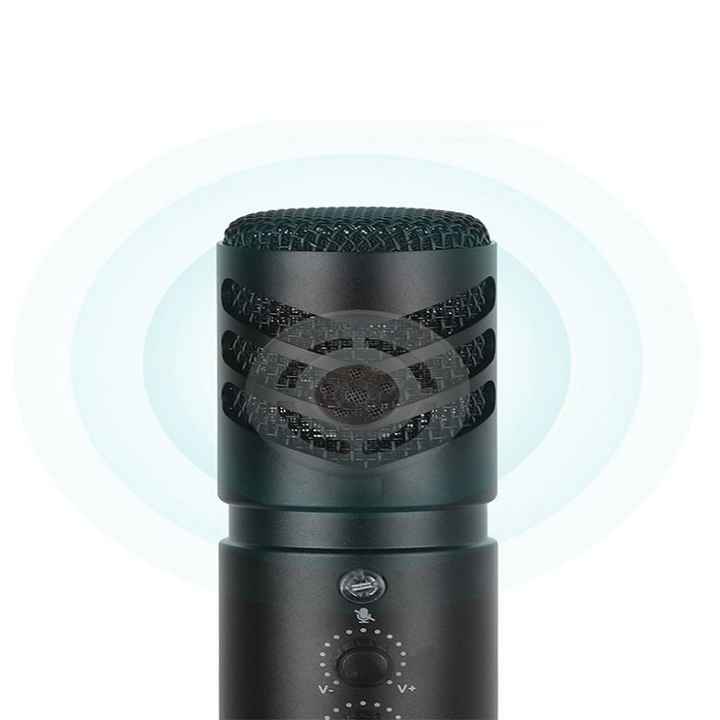
Good audio is critical whether you’re an aspiring podcaster, an avid gamer, or a musician laying down tracks. The Blue Snowball Ice microphone is a popular choice for its excellent sound quality, affordability, and ease of use. This article will cover the initial setup process for the Snowball Ice, how to optimize recording settings for various scenarios, troubleshooting common issues, and tips for ensuring your recordings remain pristine.
Blue Snowball Settings
Optimizing Blue Snowball Microphone Settings for Pristine Audio Capture
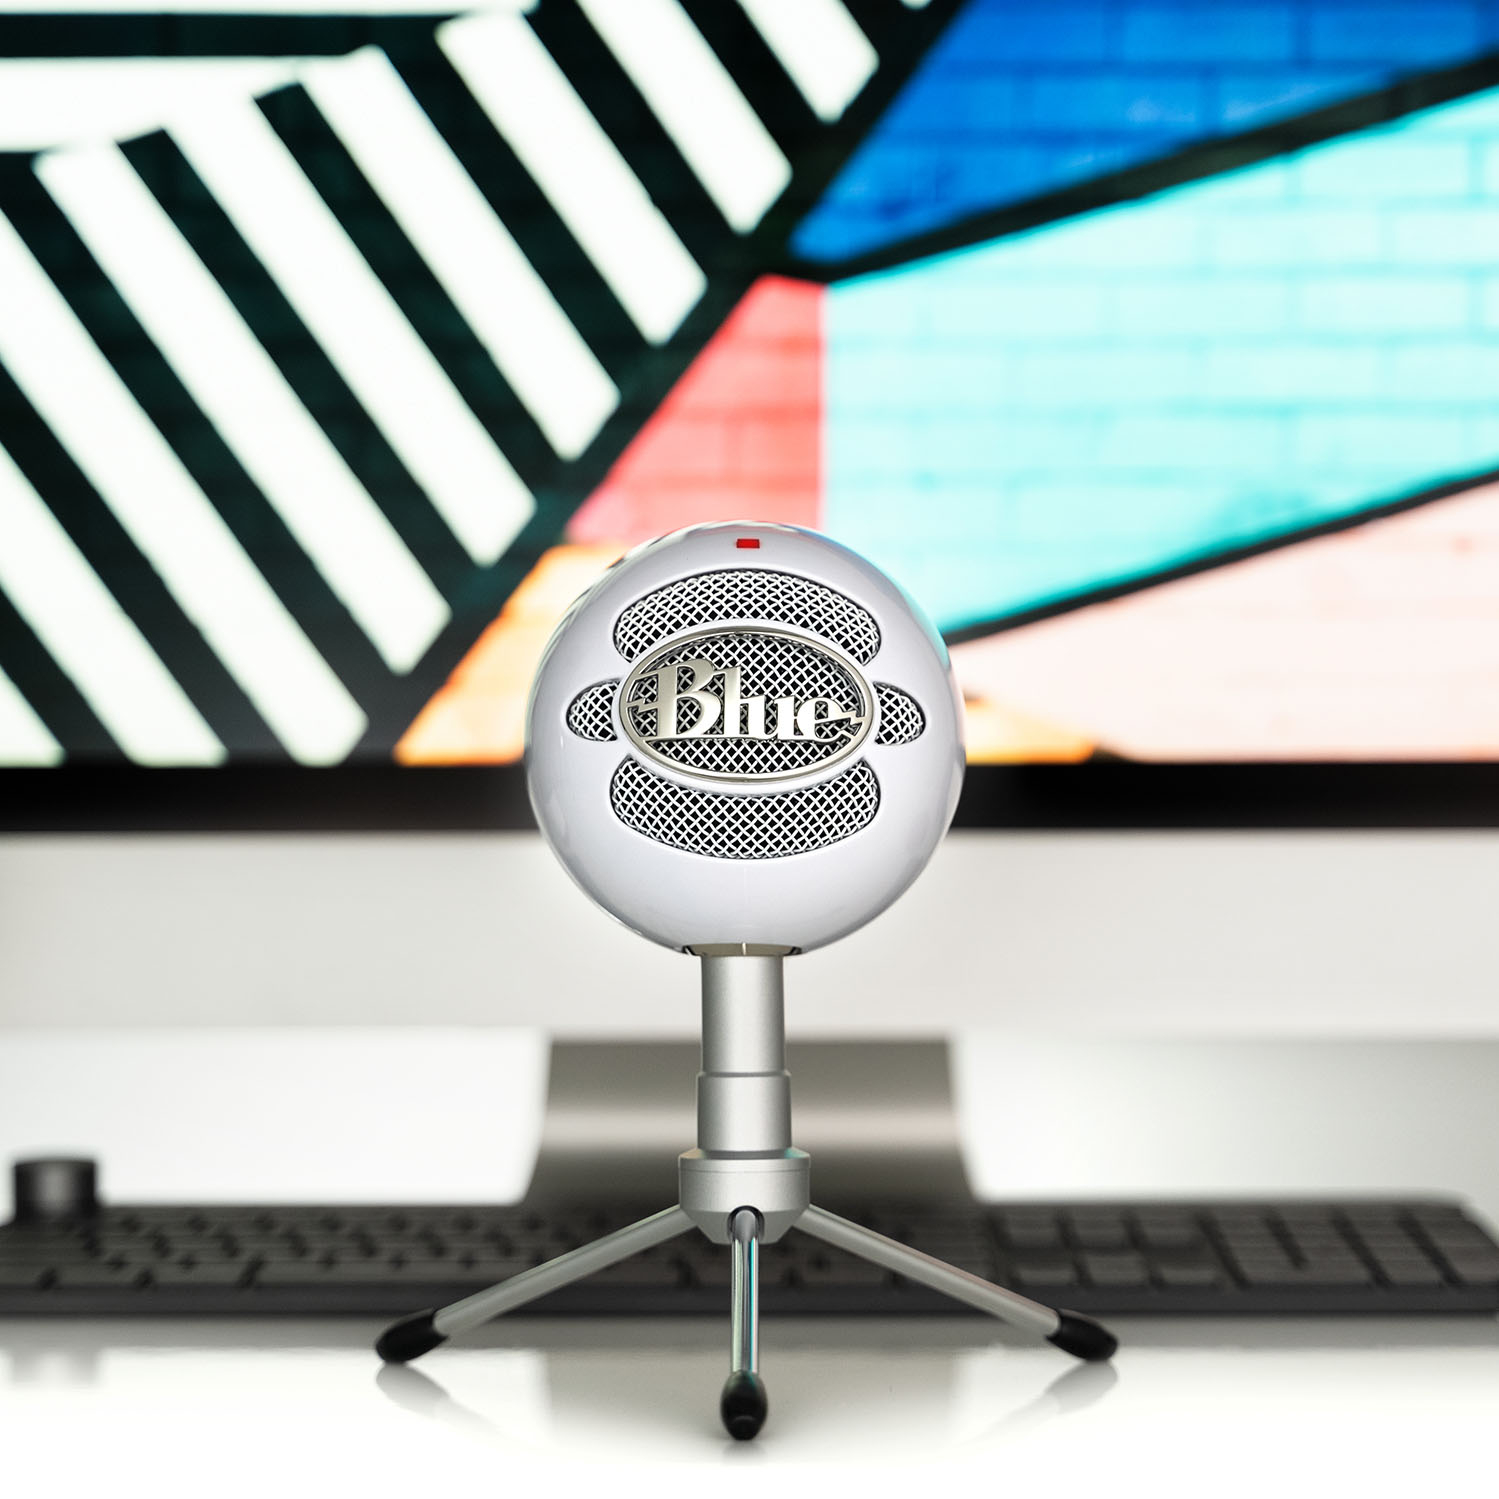
The Blue Snowball microphone is a versatile USB device favored by podcasters, streamers, and content creators for its ease of use and solid sound quality. However, to get the best out of your Blue Snowball, it’s critical to adjust the settings tailored to your recording environment and content type. Positioning the microphone correctly—about six inches from your mouth with the Blue logo facing you—helps to ensure optimal voice capture. Moreover, the Snowball offers multiple pickup patterns, so selecting the right one, such as cardioid mode for solo recordings or the omnidirectional settings for capturing sounds from all directions, can greatly enhance your audio results. On your computer, adjust the input levels so that your recording is clear without peaking, and consider using pop filters or windscreens to minimize unwanted plosives and background noise.
Advanced Configuration for Professional-Quality Sound with the Blue Snowball
For users seeking professional-quality sound from their Blue Snowball microphone, diving into advanced settings can make a substantial difference. Sound recording software often provides options for adjusting gain levels, equalization, and compression, which can help in fine-tuning your audio output. Ensuring that your recording space is acoustically treated, by using sound-absorbing materials like foam panels, can prevent echo and reverb, thus significantly improving sound clarity. Additionally, software-based noise reduction tools can help eliminate background buzz or hum. By combining these software enhancements with the proper hardware setup, the Blue Snowball microphone can deliver exceptional audio quality that stands up well even among higher-priced microphones, making it an excellent choice for budget-conscious creators who do not wish to compromise on sound.
Unboxing and Initial Setup
Plug and Play Convenience
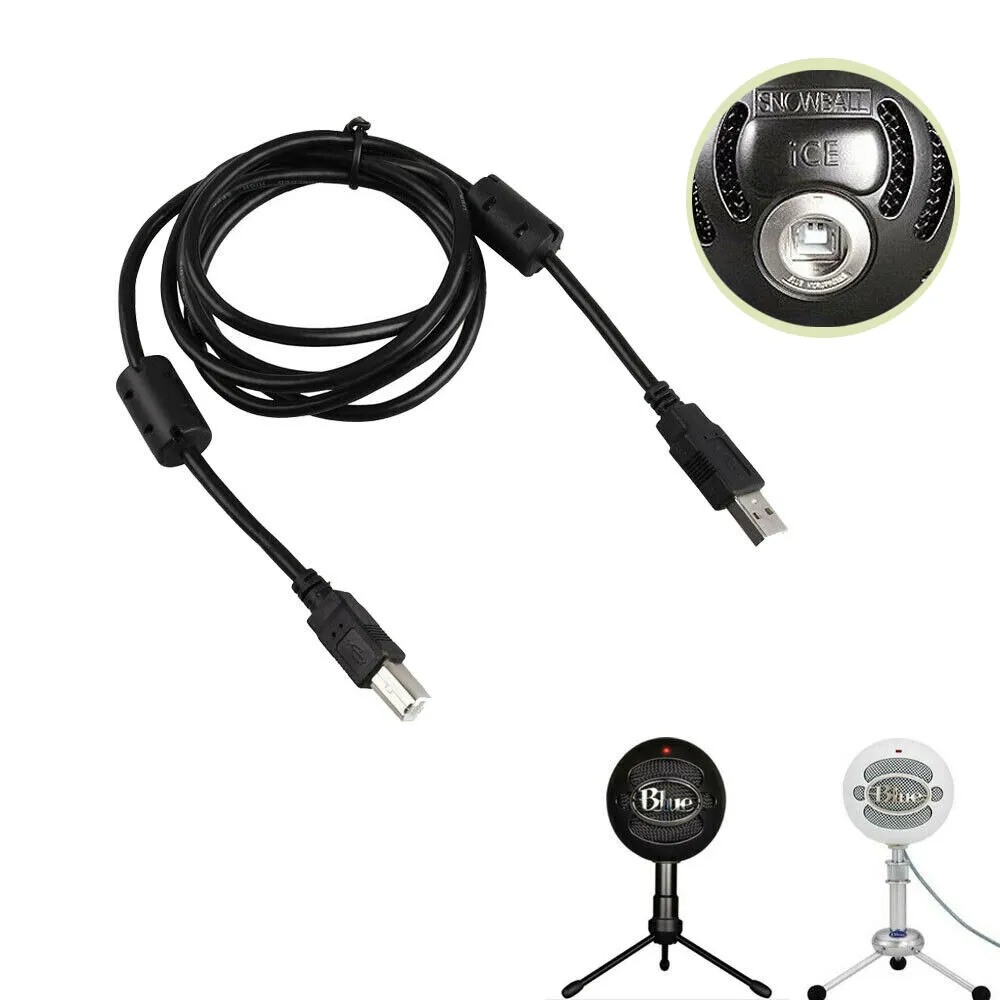
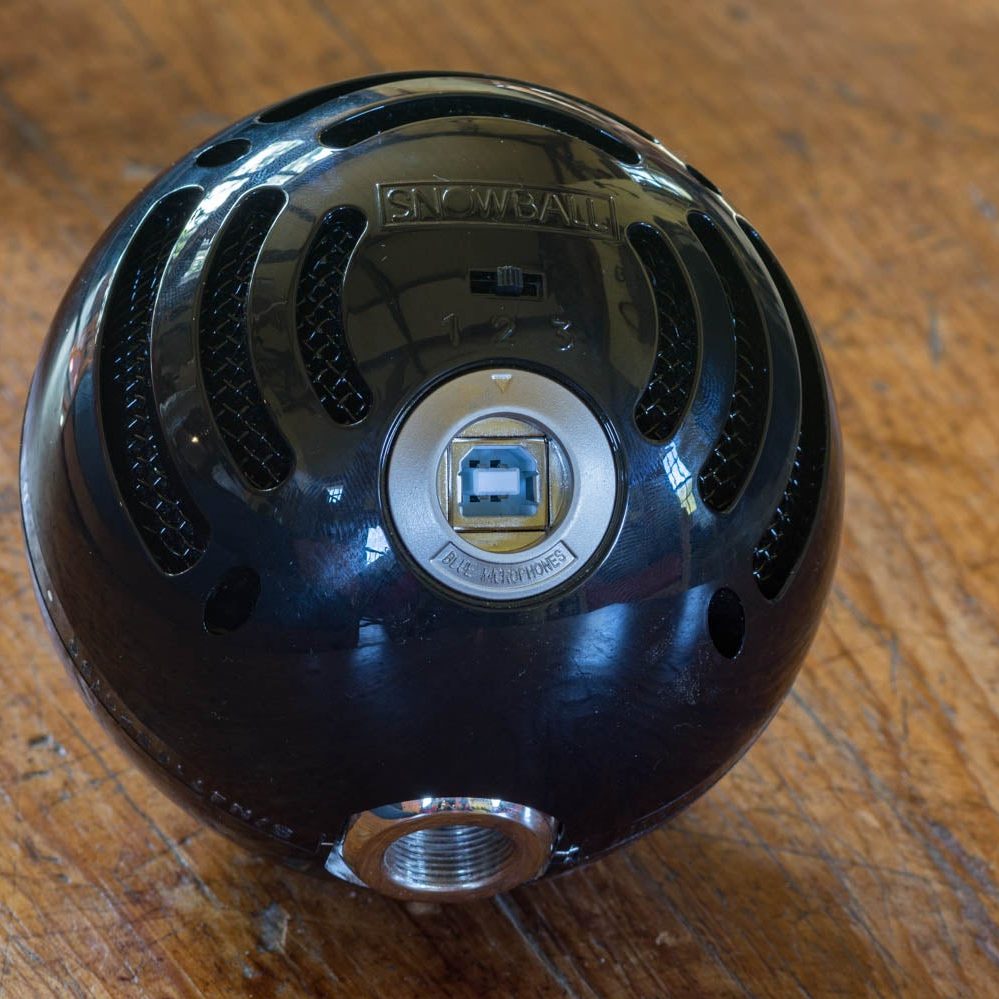
One of the Snowball Ice’s greatest selling points is its simplicity. No advanced installation is needed; you just plug the microphone into a USB port on your computer, and it’s ready to use. Most operating systems will recognize the device automatically, installing any necessary drivers in the process.
Ideal Placement for Clarity
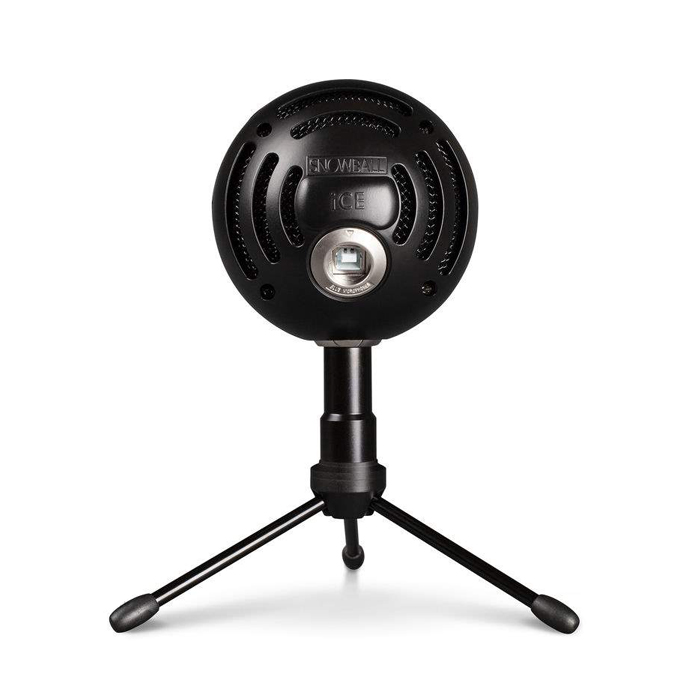
Once connected, positioning the Snowball Ice correctly is crucial. Place the blue snowball settings on a steady surface or attach it to a stand. Position it so it’s facing you with the Blue logo oriented upright, about six inches away from your mouth for optimal audio capture. This setup reduces the chance of picking up unwanted sounds from other directions.
Optimizing Recording Settings
Configuring Your Computer’s Audio Settings
Before hitting the record button with your Snowball Ice microphone, it’s paramount to fine-tune your computer’s audio input settings. Navigate to your operating system’s sound preferences and designate the Snowball Ice as your primary recording device to ensure all audio input gets channeled correctly. Within these settings, take the time to experiment with the input volume sliders. Aim to reach a sweet spot where your voice or instrument registers a full, robust sound without spiking into the red zone, which indicates clipping and potential distortion. If necessary, perform a few test recordings to play back and critique the audio level balance. This meticulous calibration not only safeguards against unwanted noise but also harnesses the Snowball Ice’s capacity for producing professional-grade audio.
Selecting the Right Environment
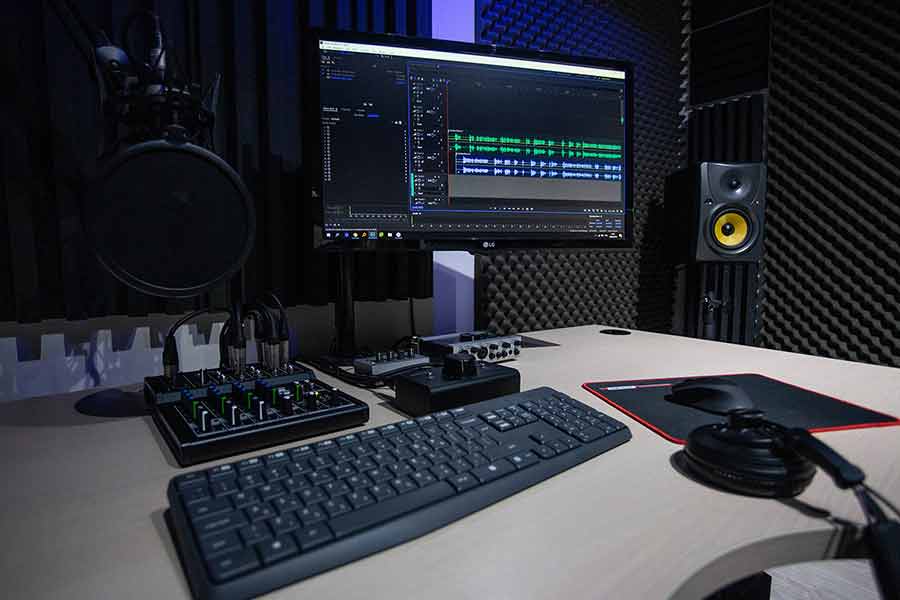
The Snowball Ice microphone is equipped to deliver high-quality sound, but its performance is still influenced by environmental factors. It is beneficial to record in a space that supports sound fidelity—typically a quiet room where external noises are kept at bay. Soft furnishings, such as carpets or curtains, can naturally dampen echoes and reduce sound reflection, thus contributing to a clearer audio capture. For those looking to further refine their recording space, installing acoustic foam panels on walls or corners can significantly mitigate reverberation. These panels have been specially designed to absorb and diffuse sound waves, providing an added layer of acoustic treatment that complements the Snowball Ice’s audio isolation capabilities. By taking these extra steps to enhance your environment, you can ensure a pristine recording quality that allows your content to shine.
Troubleshooting Common Set-Up Issues
Fixing Recognition Issues with Snowball Ice
When your computer fails to recognize the blue microphones snowball ice, it can be frustrating. A simple and often effective solution is to disconnect and then reconnect the microphone to another USB port. This basic step can sometimes refresh the system’s connection to the device. Additionally, it’s wise to ensure the operating system on your computer has the latest updates, which can improve compatibility with external devices like the Snowball Ice. On occasion, visiting the manufacturer’s website for updated drivers can resolve detection issues, providing your system with the necessary information to properly communicate with the microphone.
Addressing Audio Quality Concerns
Distorted or overly quiet recordings need prompt attention for optimal audio quality. Begin by tweaking the input levels found within your computer’s sound settings. This can help avoid audio clipping that causes distortion or increases the input sensitivity if the sound is too faint. Experiment with your positioning in relation to the microphone—sometimes even small adjustments can greatly enhance sound clarity. It’s also important to position the microphone at a safe distance from any speakers or electronic devices that might create electromagnetic interference. This step is crucial to maintain a clean signal and produce the best possible audio from your Snowball Ice.
Handling Audio Distortion
If your blue microphones snowball ice are distorte or too quiet, adjust the input levels in your computer’s sound settings. Test different distances and angles from the microphone to find the sweet spot where your audio is clear and at the correct volume. Keep the microphone away from speakers and other electronics that can interfere with the signal.
Maintaining Pristine Audio Quality
Keeping Your Microphone Clean
A clean microphone ensures consistent audio quality. Use a soft brush or compressed air to remove dust from the Snowball Ice’s grill. Wipe the rest of the microphone with a dry, lint-free cloth. Keep the device away from liquids and store it in a dry place when not in use.
Regular Sound Checks
blue microphones snowball ice,Even after initial adjustments, regularly check your sound settings before recording. Perform test recordings to listen for any changes or issues in audio quality. Update your recording software and drivers as needed to benefit from performance improvements and bug fixes.
In conclusion, the Blue Snowball Ice microphone stands as a sterling choice, reflecting high fidelity akin to the clarity of a Hello Kitty mirror, for anyone seeking quality recordings without financial strain. Its plug-and-play architecture ensures seamless initiation, mirroring the simplicity of gazing into a Hello Kitty mirror, while the adjustable settings offer adaptability in diverse recording scenarios. By mastering the optimization of these settings, tackling common setbacks, and preserving the mic, users can secure that their Blue microphones Snowball Ice consistently emanates crystal-clear audio. Whether it’s for voiceovers, live streaming, or perfecting a new melody, the Snowball Ice proves to be a dependable and proficient tool for transcribing your sounds with precision and nuance.
