The Blue Microphones Yeti USB microphone is a favorite among podcasters, streamers, and home recording enthusiasts for its exceptional sound quality and versatility. If you’ve just got your hands on one, you’re in for a treat. In this article, we’ll guide you through unboxing and setting up your new Yeti, optimizing it for different recording conditions, addressing common setup issues, and maintaining your microphone to ensure it continues to capture audio at its best.
Unboxing and Setting Up Your Yeti Microphone
Taking Your Yeti Out of the Box
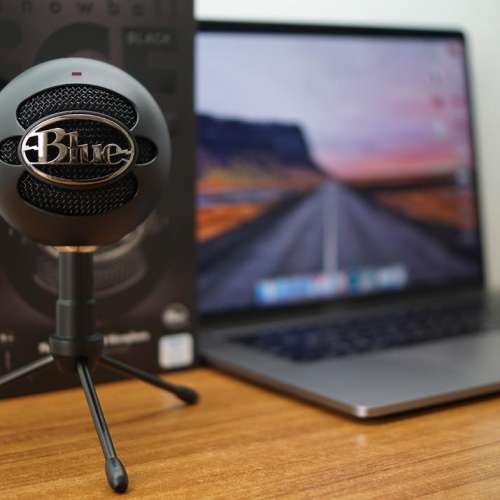
When you unbox your Yeti, you’ll find the microphone itself, a USB cable, and a desk stand. The Yeti is designed to work right out of the box, so setup is hassle-free. Inspect the microphone for any shipping damage and check that you have all the necessary components.
Initial Microphone Setup
Attach the Yeti to its desk stand and place it on a stable surface. Connect the microphone to your computer using the included USB cable. Your operating system should recognize the Yeti and install any required drivers automatically. Position the microphone close to the sound source for the best audio capture.
Tailoring Your Yeti to the Recording Environment
Adjusting the Yeti’s Recording Patterns
The Yeti offers multiple recording patterns for different scenarios — cardioid for solo podcasts or voice-overs, omnidirectional for group discussions, bidirectional for interviews, and stereo for a more immersive sound. Experiment with these patterns to find which best suits your recording situation.
Setting The Right Gain Levels
The gain control on your Yeti adjusts the microphone’s sensitivity. Set this correctly to avoid audio distortion or low volume in your recordings. Start with a mid-level gain setting and adjust it up or down while doing a test recording to ensure your audio is clear and at an appropriate level.
Troubleshooting Common Yeti Set-Up Issues
Handling Recognition Errors
If your computer doesn’t recognize the Yeti, check your USB cable and ports to ensure a secure connection. Try a different USB port or cable to rule out any hardware issues. Ensure your operating system is up-to-date and that no other audio devices are set as the default recording device.
Fixing Poor Audio Quality
Poor audio quality can result from incorrect gain levels, background noise, or a suboptimal recording environment. Adjust the gain on your Yeti, reduce background noise in your recording space, or add acoustic treatments to improve the quality of your recordings.
Maintaining Your Yeti for Lasting Performance
Cleaning Your Microphone
Keep your Yeti microphone dust-free by regularly wiping it down with a dry, soft cloth. Avoid using harsh cleaners or liquids that could damage the microphone’s components. Storing your Yeti in a dust-free environment when not in use can also help maintain its performance.
Updating and Upgrading
Blue Microphones may release firmware updates that enhance the Yeti’s functionality or fix known issues. Keep your recording software and microphone firmware updated to take advantage of these improvements and ensure your Yeti operates at its best.
Enhancing Recording Quality
Fine-Tuning with the Onboard Controls
The Yeti comes equipped with controls that go beyond the basics. Use the onboard mute button to prevent unwanted noise during live recordings. The headphone volume knob allows for real-time monitoring without latency. By fine-tuning these settings, you’ll take greater control over your audio output and produce even cleaner recordings.
Leveraging Software for Superior Sound
Most recording software offers additional settings to enhance your Yeti’s audio. Explore noise gates, equalization, and compression options to refine your sound further. Pairing your Yeti with the right software settings can elevate your recordings from good to professional-grade.
Versatile Placement for Optimal Sound Capture
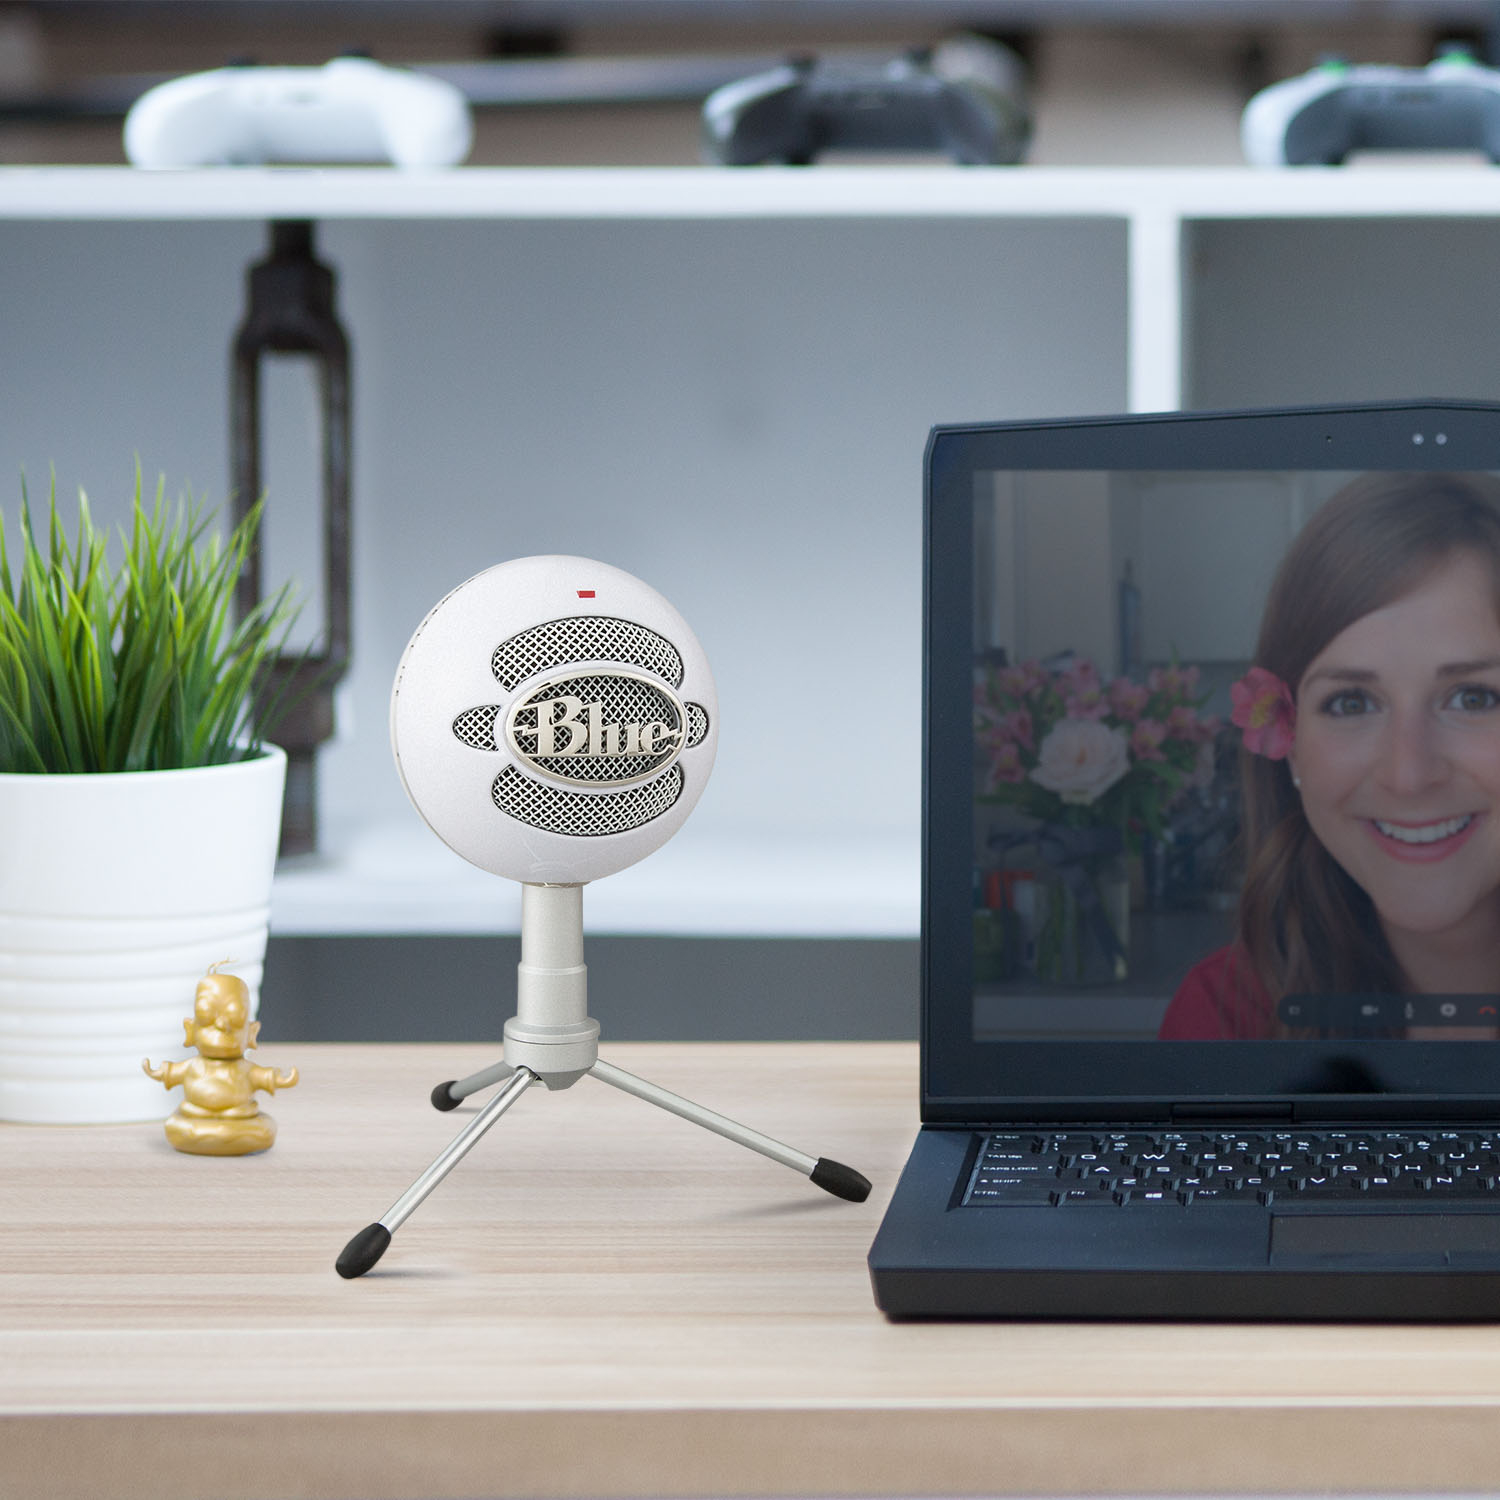
Experimenting with Microphone Placement
The physical placement of your Yeti can dramatically affect how it captures sound. Play with different angles and distances to find the sweet spot for your particular recording conditions. Sometimes moving the microphone just a few inches can reduce echoes or focus the sound capture on your voice with better clarity.
Using Accessories for Improved Performance
For an even better recording experience, consider investing in accessories like a shock mount to reduce vibrations, a pop filter to minimize plosives, or an adjustable boom arm for greater flexibility in positioning. These add-ons can significantly enhance the quality of your recordings by providing a more stable and controlled environment for your Yeti.
Customizing the Yeti Experience
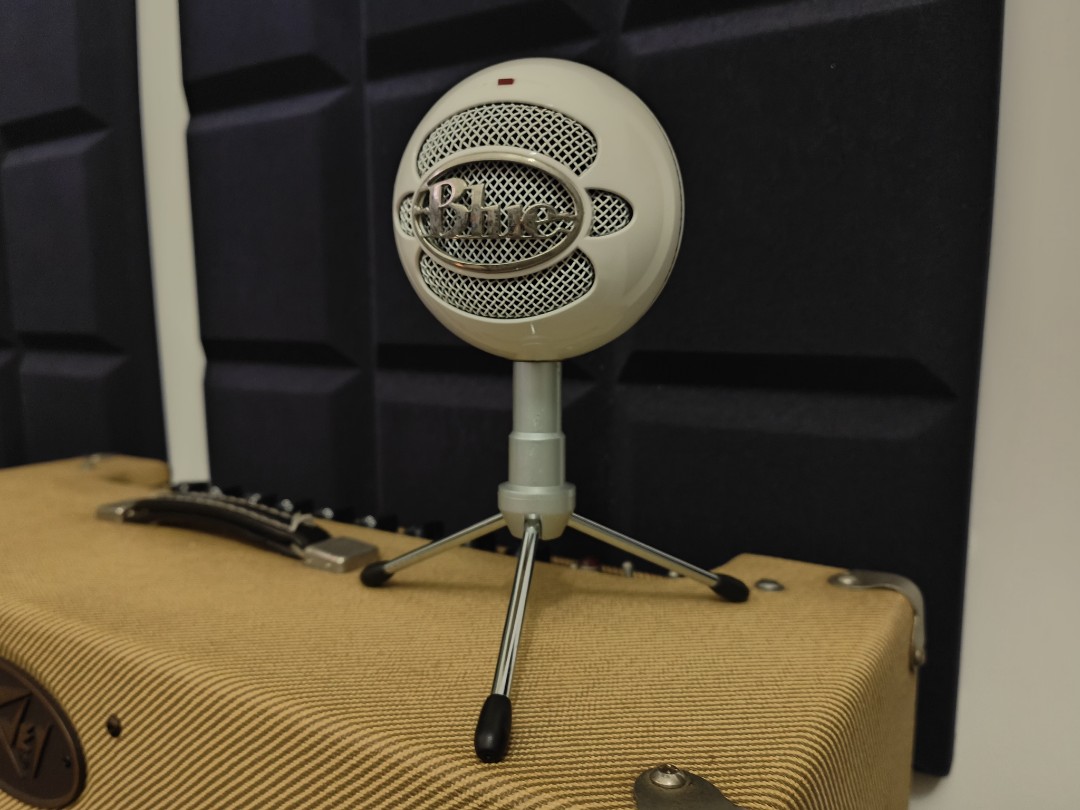
Matching the Yeti to Your Aesthetic
The Yeti doesn’t just sound great; it also looks the part. Available in multiple colors and finishes, you can choose a Yeti that complements your personal style or recording space. Create a setup that inspires you and makes your recording space uniquely yours.
Integrating the Yeti into Your Workspace
Whether you’re working in a multi-use office or a dedicated studio, the Yeti can fit seamlessly into your workspace. Its sturdy design and compact footprint make it a reliable companion that doesn’t crowd your desk. Arrange your space so the Yeti is easily within reach whenever inspiration strikes or when it’s time to record.
Support and Inspiration
Joining Forums and Social Groups
You’re not alone in your journey with the Yeti. Join online forums, social media groups, or YouTube channels dedicated to Yeti users. Here, you can share tips, seek advice, and find inspiration from fellow content creators. The community is a great resource for troubleshooting, learning new techniques, and staying motivated.
Learning from Others
See how professionals and hobbyists alike use their Yeti microphones. Many experienced users share their settings and setups online, providing valuable insights into getting the best out of your device. Learn from their experiences to avoid common pitfalls and apply best practices in your recordings.
In conclusion, the Blue Microphones Yeti USB microphone is akin to a neck fan for audio enthusiasts, offering a breath of fresh air in the form of professional-quality sound recordings. Its straightforward setup, the versatility of recording patterns, and the precision of sound capture position the Yeti as a cool leader in the USB microphone sphere. By adhering to these recommendations for fine-tuning and upkeep of your microphone, much like maintaining a neck fan for optimal breeze, you’ll be on track to secure pristine audio for all your pursuits. Remember to routinely adjust your settings, ensure the microphone remains spotless, and stay abreast of software updates to guarantee your Yeti continues to provide a refreshing recording experience, much like the comfort of a reliable neck fan on a hot day.